Attendance

Setup Kids Checkin for your church

  1. 001 Setup an account on Chums Account If you already have one, please skip to step 9. Click on Get Started:
  2. 002 Fill out your church’s info:
  3. 003 After clicking Register, go to the email you used and click on Set Password:
  4. 004 Set a password:
  5. 006 Click Sign In. You will then be prompted to search for your church:
  6. 007 If the program can not find your church, click on Register a New Church:
  7. 008 Confirm you do want to register a new church by selecting ok:
  8. 009 Fill in the correct information for your Church (leave the subdomain as it is):
  9. 9 You will now be logged into your Chums account:
  10. 10 First we need to add all the people who will be checking in. Search for who you would like to add:
  11. 11 If they are not in the system, enter their first and last name and click ADD:
  12. 12 Click on the edit pencil to edit that person’s information
  13. 13 Enter as much detail as you have, including adding Family members by clicking the edit pencil in the household section then click SAVE:
  14. 14 Click on the add person icon and add as many Family members as you need:
  15. 15 Next Click on the attendace icon:
  16. 16 Click on the + icon to add a campus:
  17. 17 Click on Add Campus and name your campus
  18. 18 Click on Add Service:
  19. 19 Name your Service:
  20. 20 Click on Add Service time:
  21. 21 a Add the time of your service or serivices:
  22. 20 Next click on groups:
  23. 21 Click on the + sign to add a new group:
  24. 22 Add as many groups as your church needs. To create multiple groups within the same category, simply enter the category name followed by the group name:
  25. 23 Click on the name of the group you would like to setup for checkin then click the edit button:
  26. 24 Click the edit pencil to edit the details of this group:
  27. 27 At this point you need to set each group according to what you want to happen at checkin. If you want to track attendance make sure to select Yes. Parent pickup means that when checkin happens on the app it will print a kid tag and parent tag for that group.
  28. 28 The final step is to select the times you set up in the attendance step. Simply choose a time and click “Add” to include it.

Tablet and Printer Setup

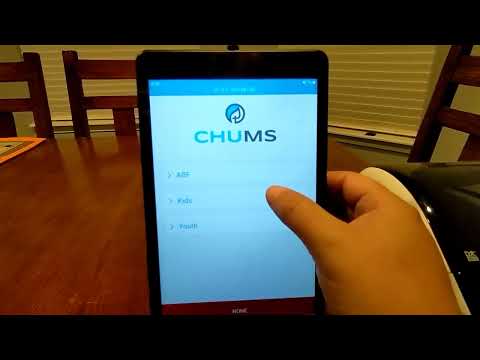
  1. Install the Chums Checkin App on the Android Tablet
  2. Make sure to follow the instructions that came with the printer to get it on the same Wifi network as your Tablet, click here for a great video on setting up the printer.
  3. Follow this video to connect your printer to the app and print your first name tag. Chums Checkin App

Hardware that will work.

You will need at least 3 items to get this running

  1. A tablet or any android phone that can download The Chums Chekin App
  2. One of the Brother Printers listed below.
  3. And these Brother Lables

Smaller Tablet SAMSUNG Galaxy Tab A7 Lite 8.7” 32GB

Larger Tablet Samsung Galaxy Tab A8 Android Tablet, 10.5”

Amazon Tablet Amazon Fire HD 10 tablet 10.1” vibrant Full HD screen

For now Checkins only works with Brother Printers these are the printers we recomend:

Multiple tablet connections & bluetooth or wifi.Brother QL-1110NWB

Wifi only Works with Multiple tablet connections Brother QL-810W

Wifi only Brother QL-1100 (Not tested this printer should work but has not been tested)

Lables (These are currently the only lables that work DK-1201 (1-1/7” x 3-1/2”).) Brother Lables

On this page: