07 Attendance
Setting up Kids Check-in for your Church
Steps
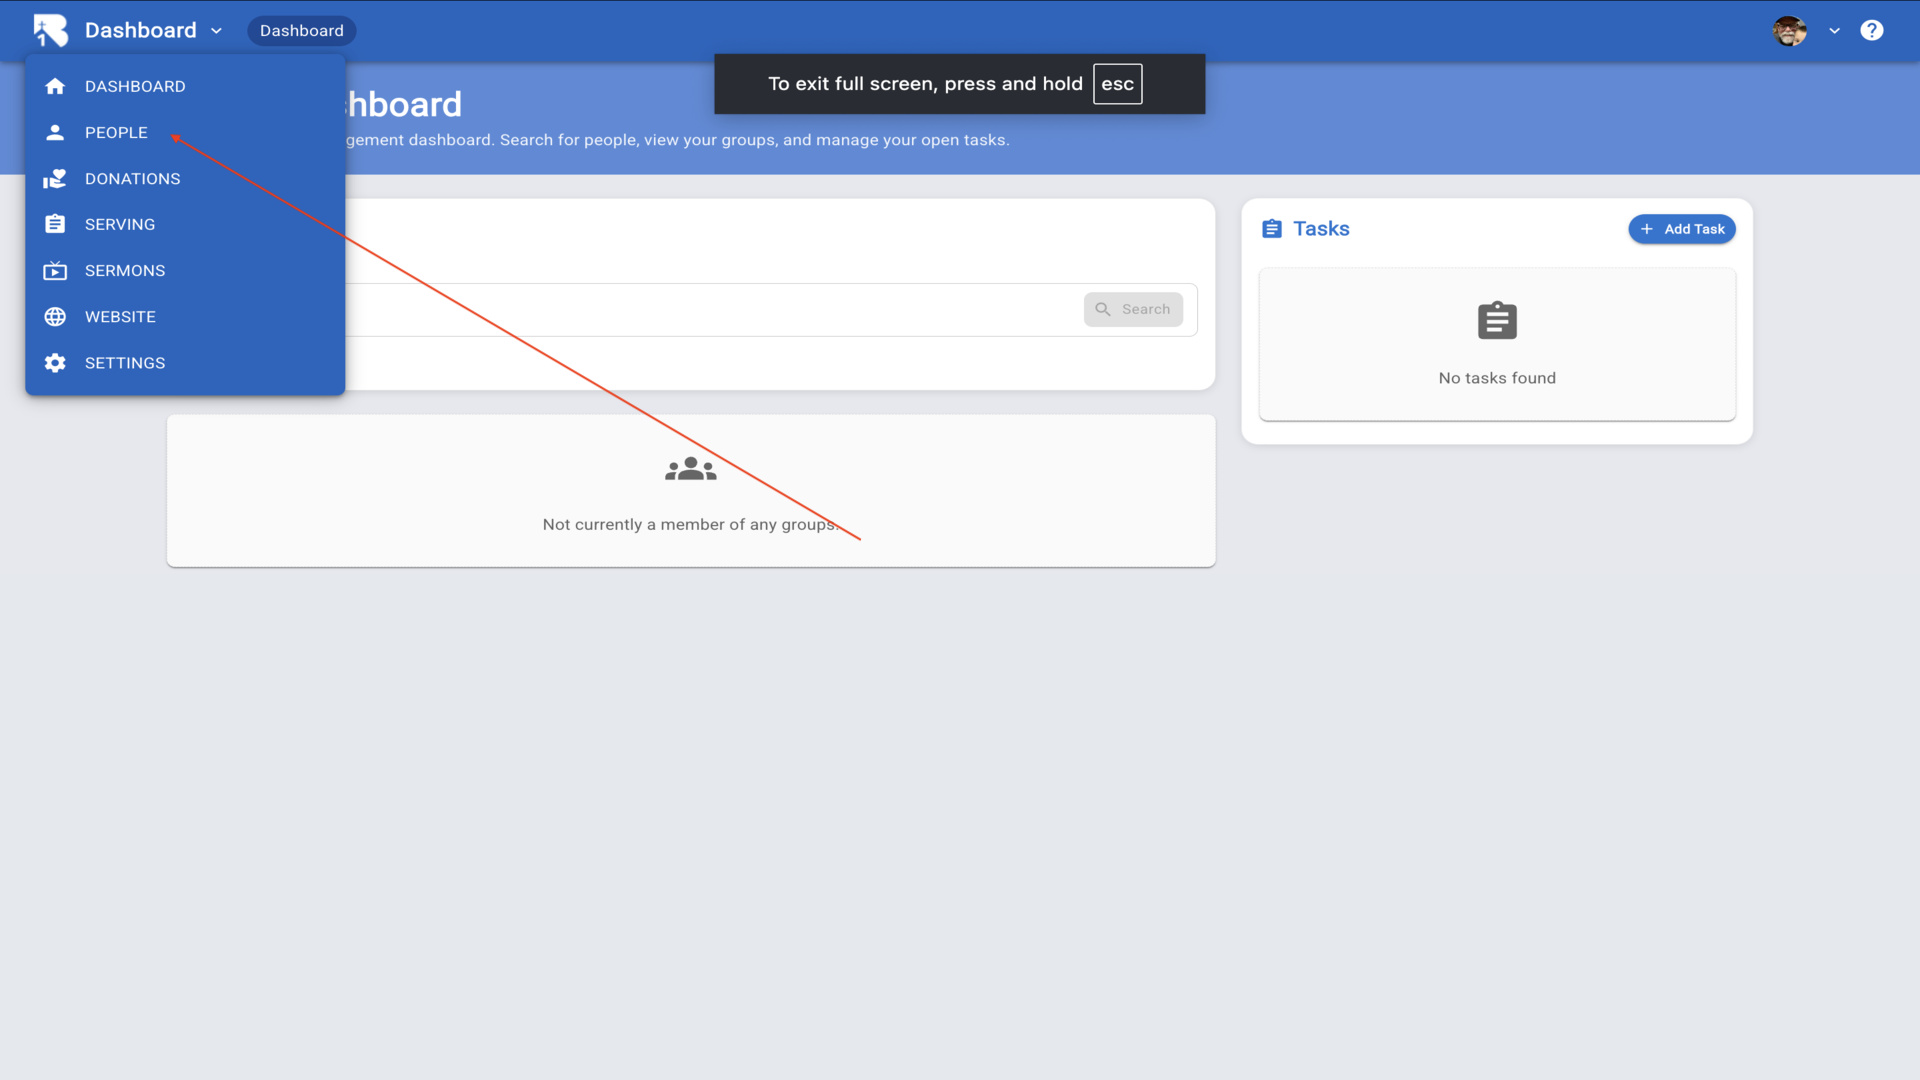
1.Navigate to the B1 Dashboard, click on People in the left sidebar.▼
2.Search for the person you'd like to add. If they're not found, you can add them as a new person by filling out the form below.▼
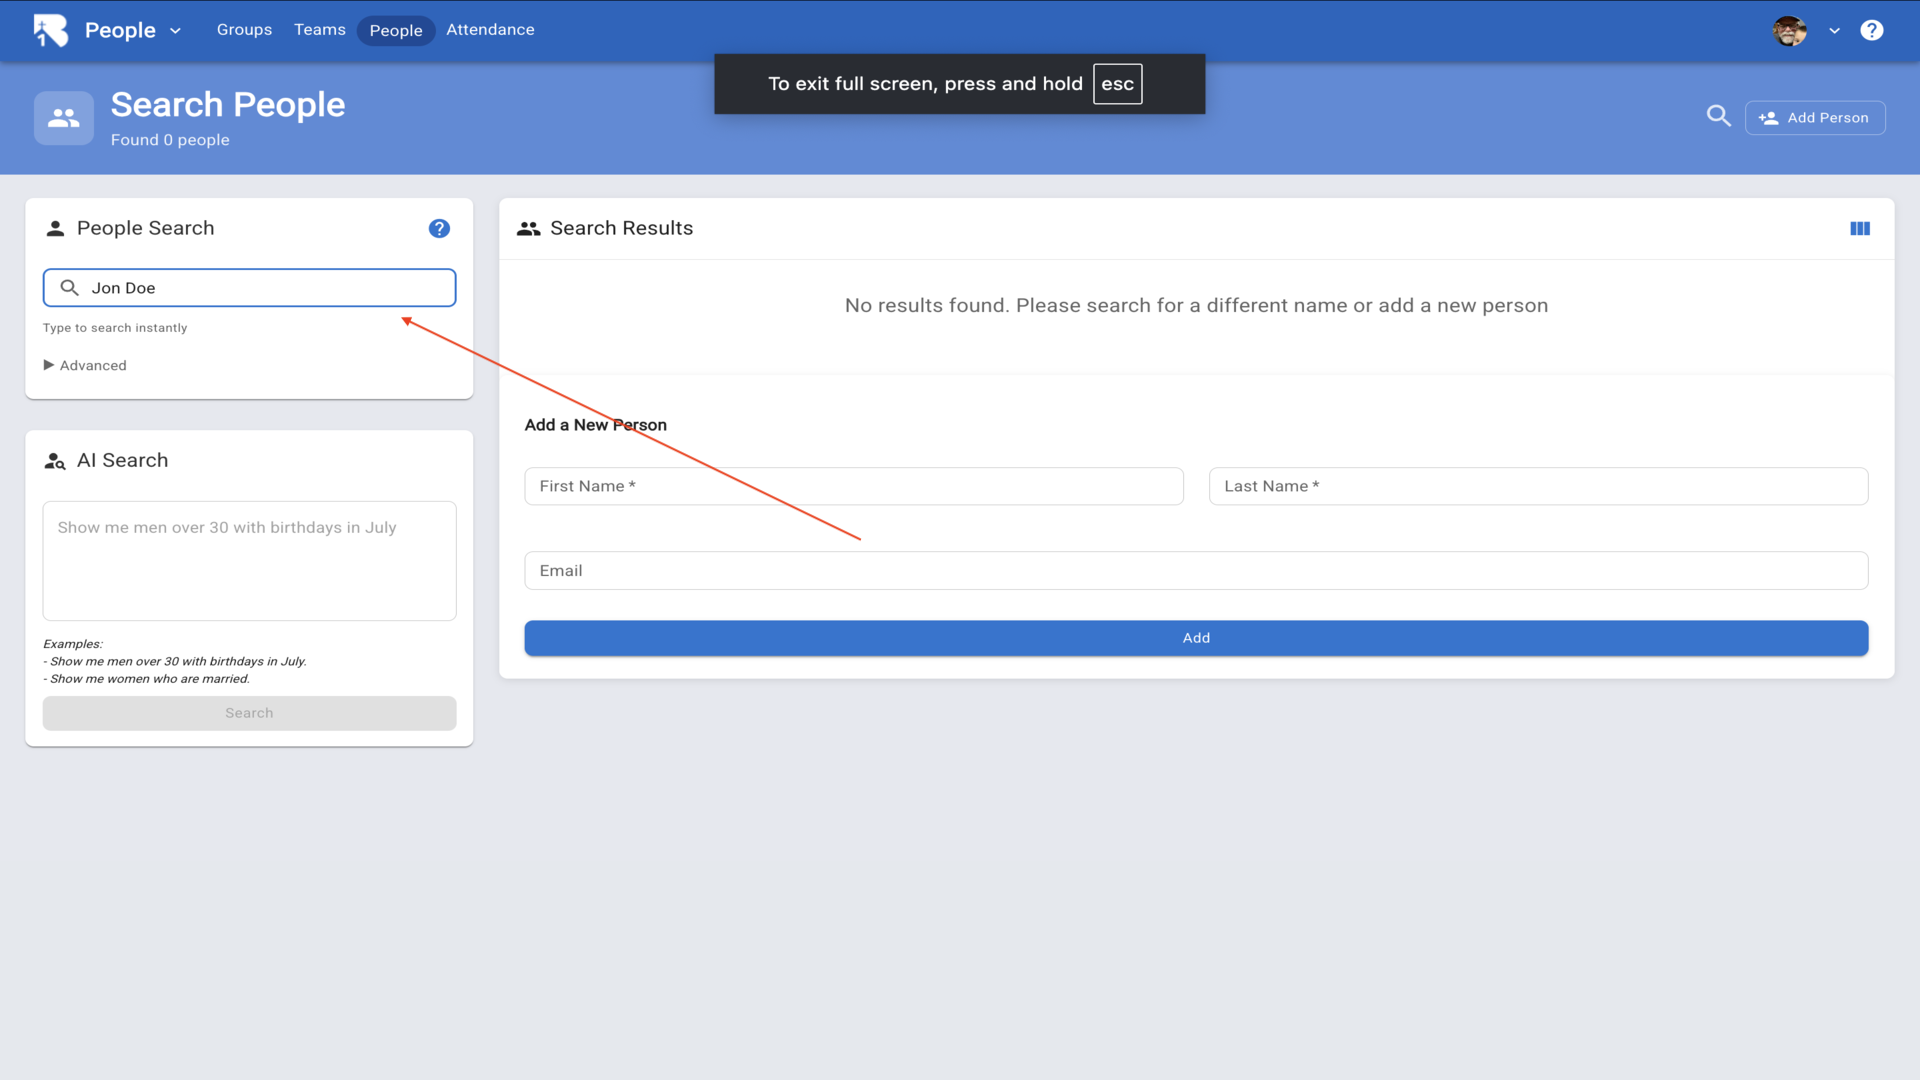
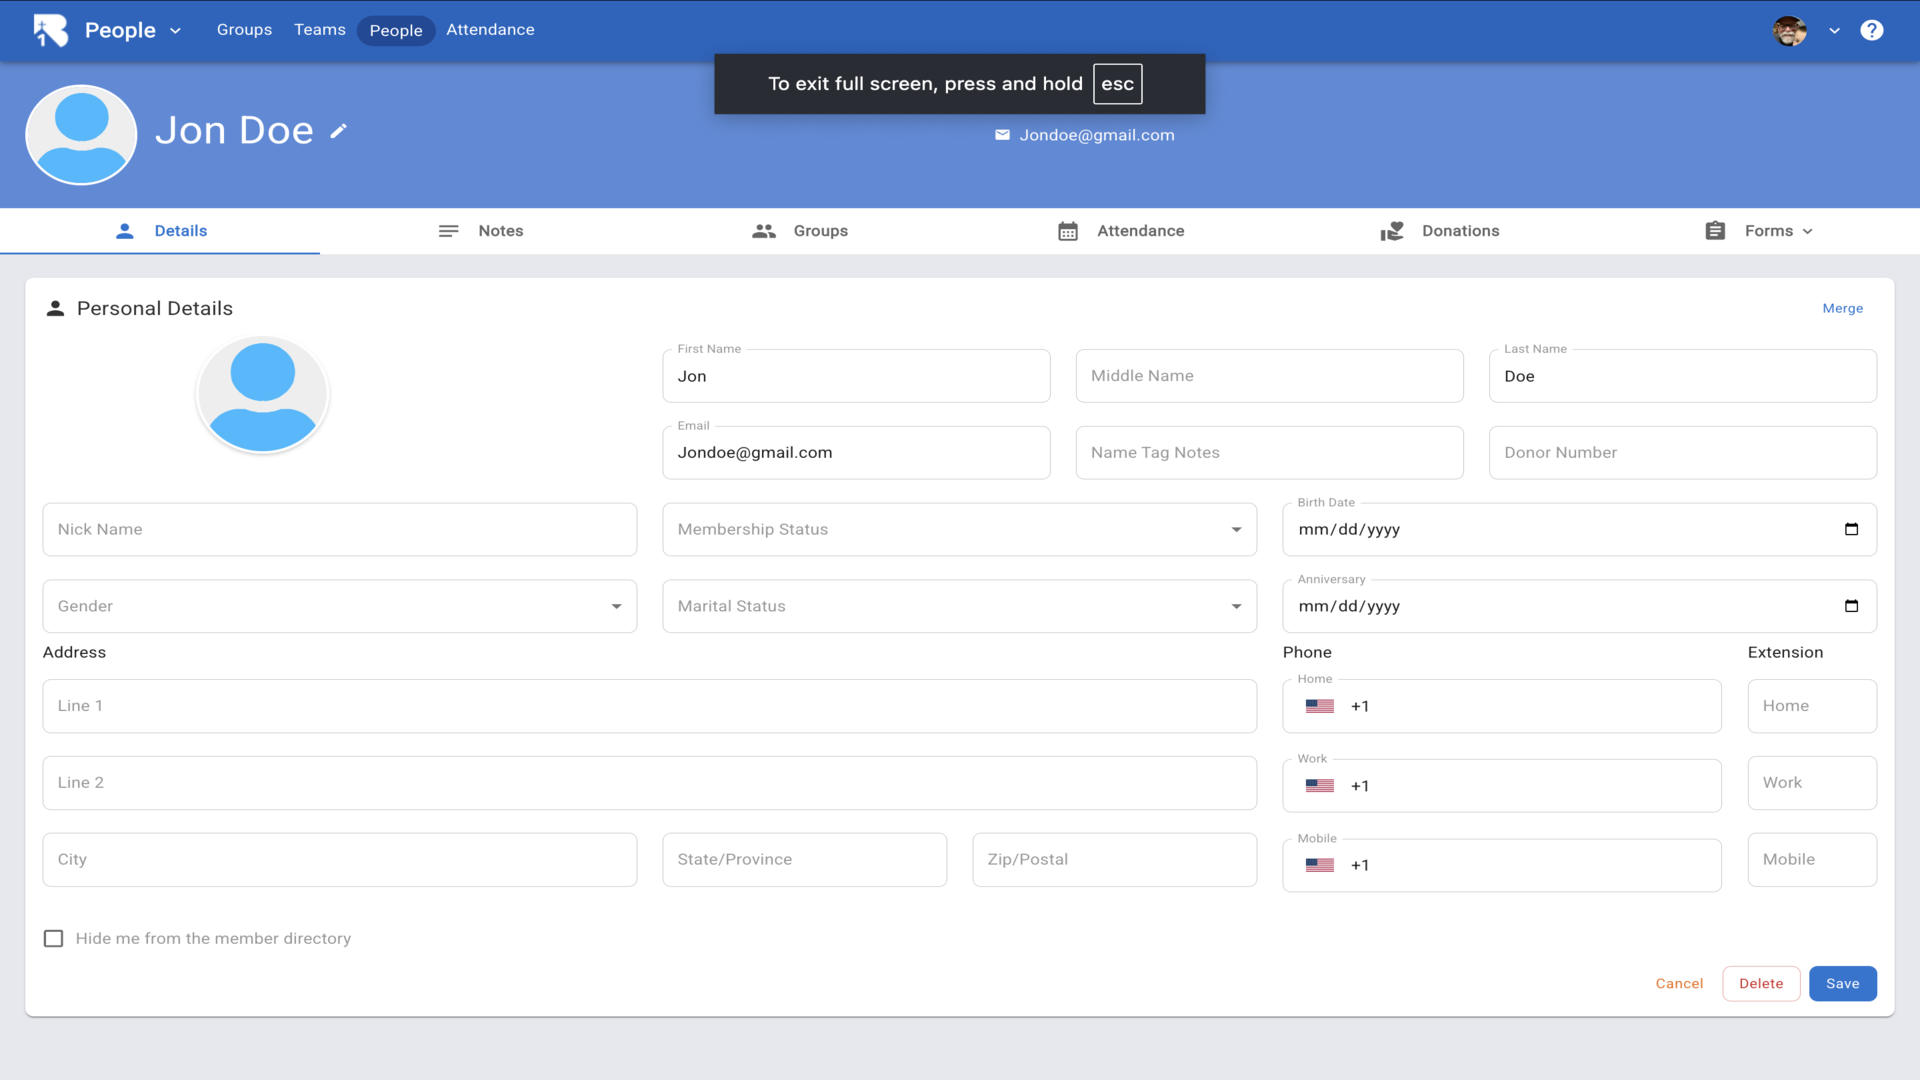
3.Enter their first name, last name, and email address, then click Add.▼
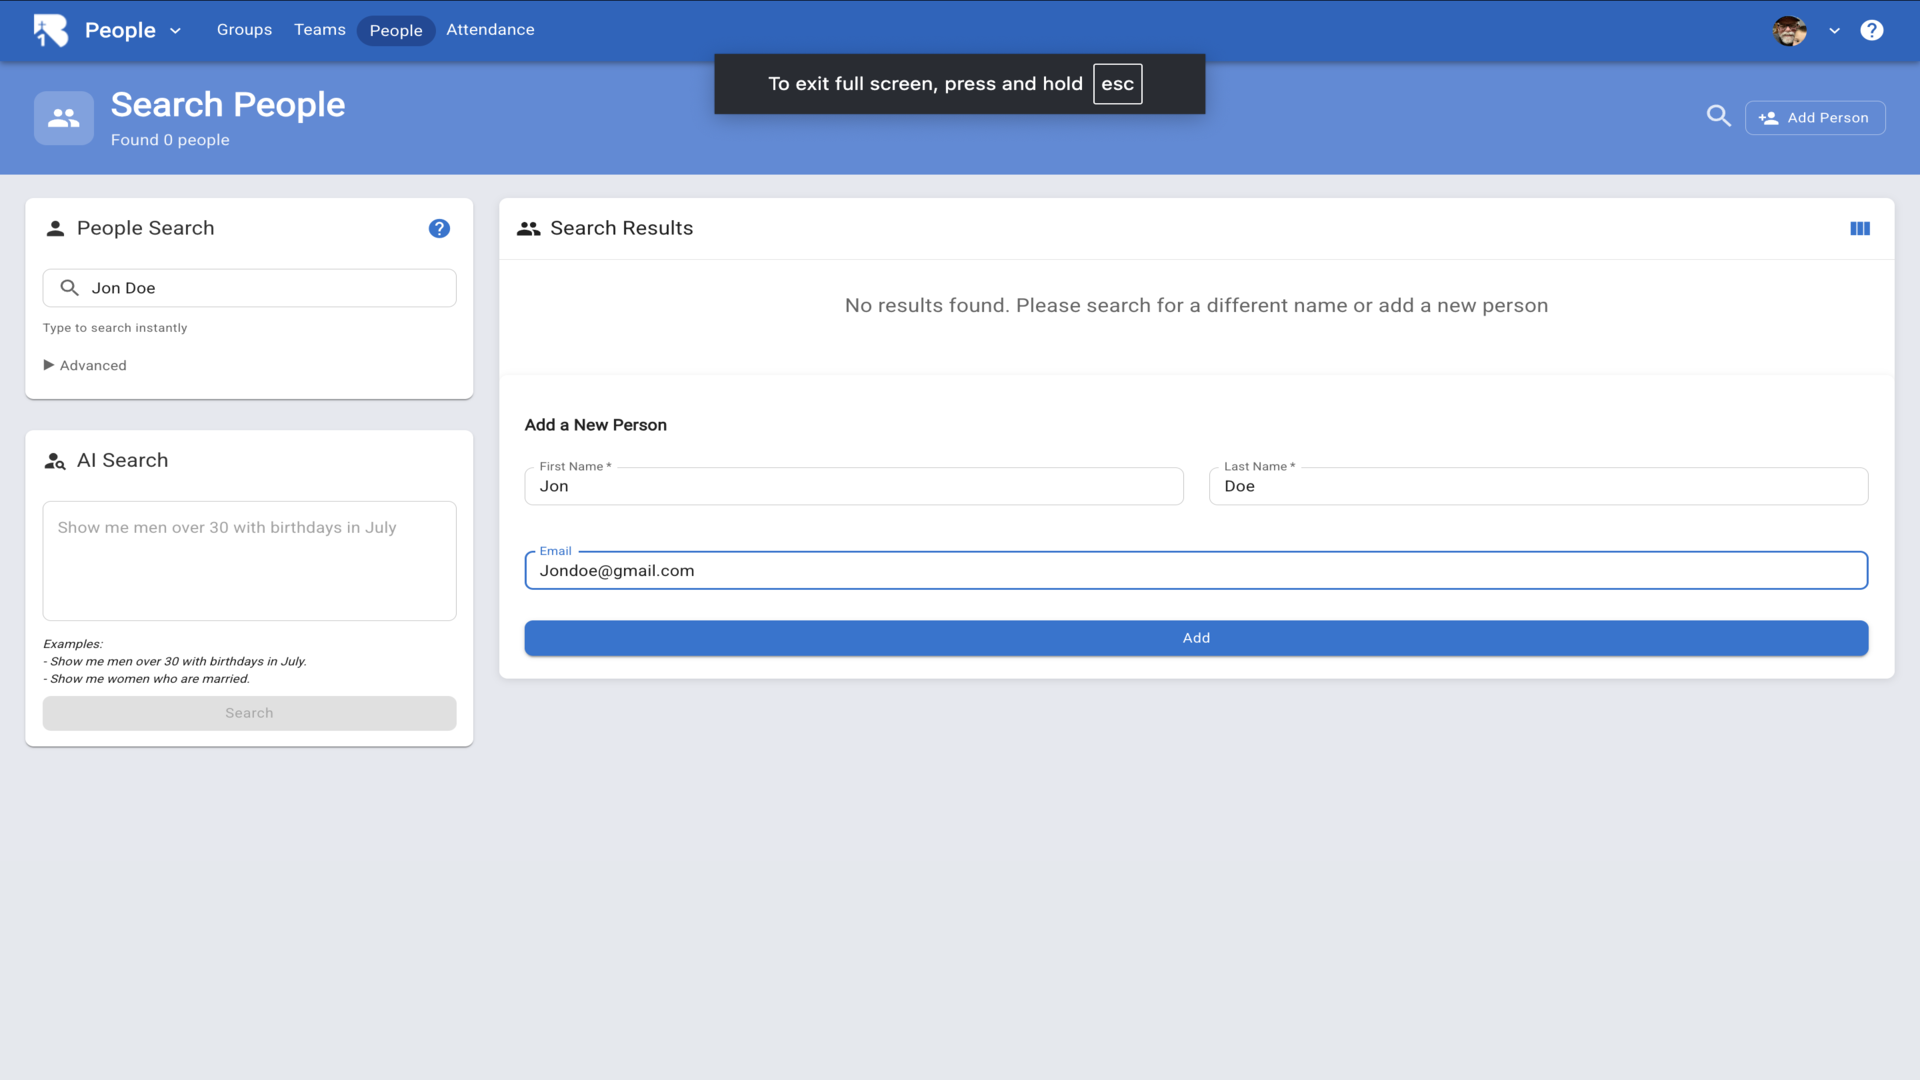
4.You'll be taken to their profile page. Click the edit pencil next to their name to add more details.▼
5.Fill in any additional information you have, such as address, phone numbers, and birth date, then click Save.▼
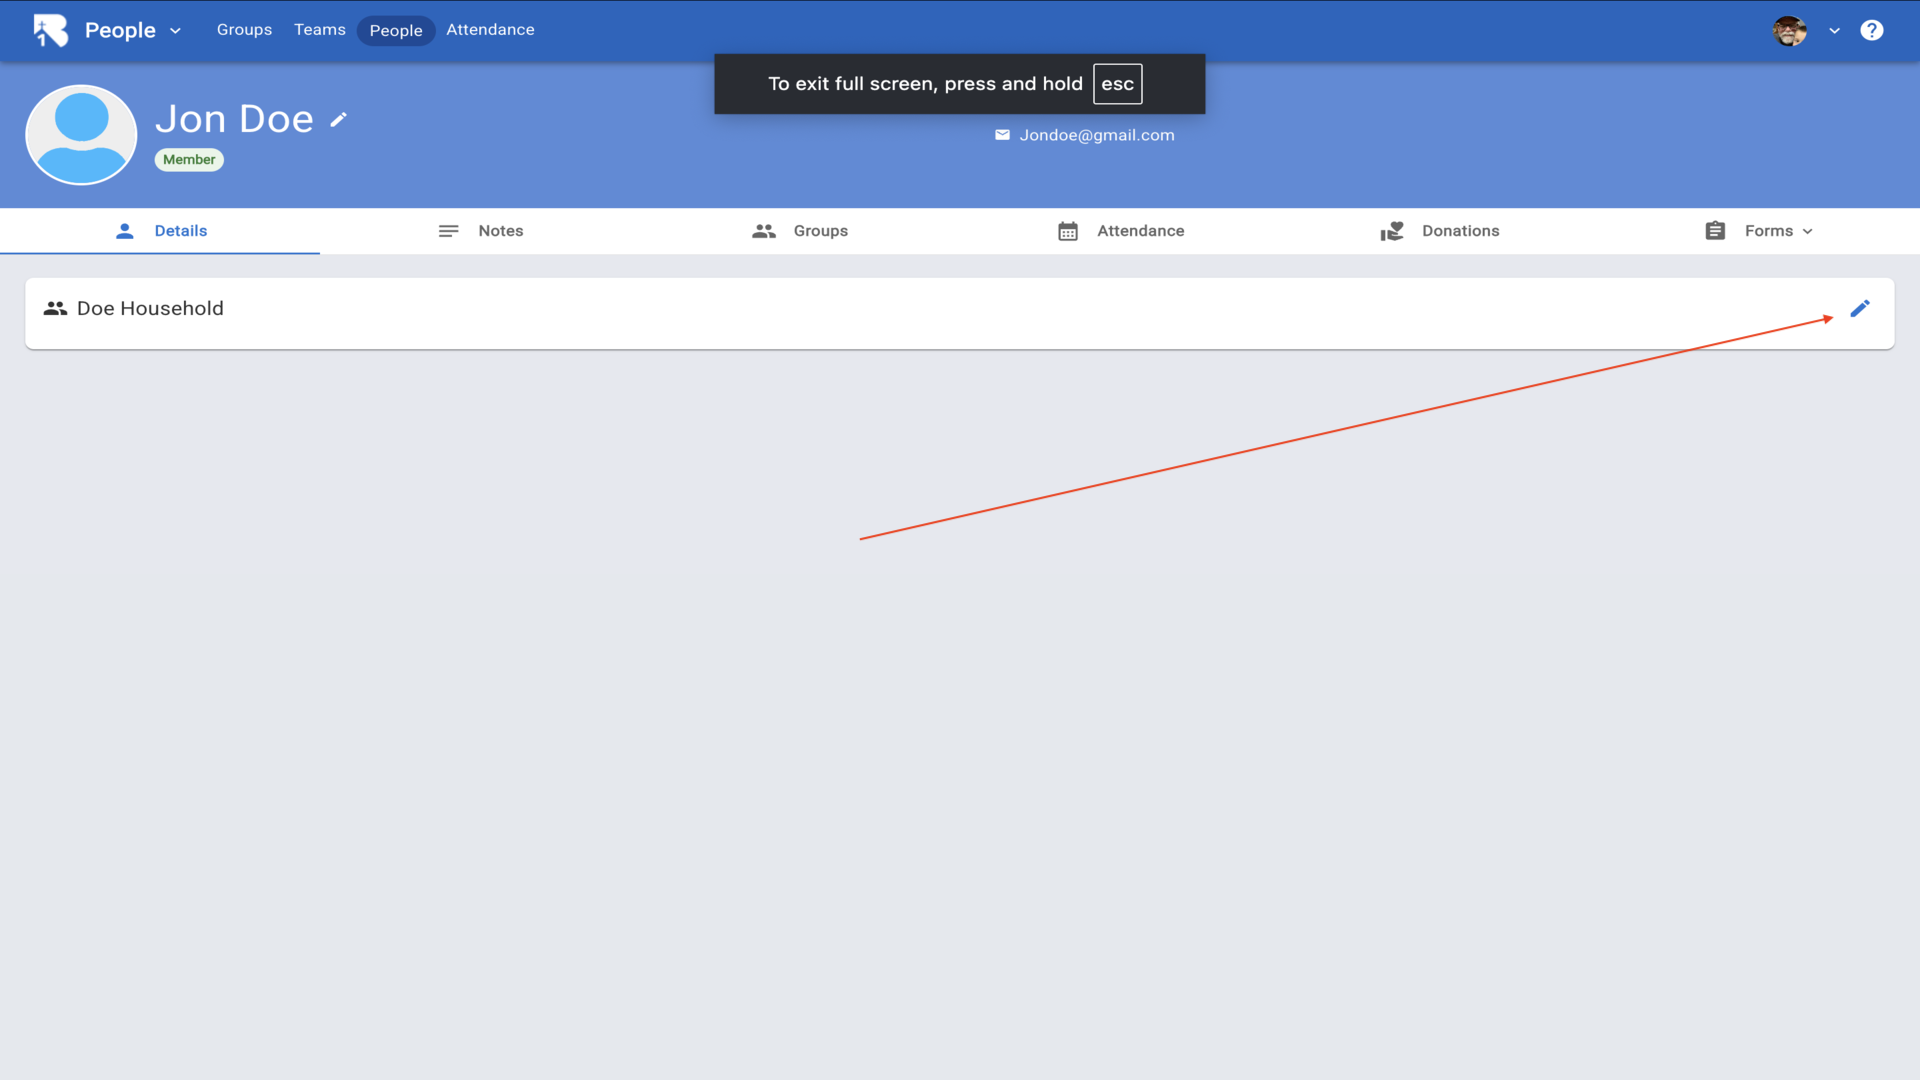
6.To add family members, click the edit pencil in the Household section.▼
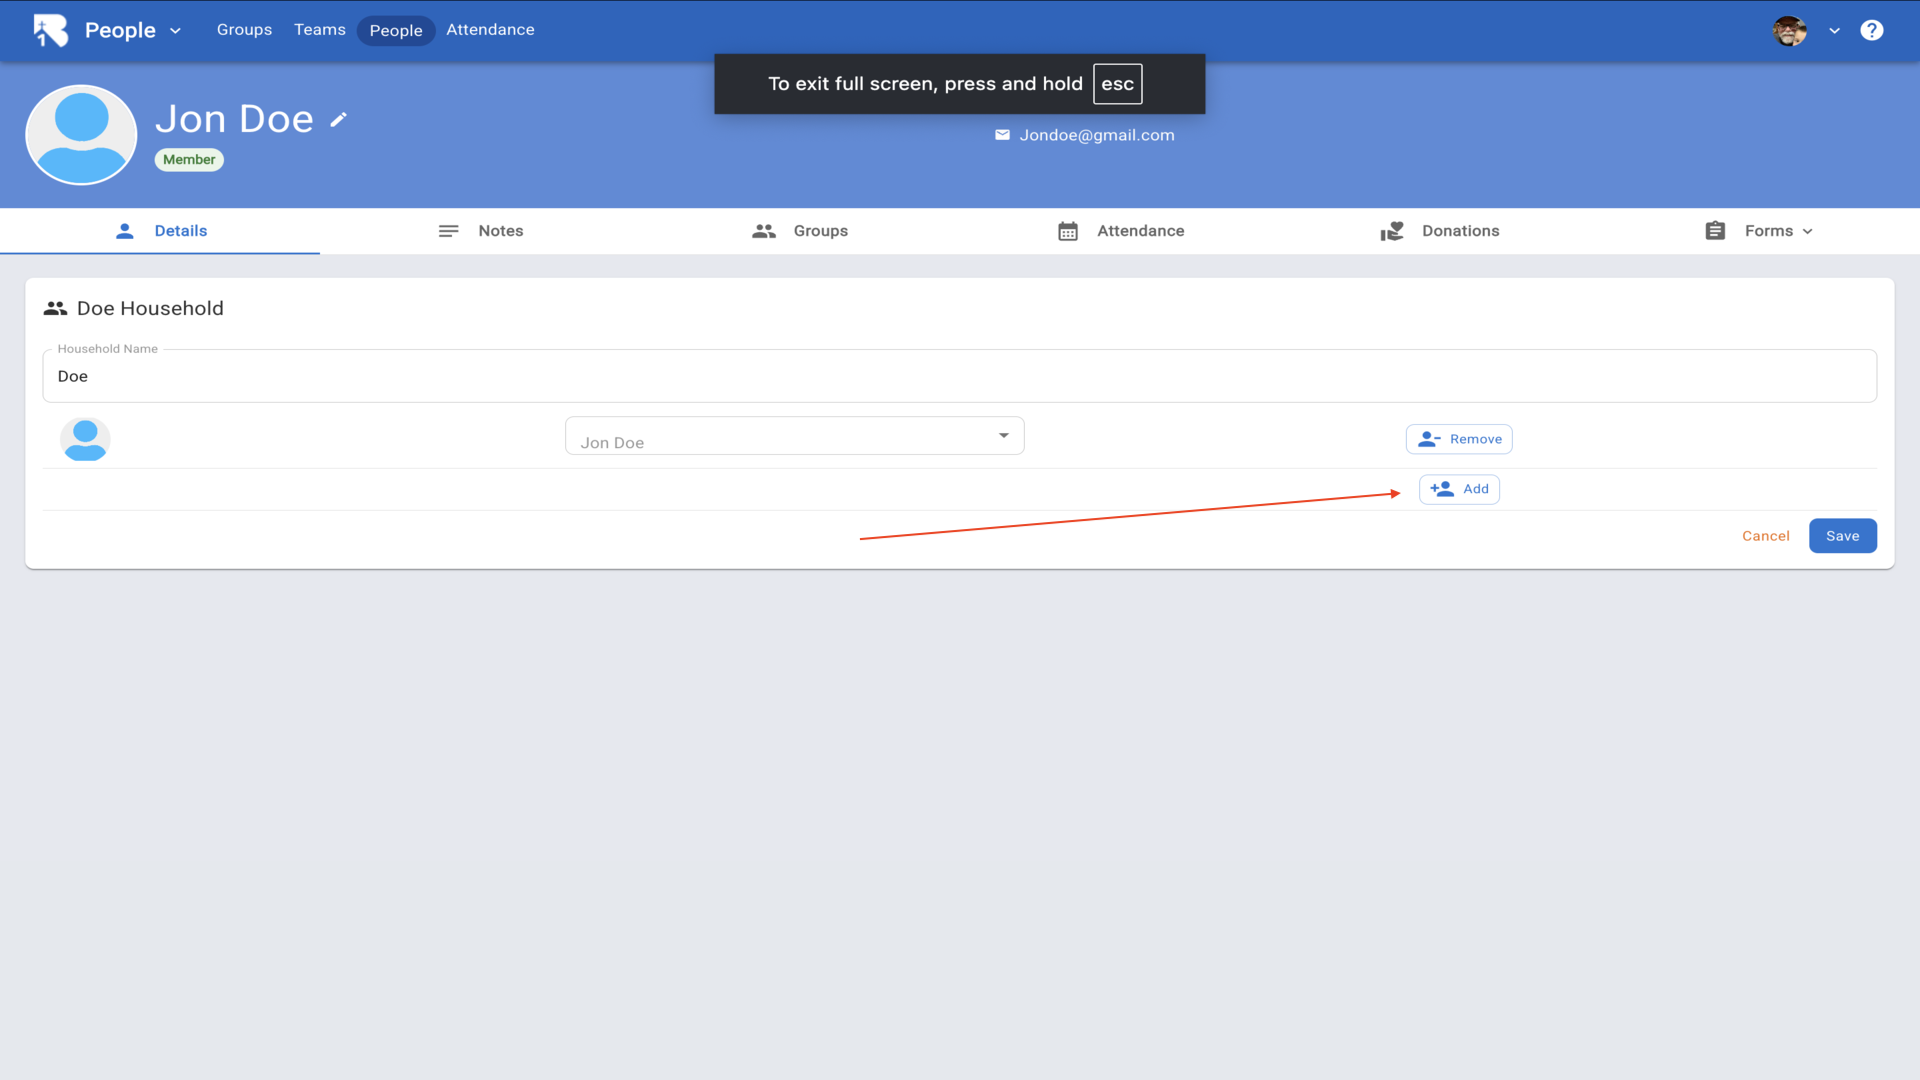
7.Click the Add button to add family members to this household.▼
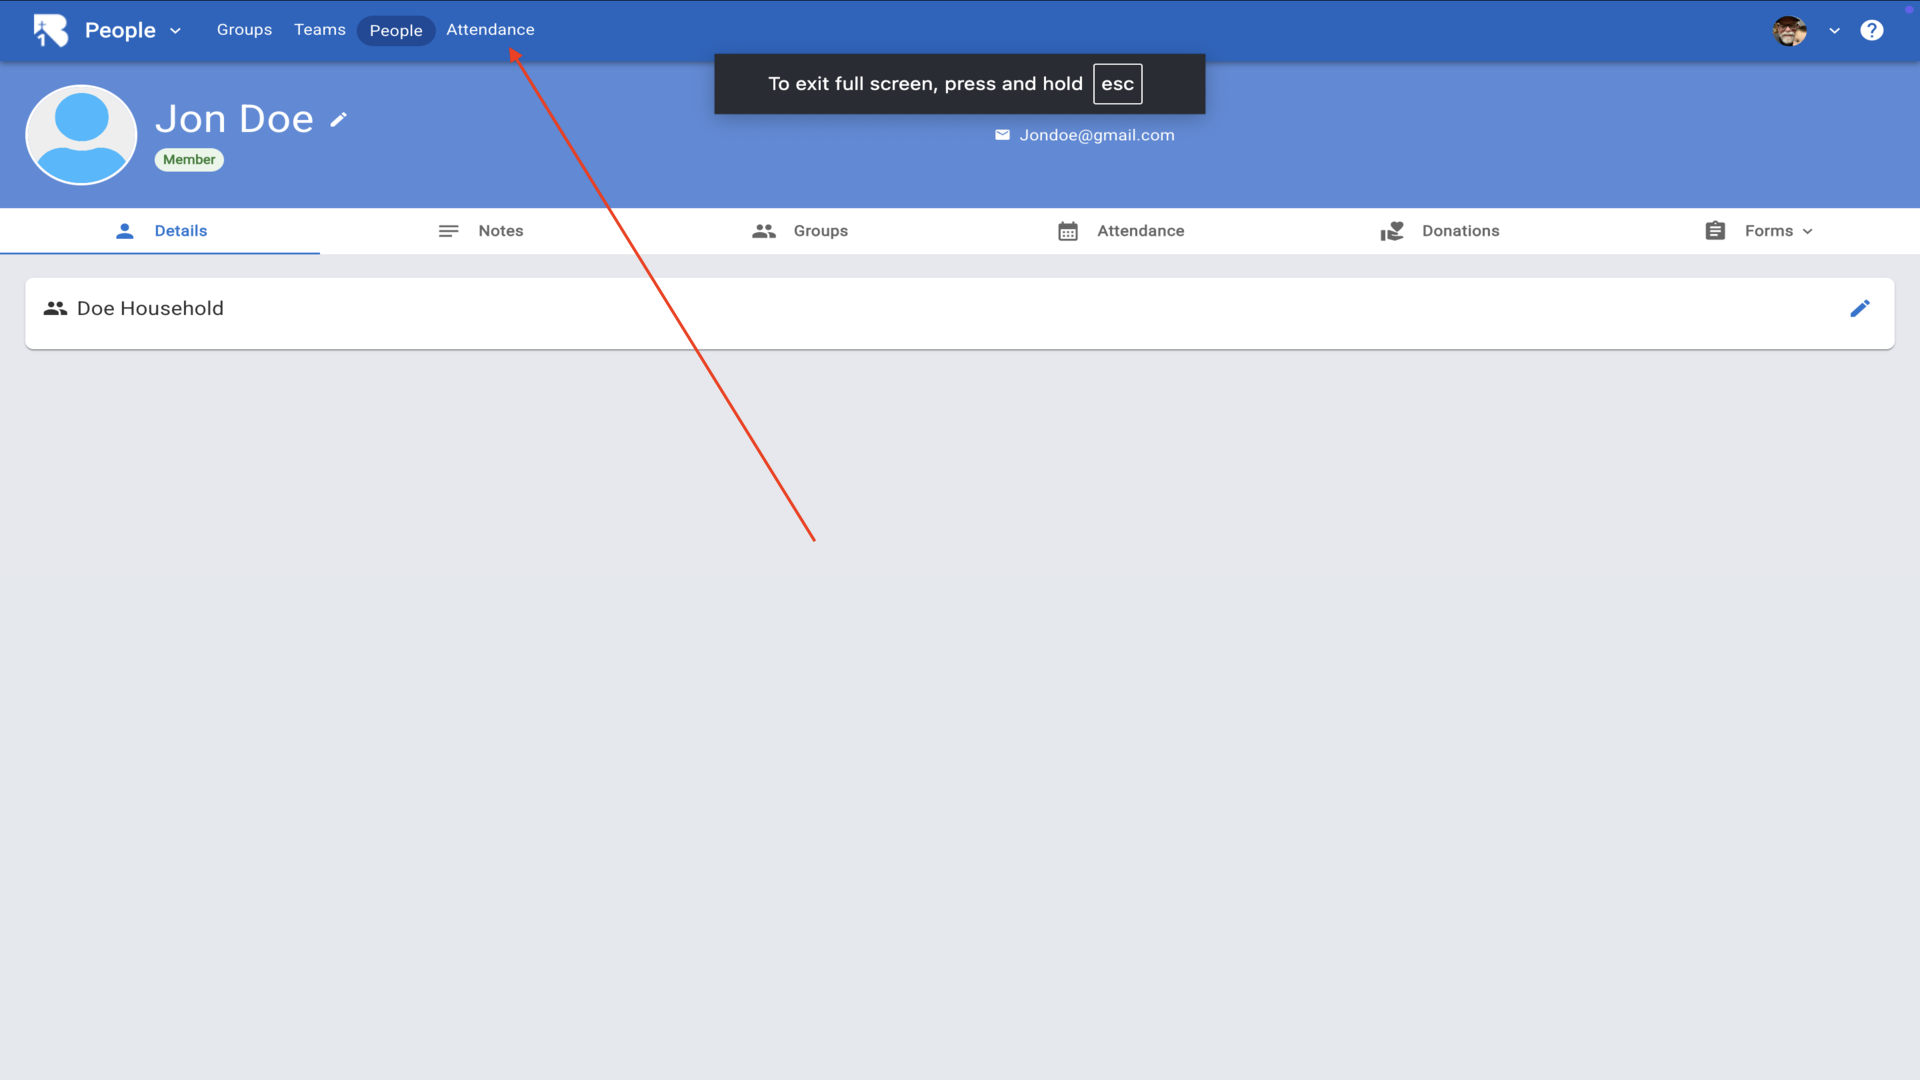
8.Next, click on Attendance in the top navigation to set up your services.▼
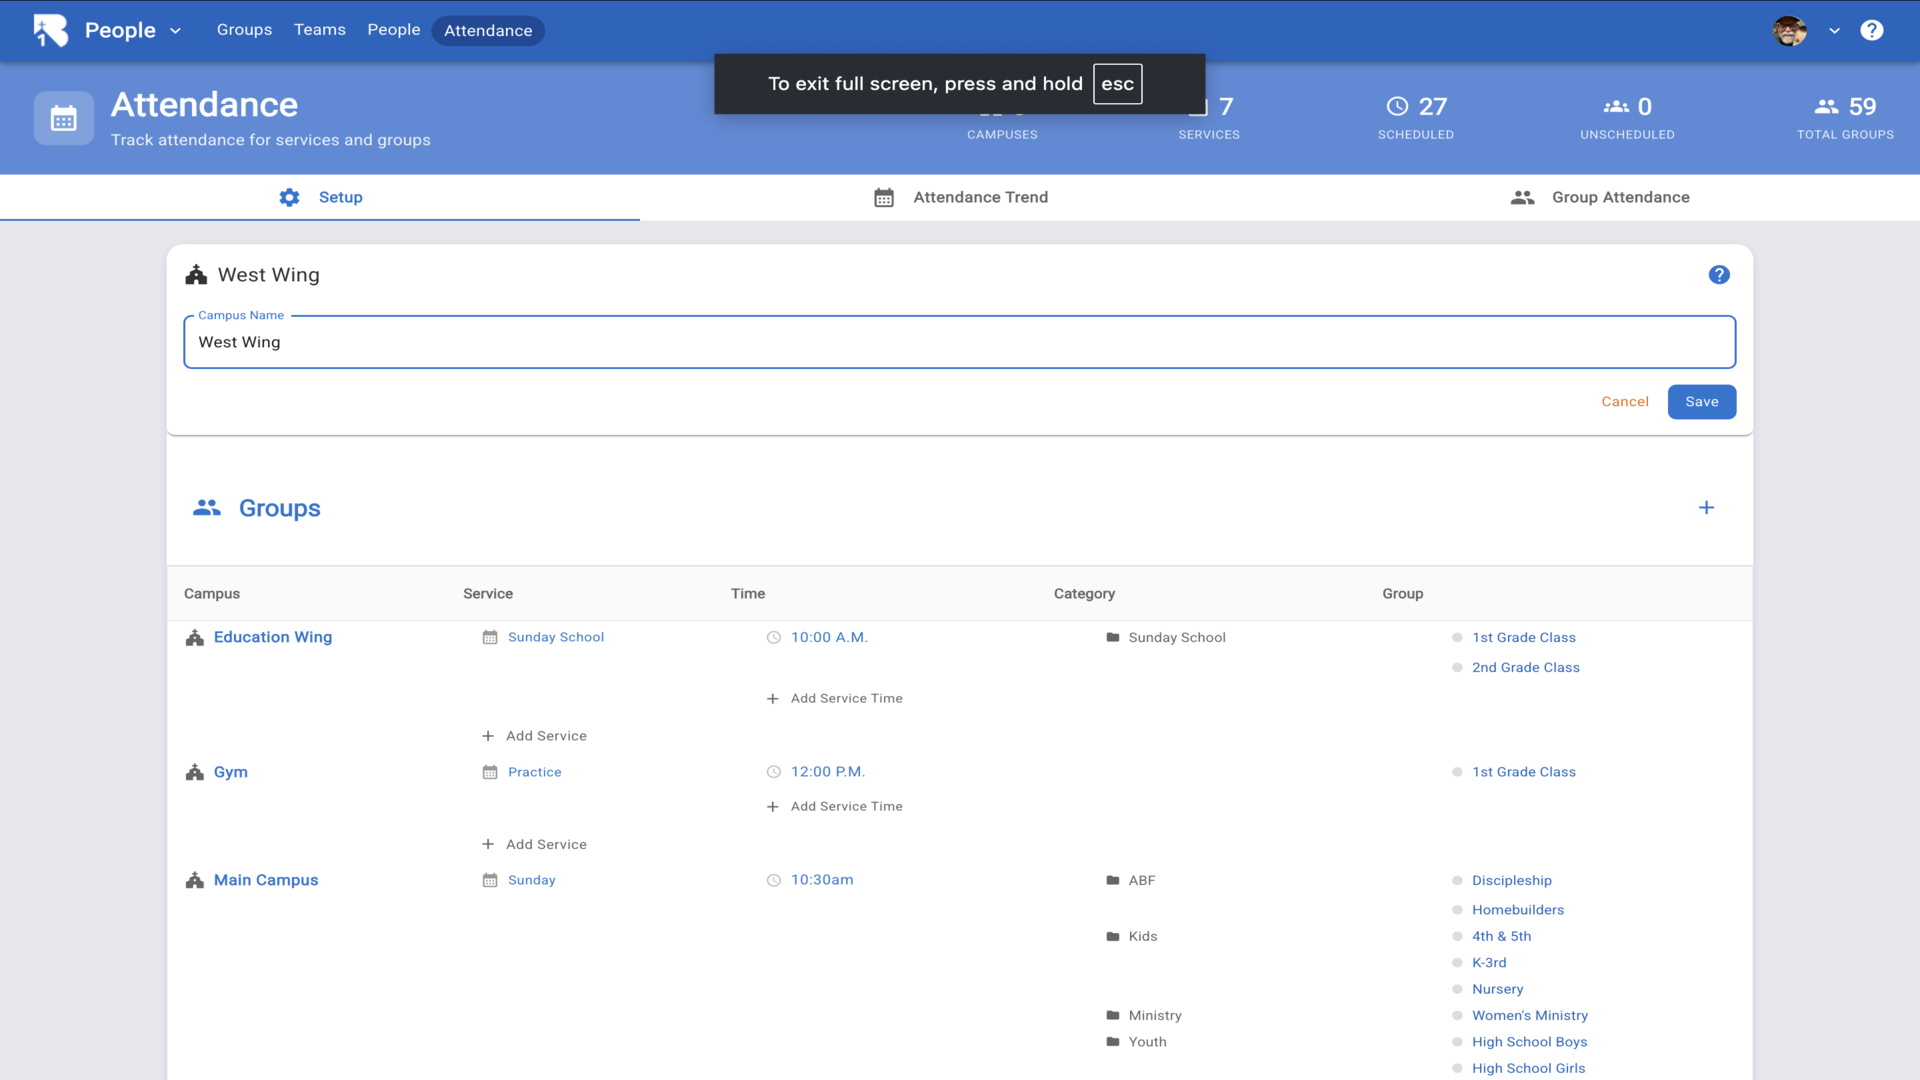
9.Click the plus icon in the top right to add a new campus.▼
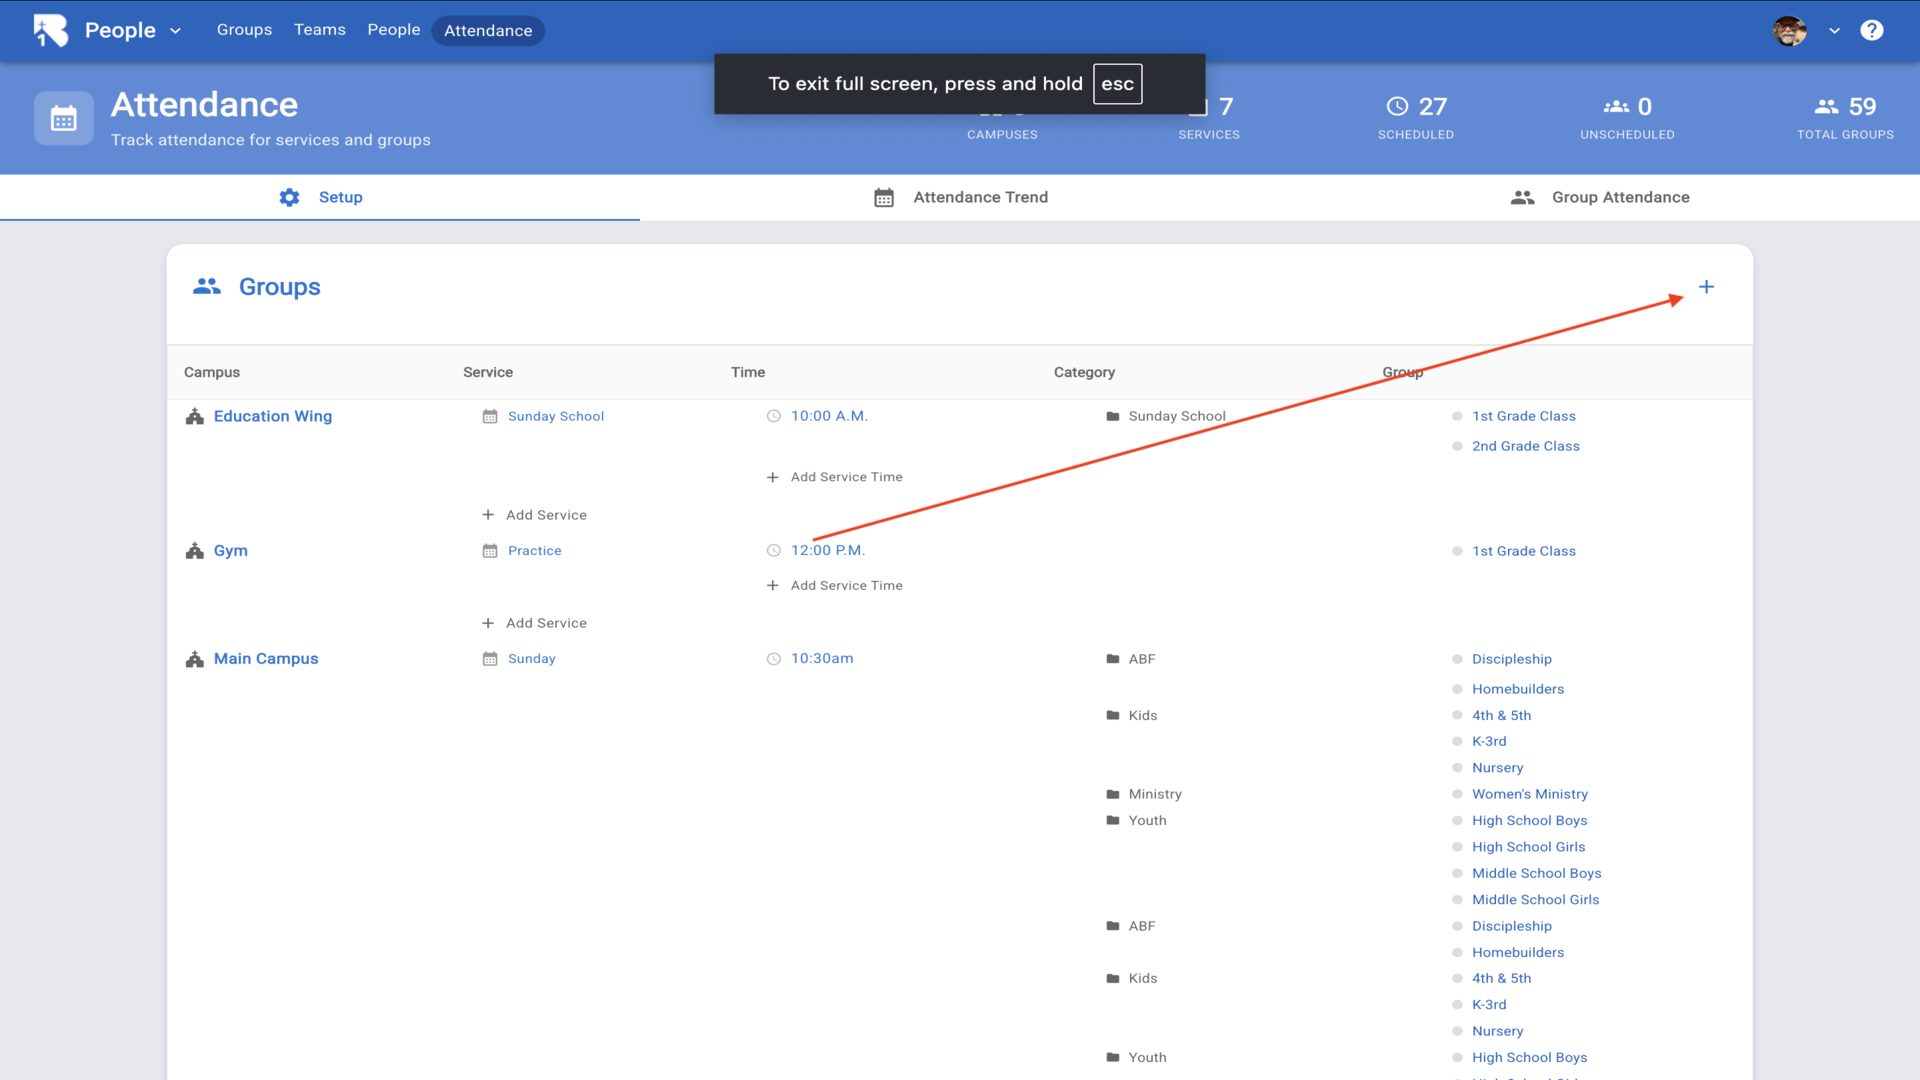
10.Enter the name of your campus and click Save.▼
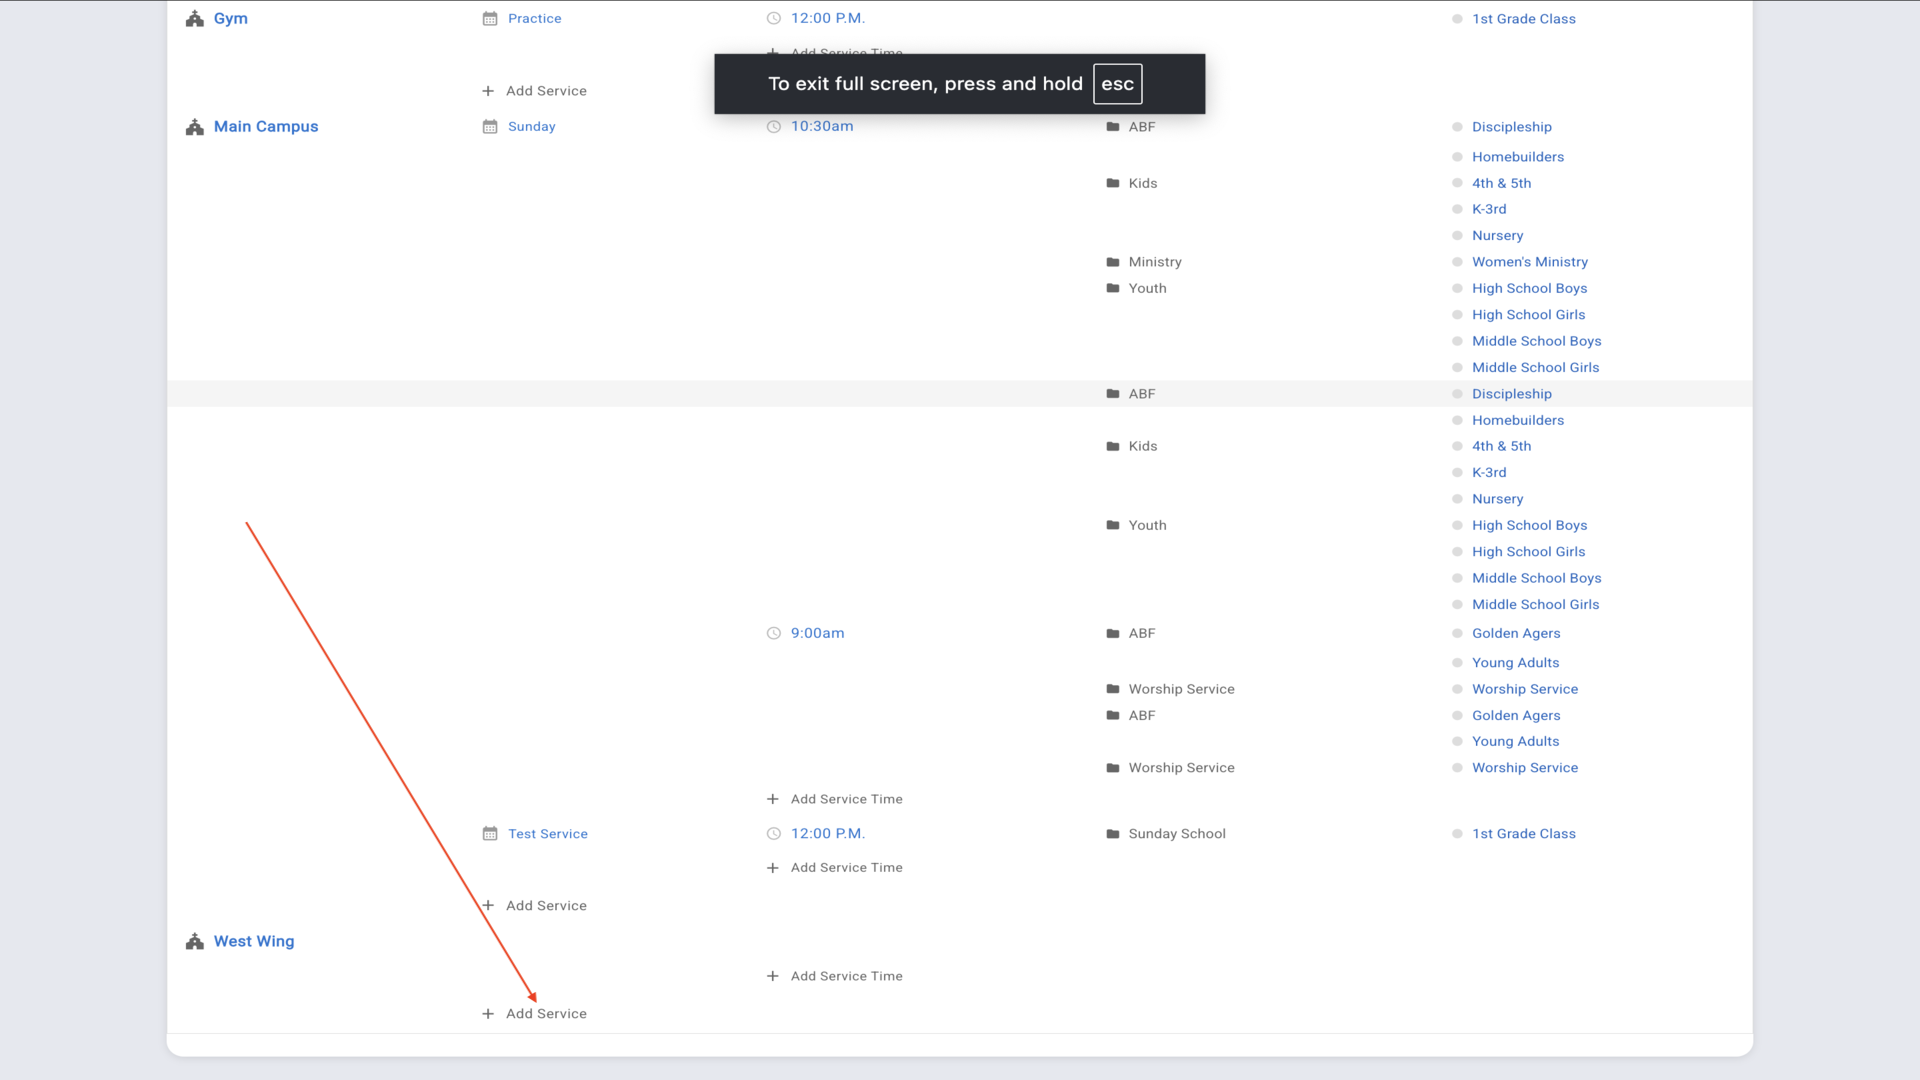
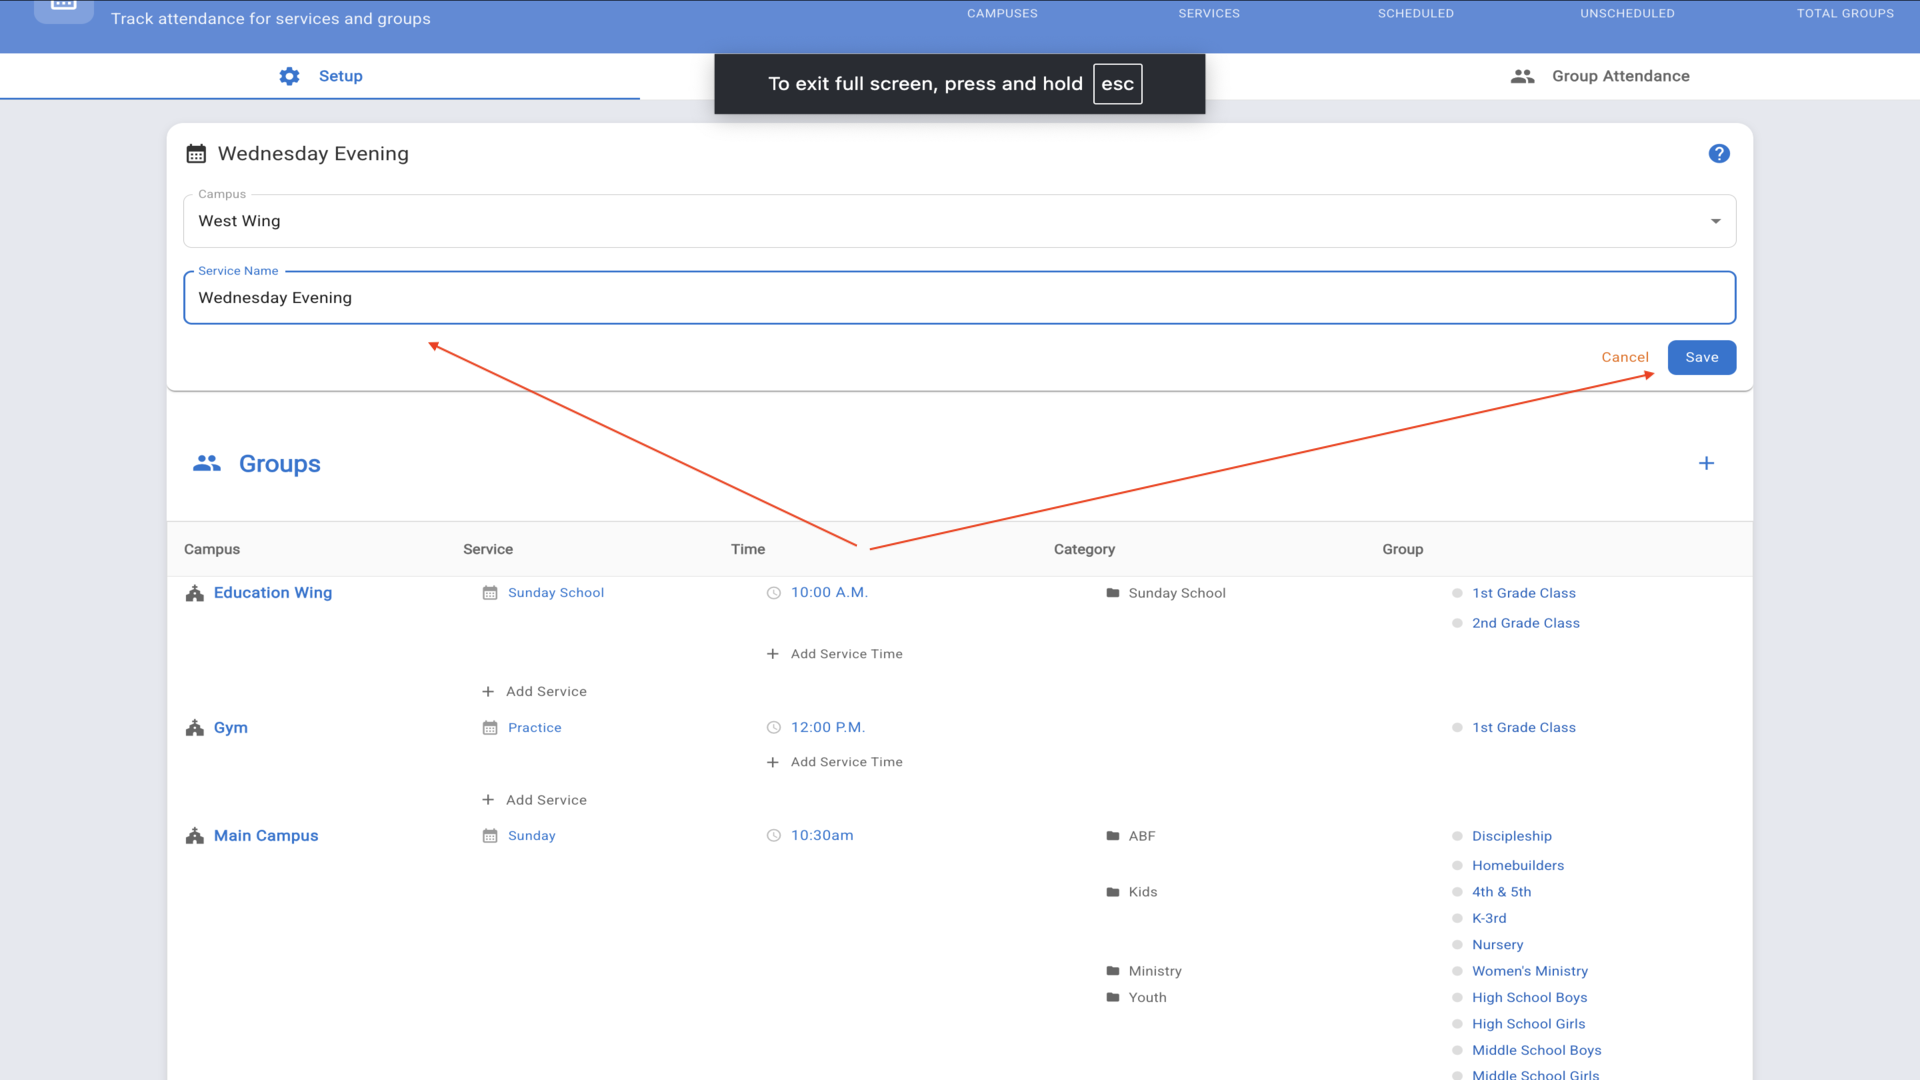
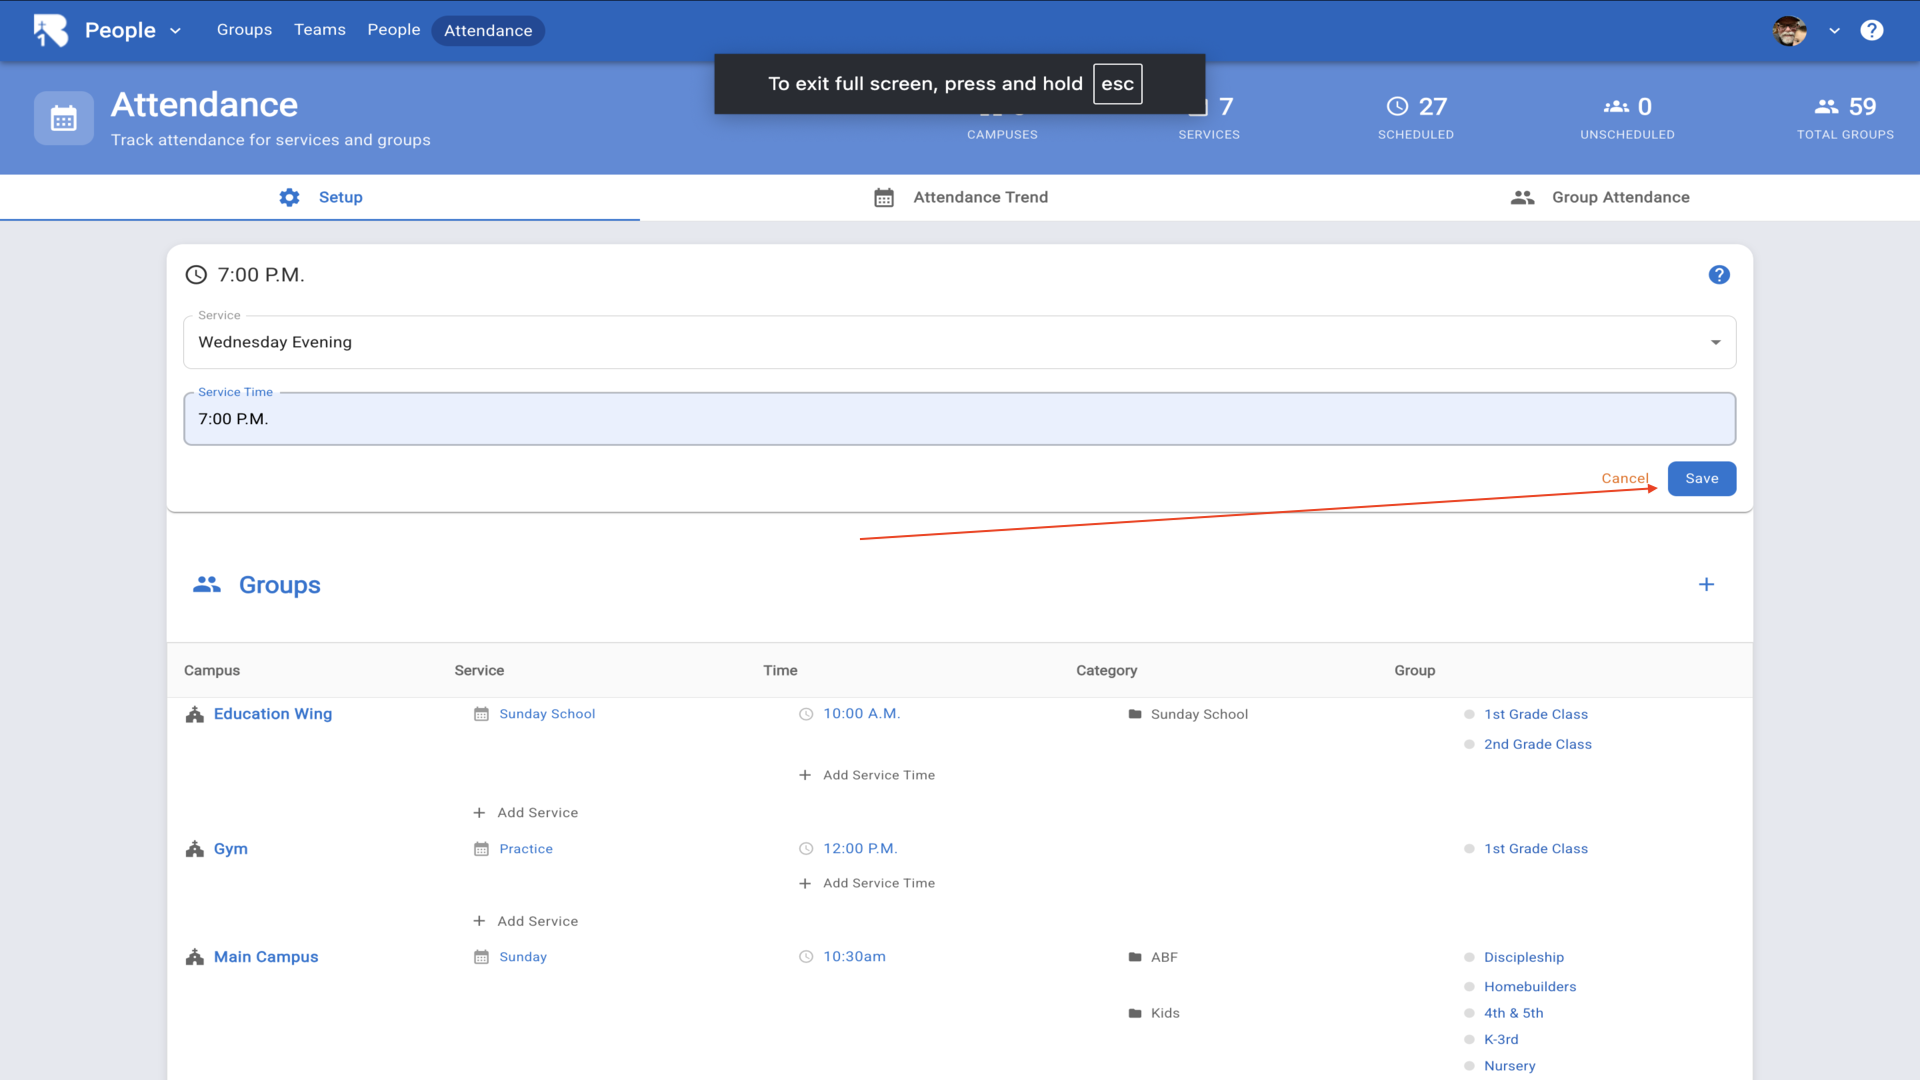
11.Now click Add Service under your new campus to create a service.▼
12.Enter the service name and click Save.▼
13.Click Add Service Time to add the time for this service.▼
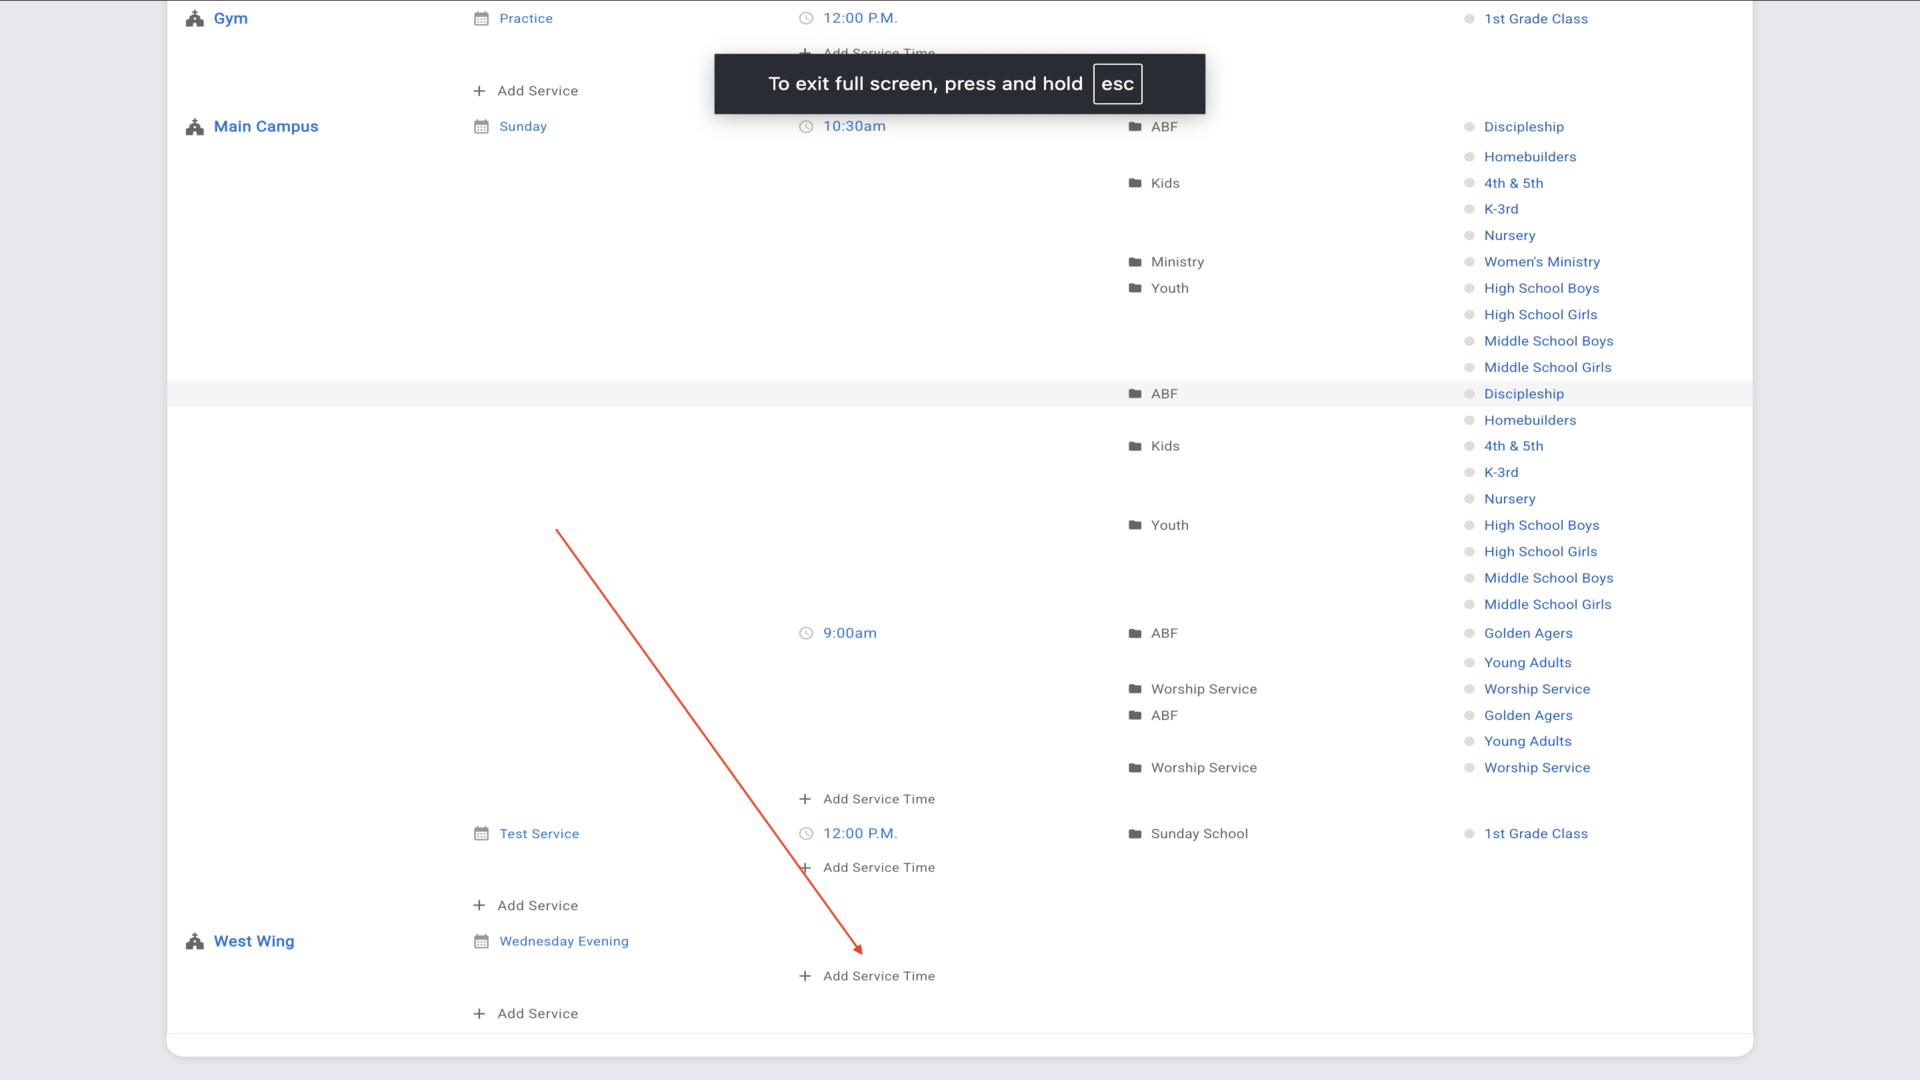
14.Enter the service time and click Save.▼
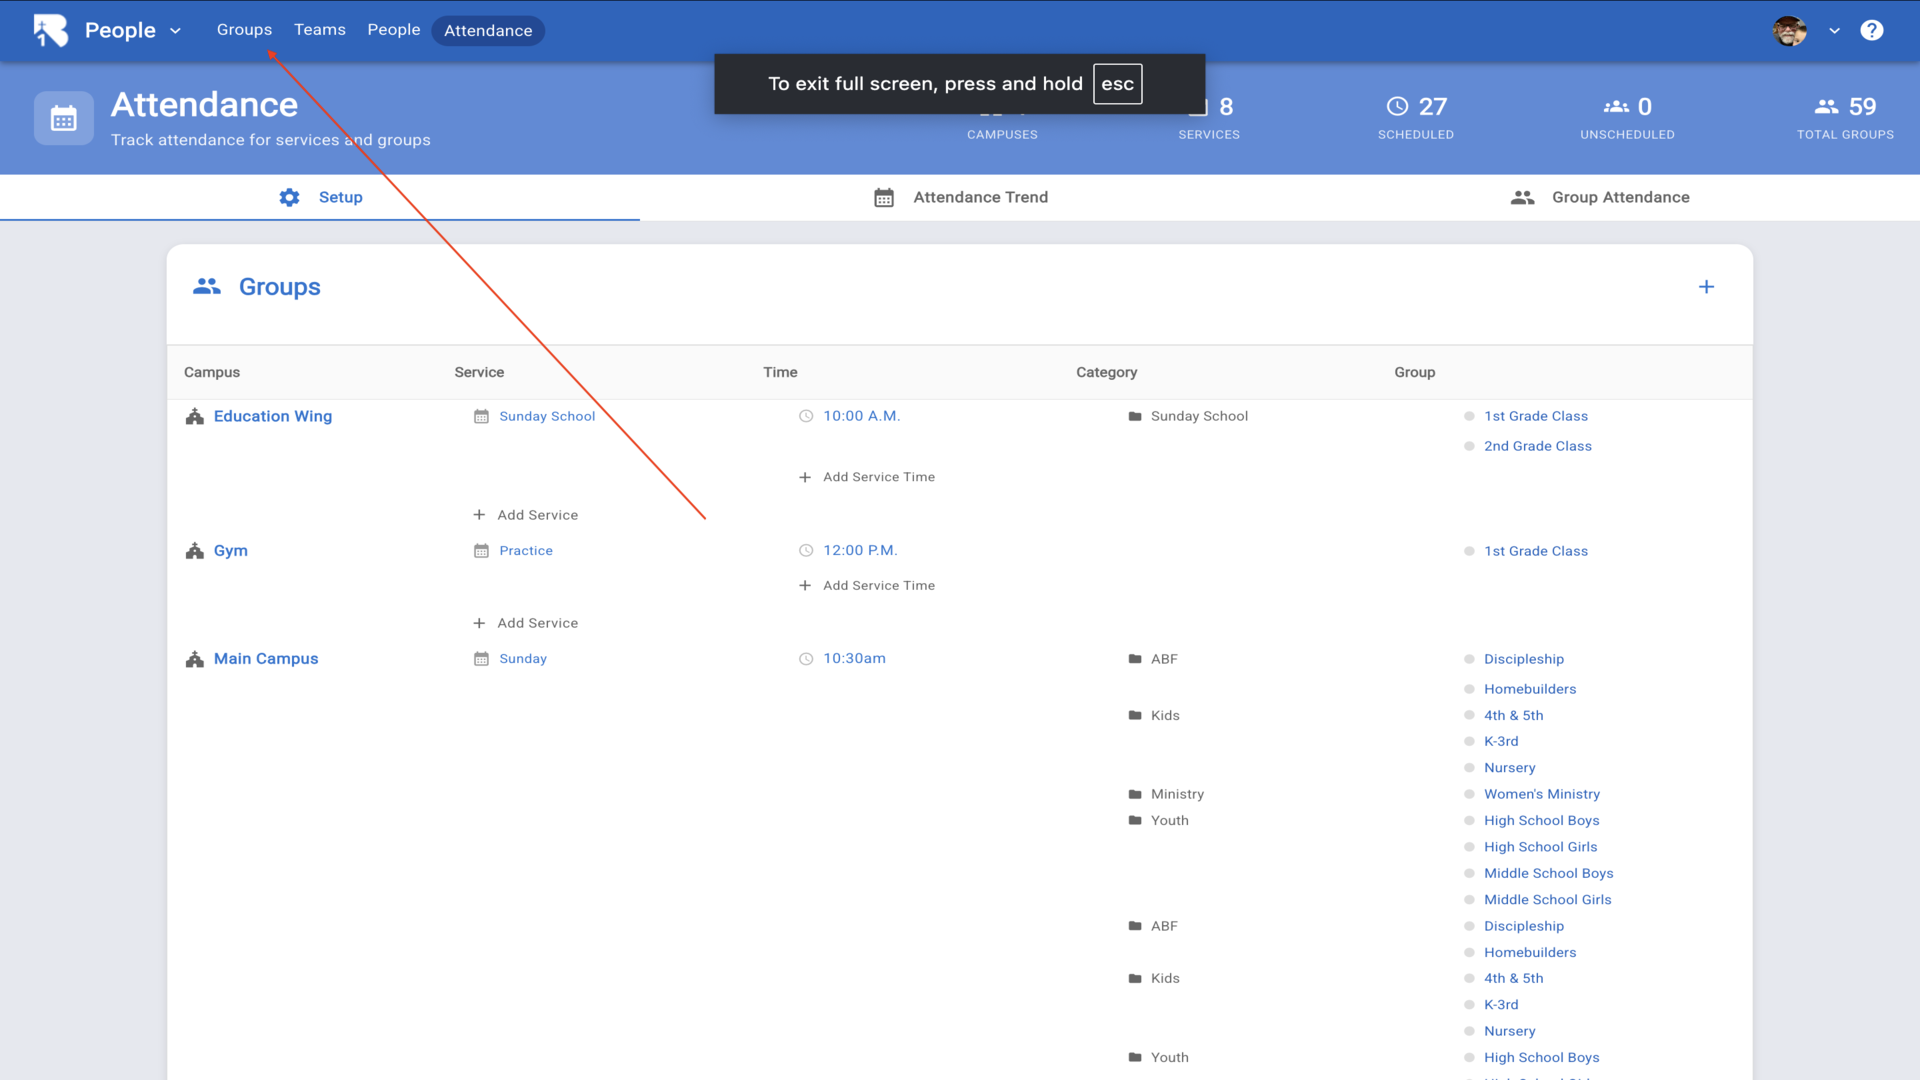
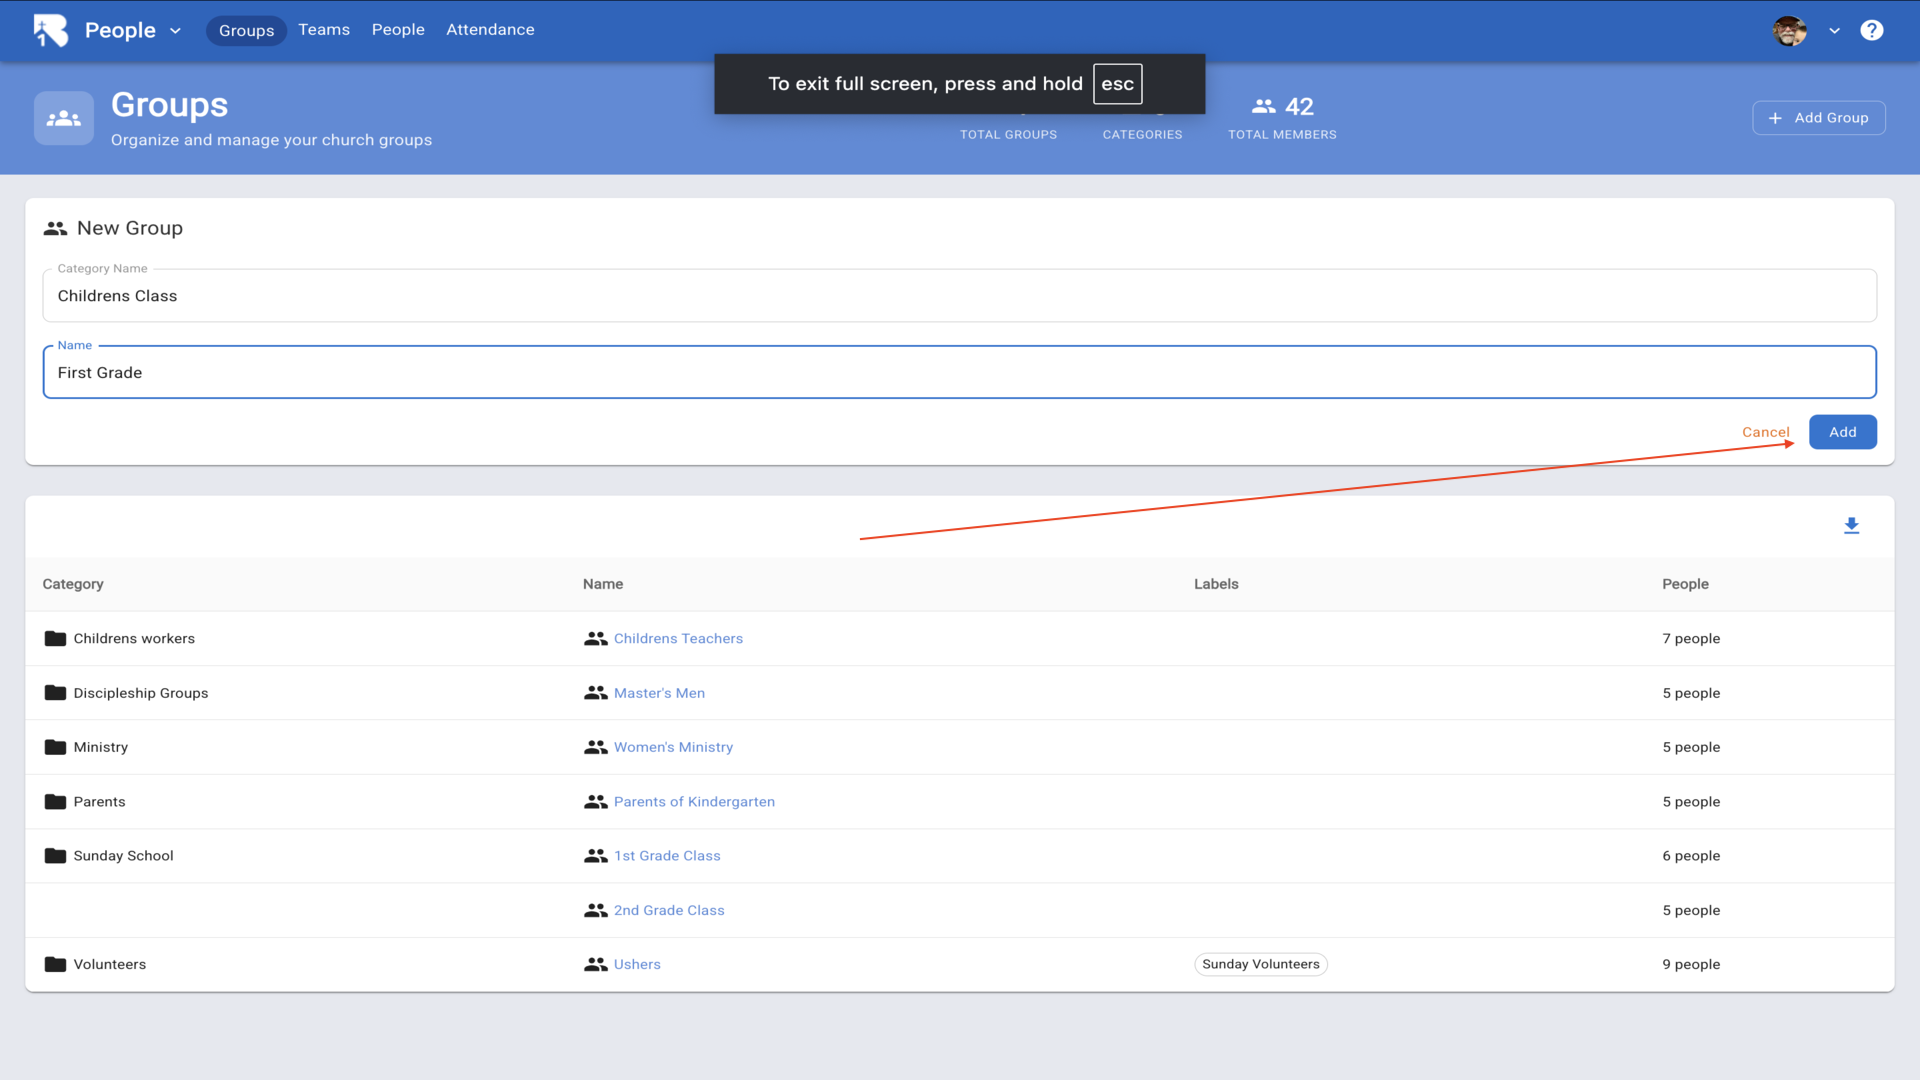
15.Now click on Groups in the top navigation to create groups for check-in.▼
16.Click the Add Group button to create a new group.▼

17.Select an existing category or choose Add New to create a new category.▼
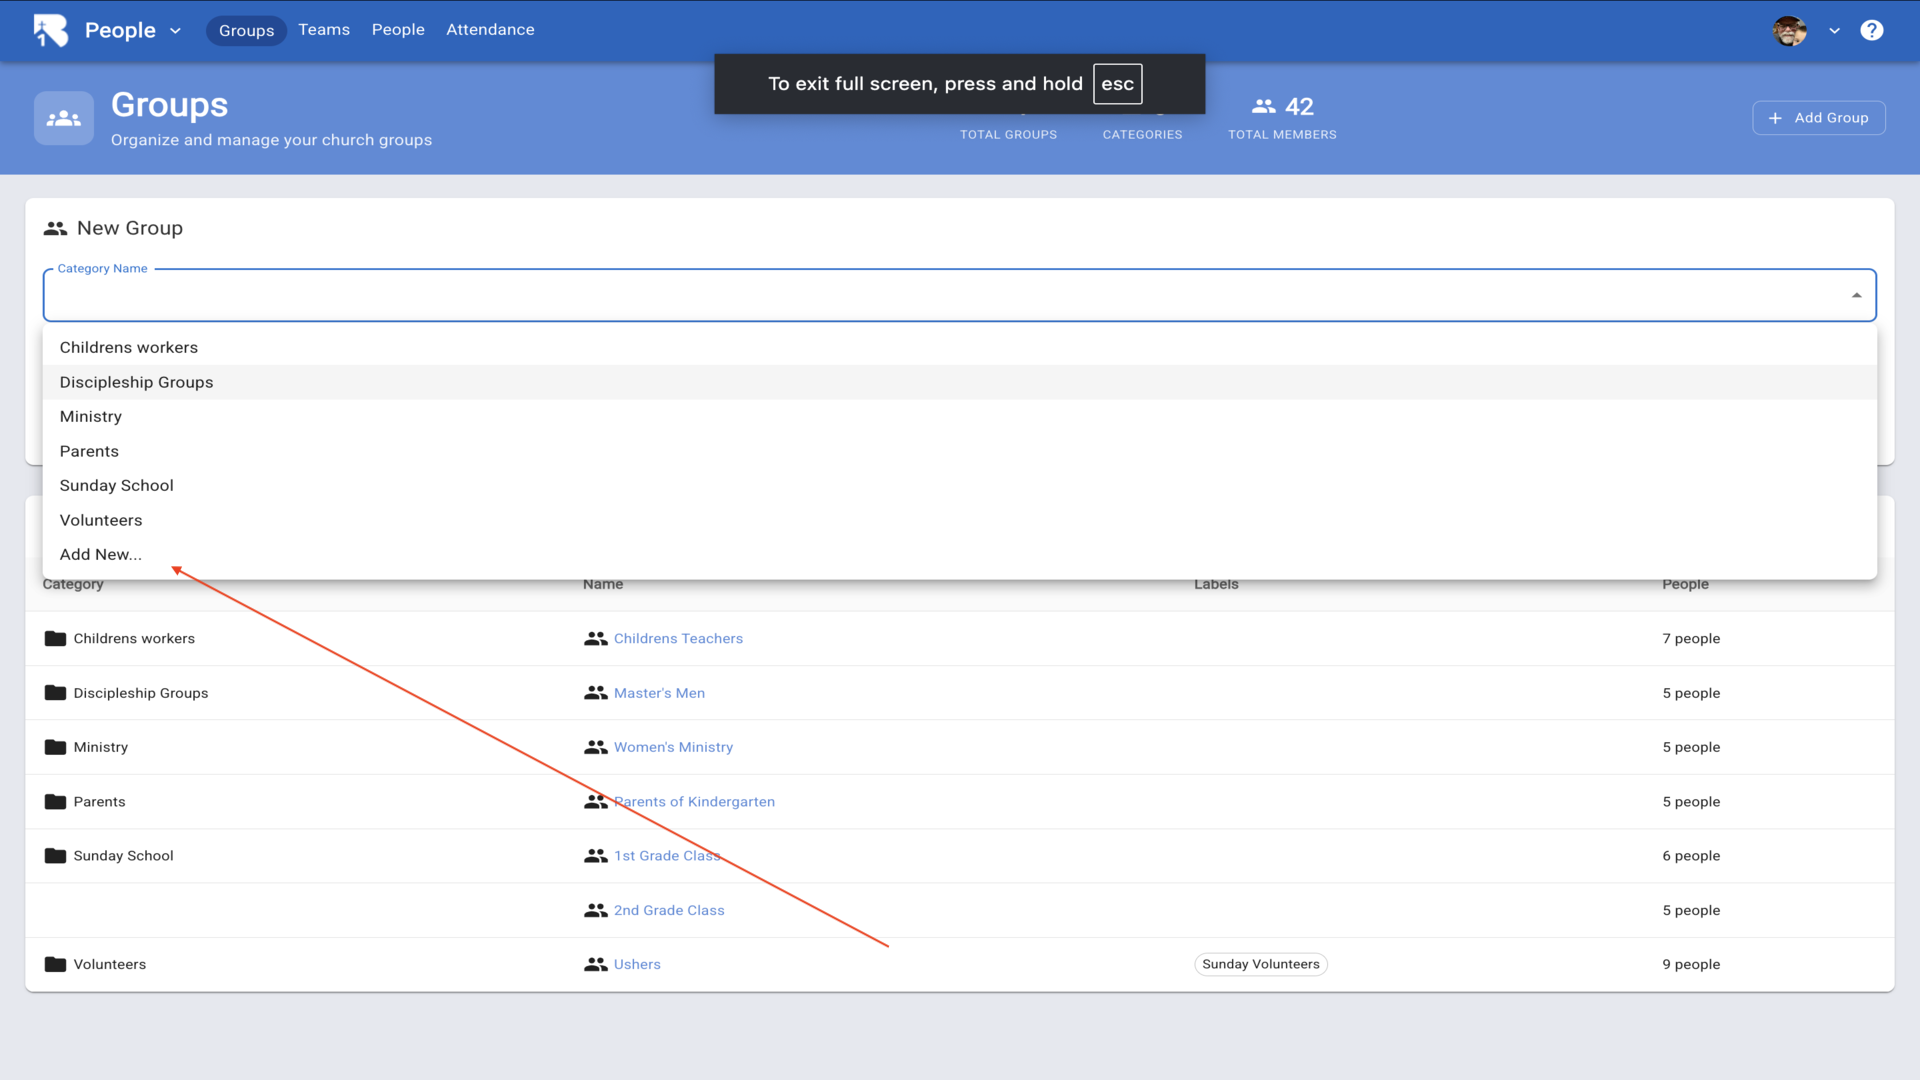
18.Enter the category name and group name, then click Add.▼
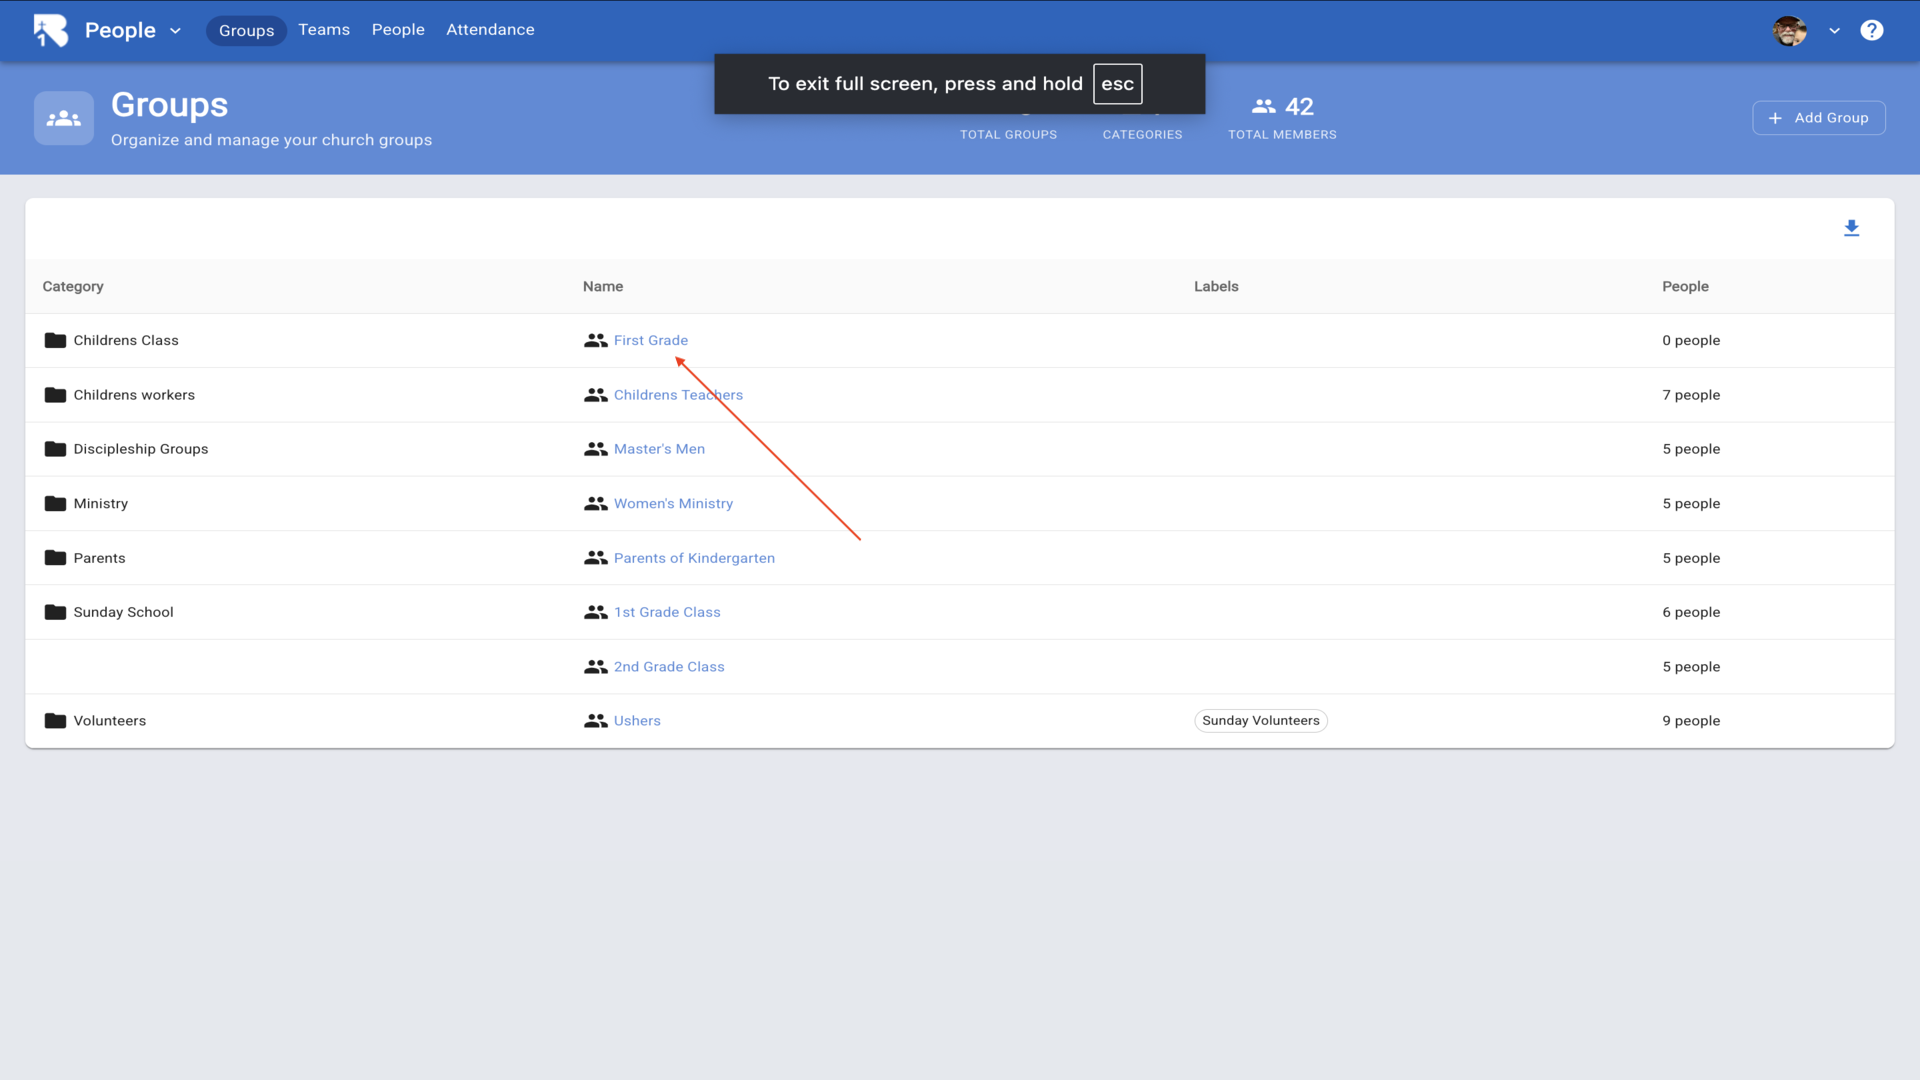
19.Click on the group you just created to configure it for check-in.▼
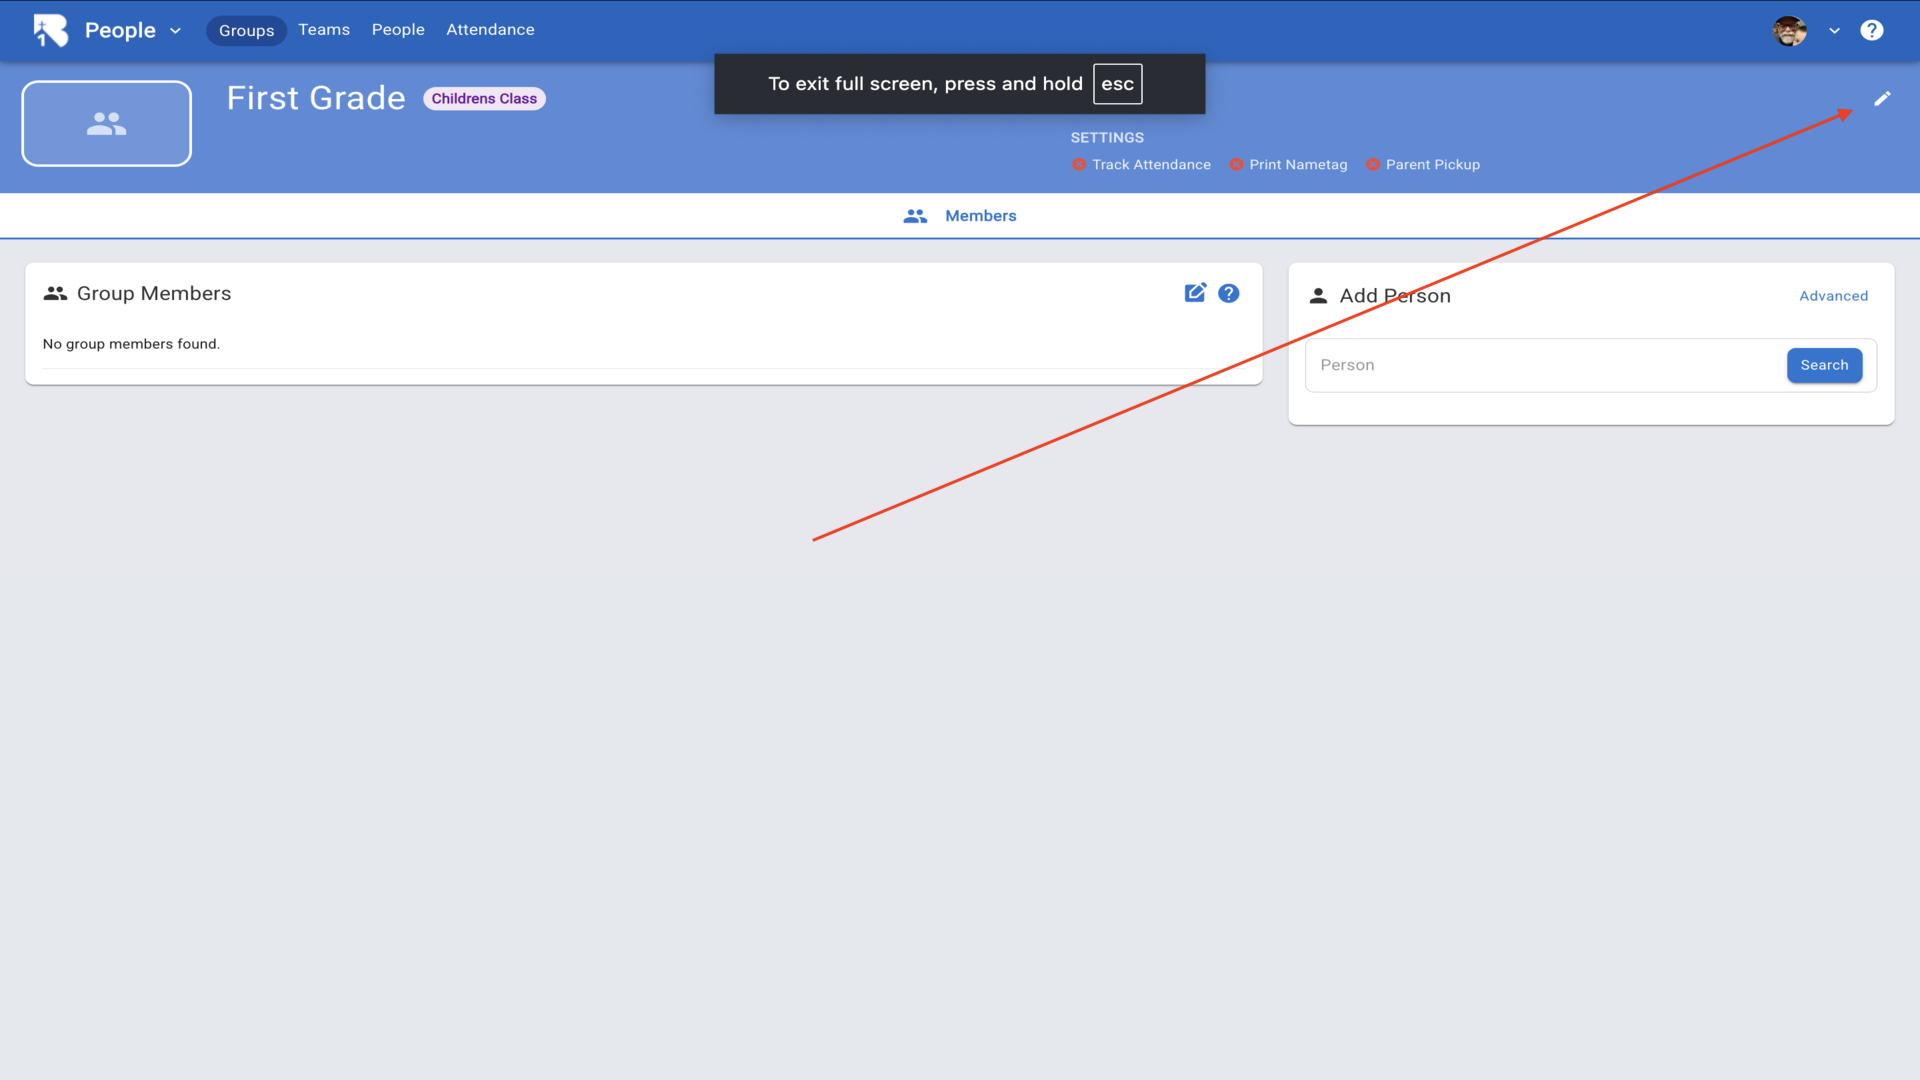
20.Click the edit pencil to modify the group settings.▼
21.Configure your attendance settings. Set Track Attendance to Yes to track who attends. Set Parent Pickup and Print Nametag to Yes if you want to print kid and parent tags at check-in.▼
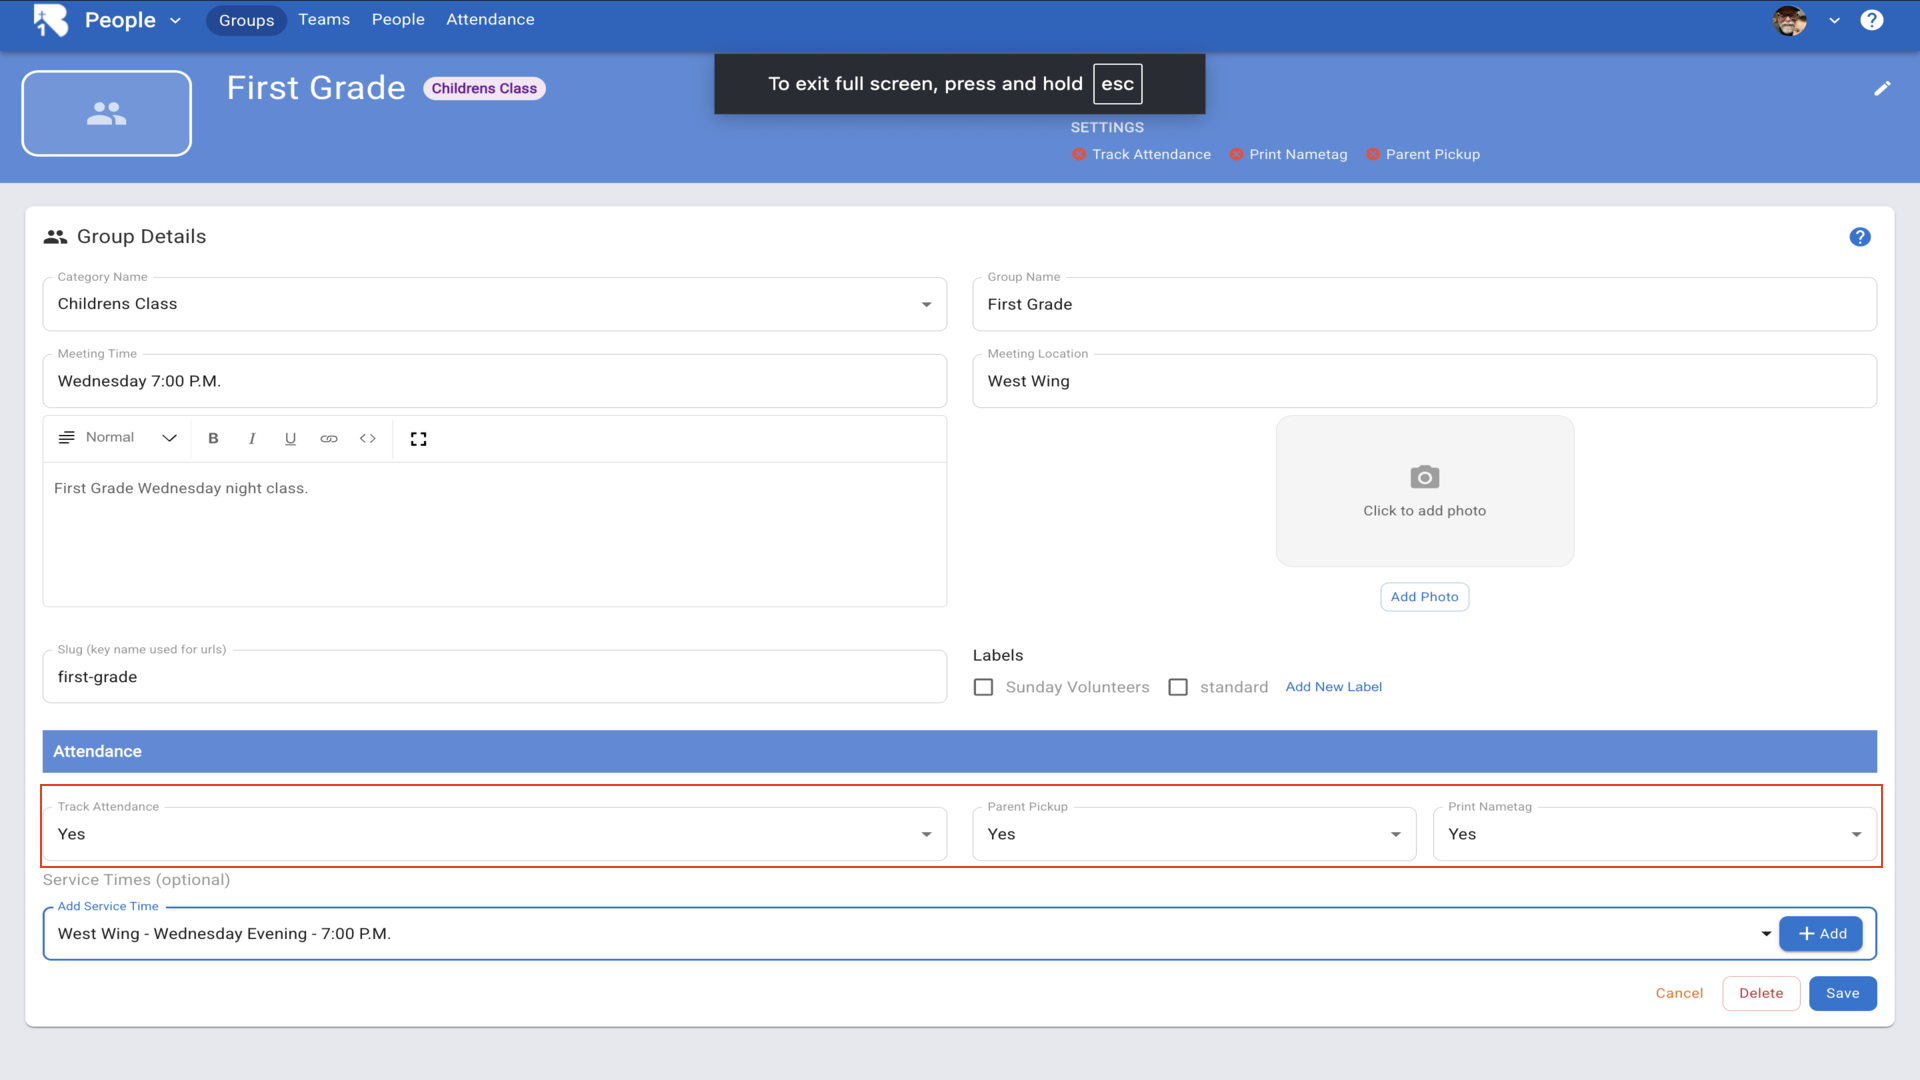
22.Select any labels that apply to this group, then choose a service time from the dropdown.▼
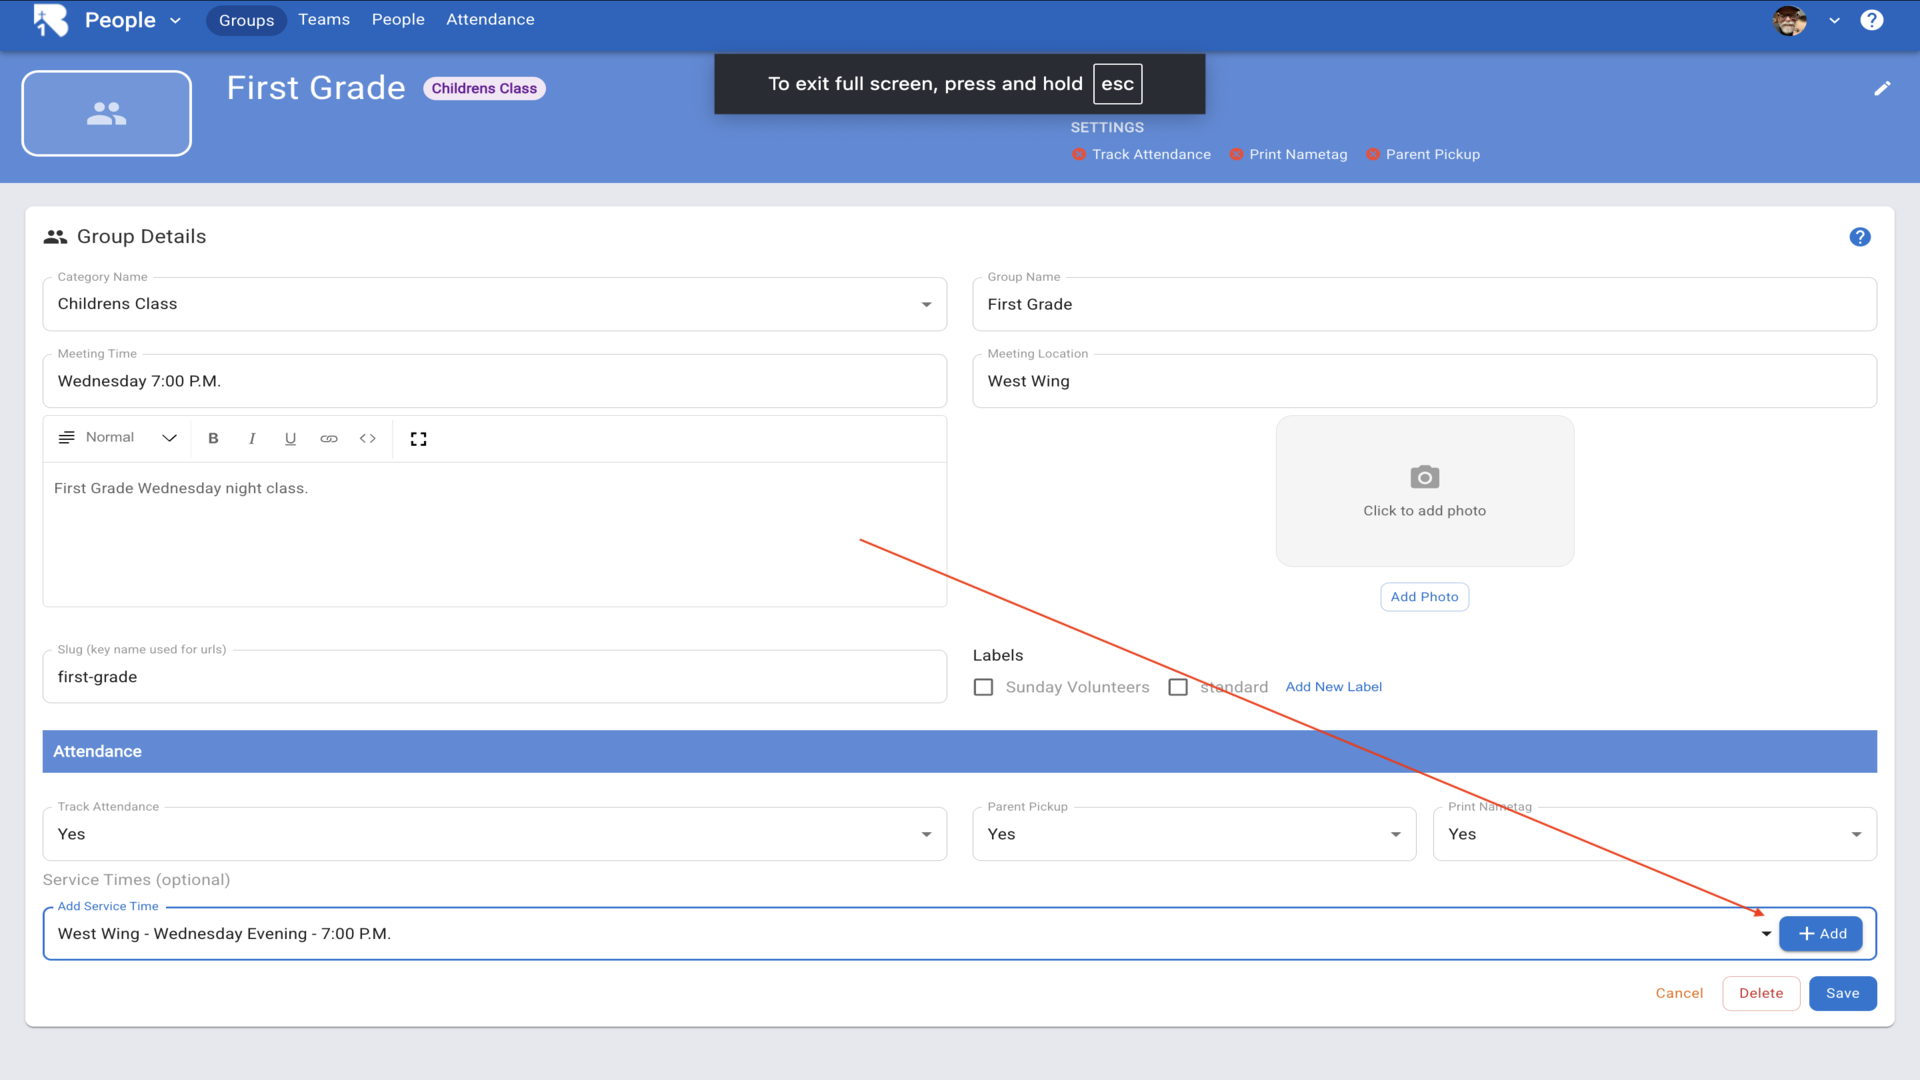
23.Click Add to include the service time, then click Save. Your group is now ready for check-in.▼

📱 Quick Setup Guide
Step 1: Install the App
Download the B1.church Checkin App:
- Android/Samsung Tablets: Google Play Store
- Amazon Fire Tablets: Amazon App Store
Step 2: Configure Your Printer
Follow the printer instructions to connect it to the same WiFi network as your tablet. Watch setup video.
Step 3: Connect and Test
Watch this tutorial to connect your printer and print your first name tag:
🛒 What You’ll Need
Tablets
Any of these will work with the app:
- Compact: Samsung Galaxy Tab A7 Lite 8.7”
- Large Screen: Samsung Galaxy Tab A8 10.5”
- Budget: Amazon Fire HD 10
Printers
Check-ins only work with Brother Printers:
- Best: Brother QL-1110NWB - Multiple tablets, Bluetooth + WiFi
- Good: Brother QL-810W - Multiple tablets, WiFi only
- Budget: Brother QL-1100 - WiFi only (untested but should work)
Labels
Only compatible labels: Brother DK-1201 (1-1/7” x 3-1/2”)