09 Forms
How to Create Forms in B1.church Admin
Steps
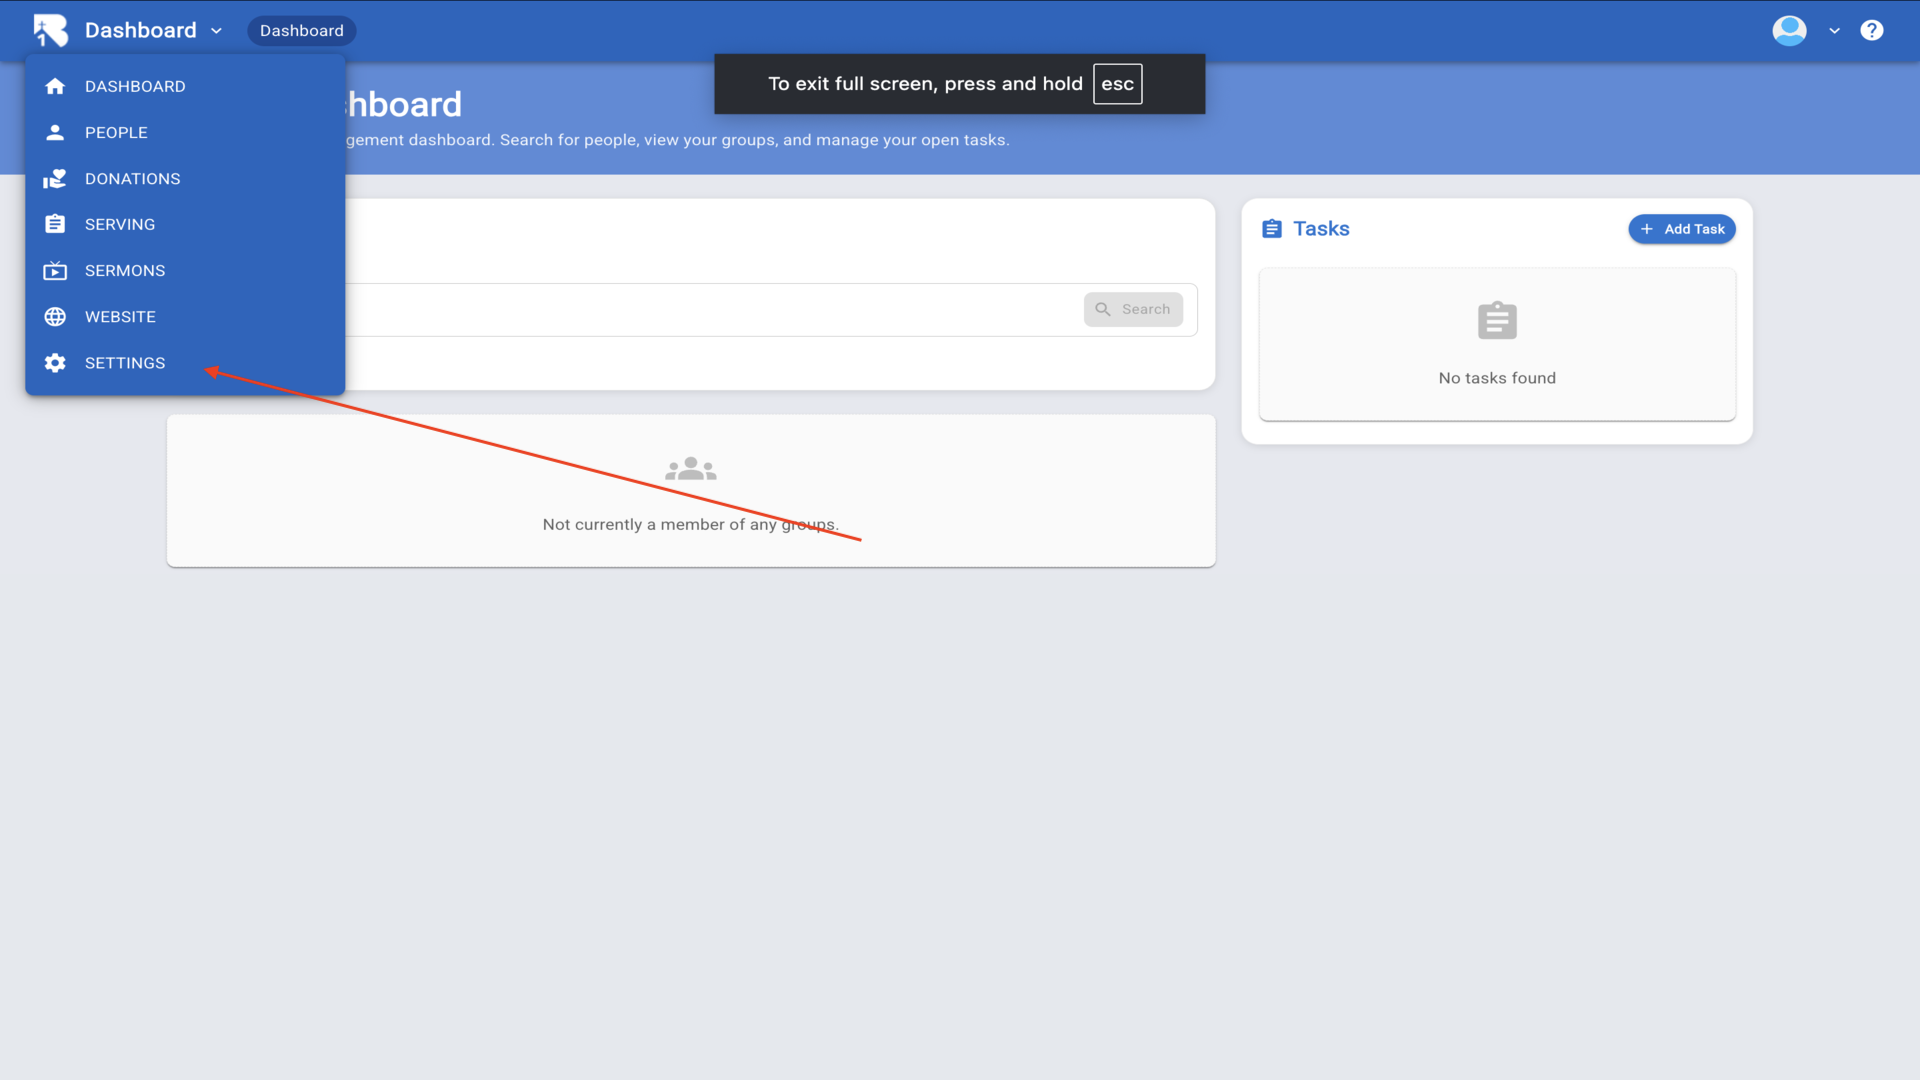
1.Click on Settings to get started with Forms▼
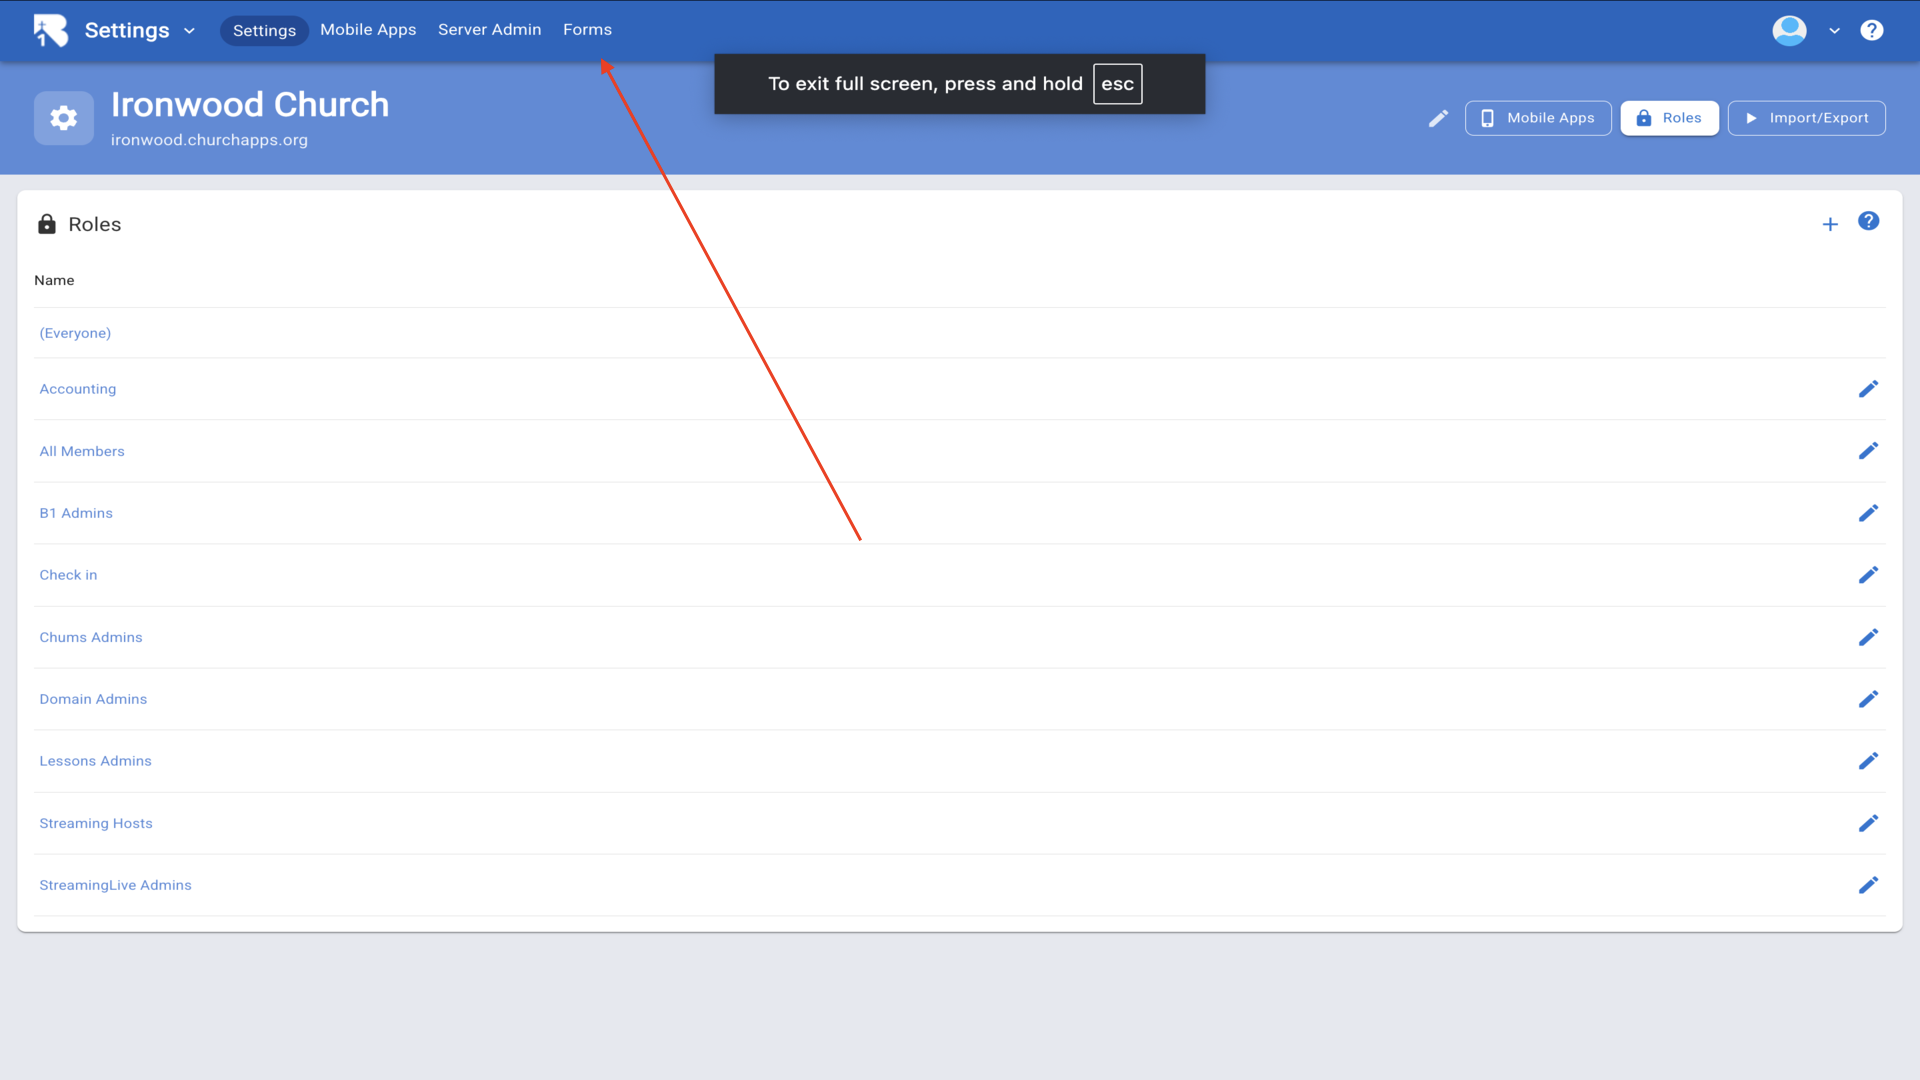
2.Click on the Forms tab in the top menu▼
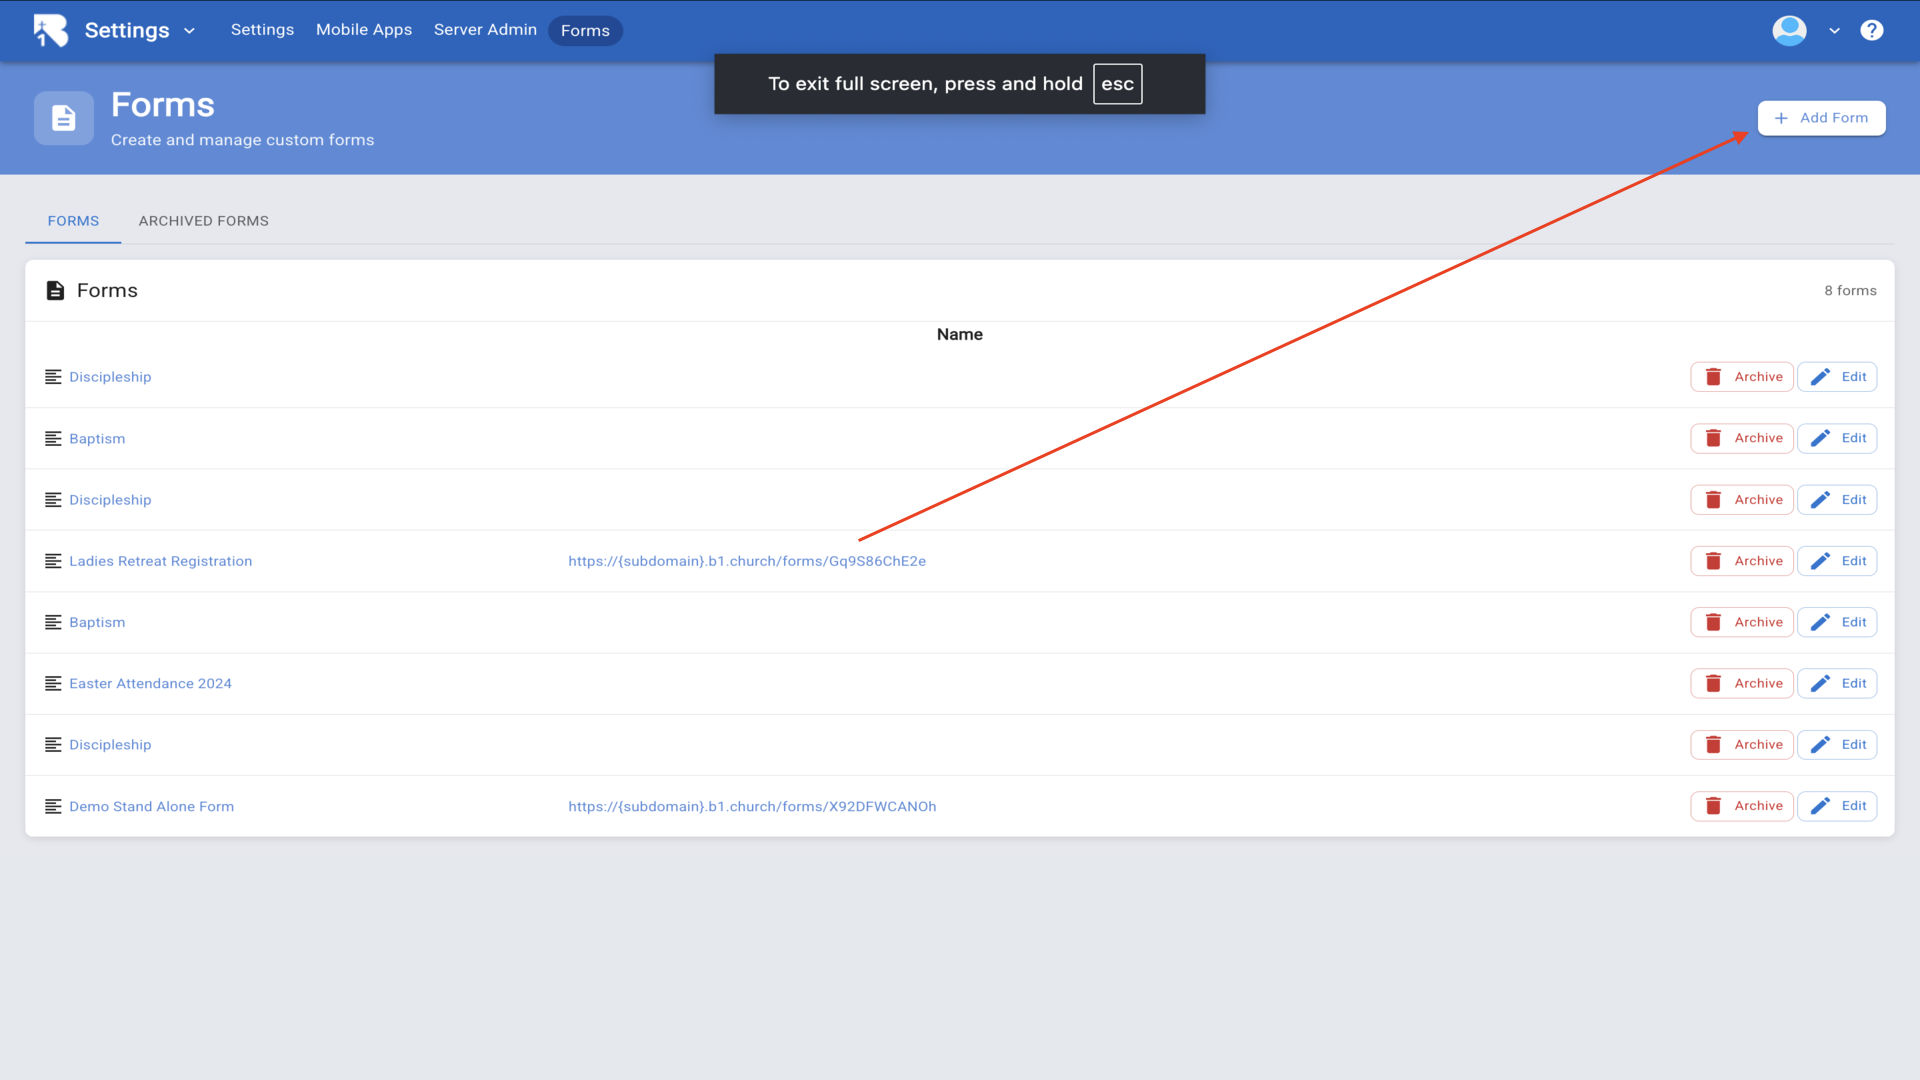
3.Click Add Form to create a new form▼
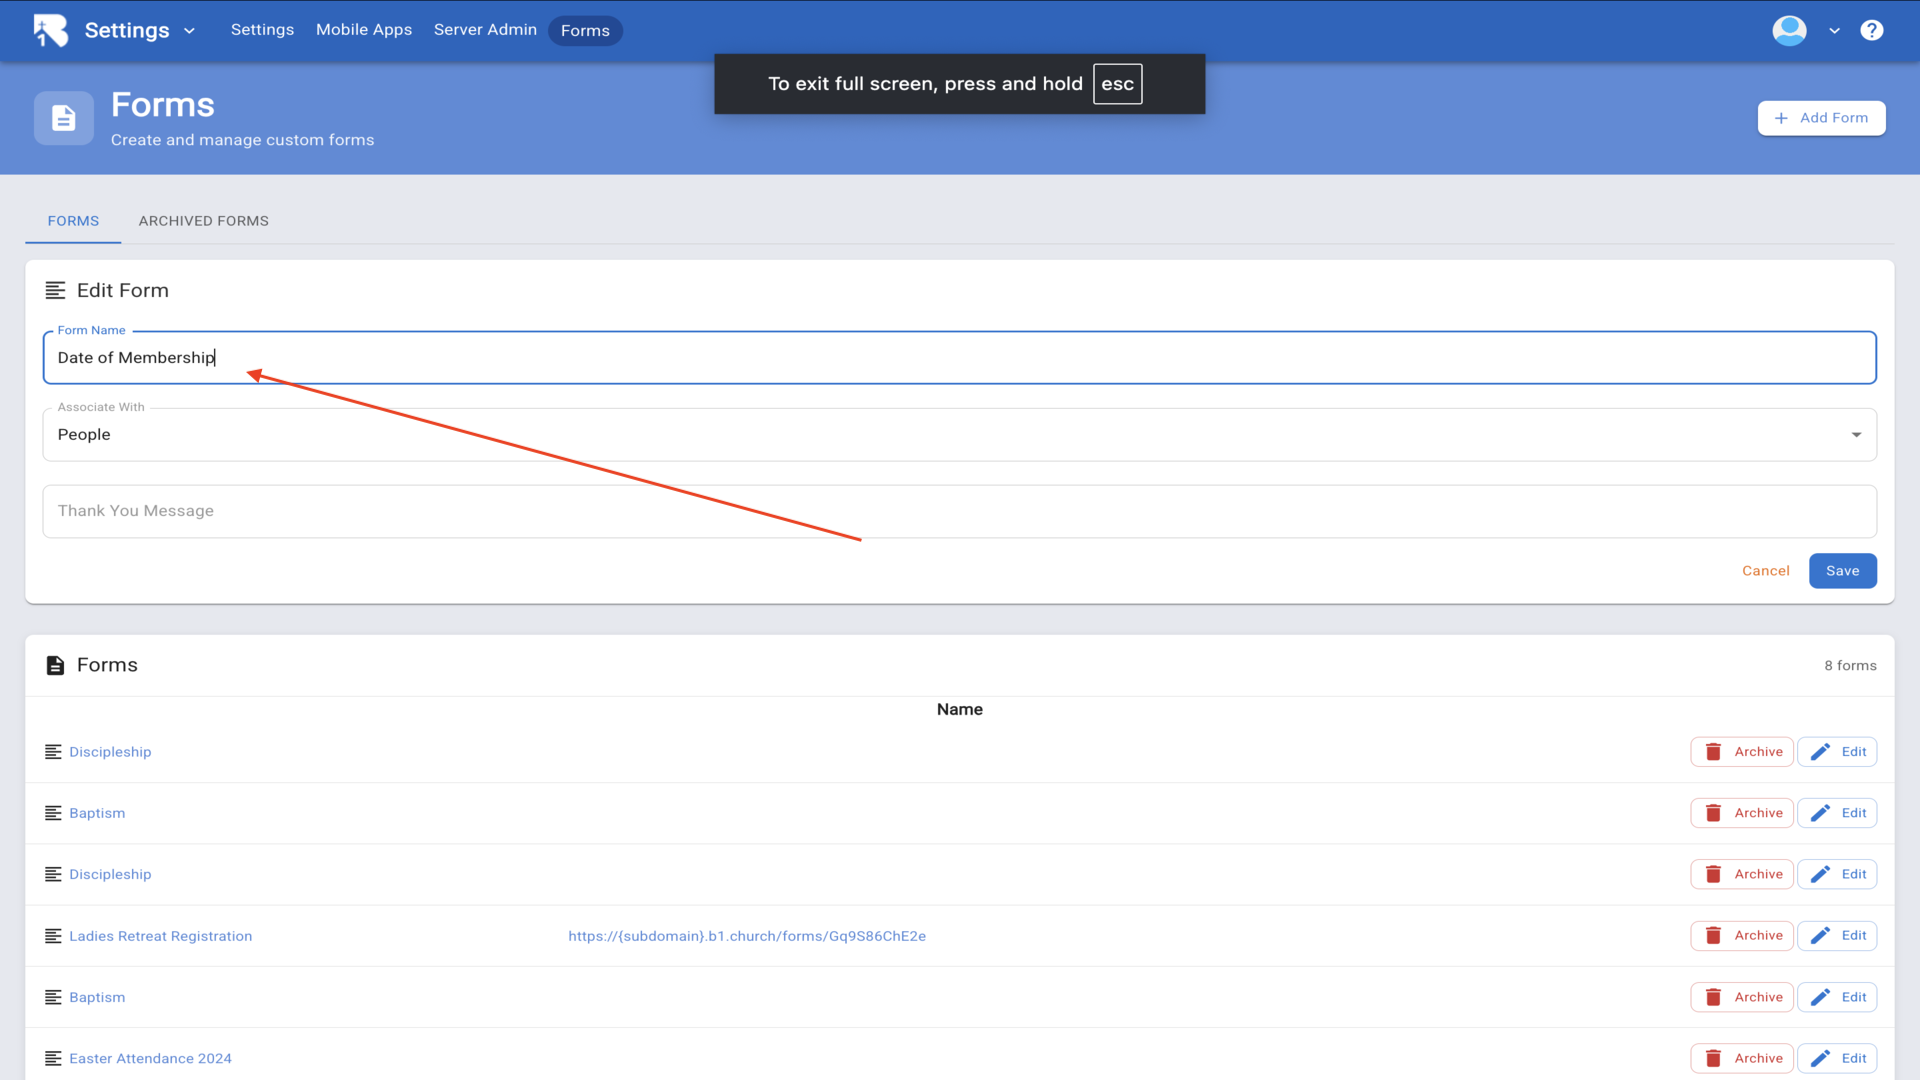
4.Enter a name for your form and associate it with People▼
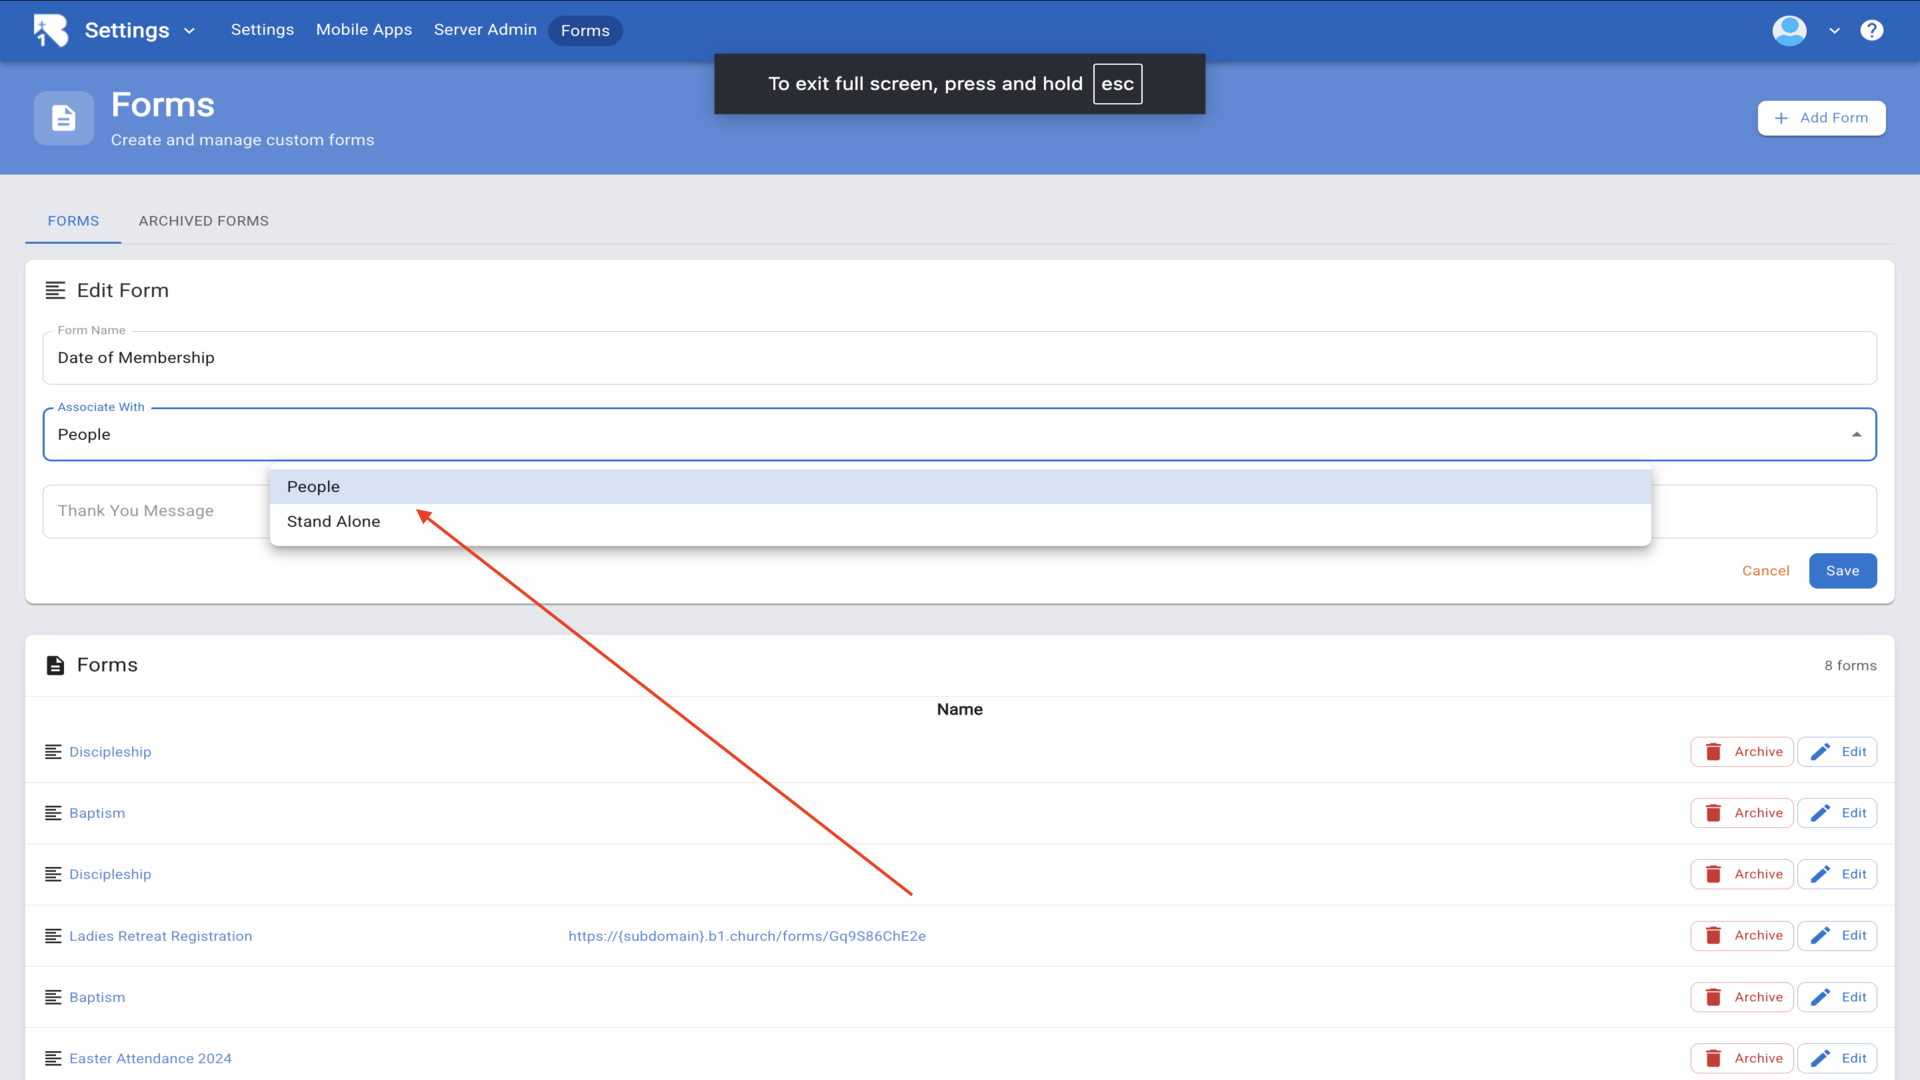
5.Choose between People or Stand Alone from the dropdown▼
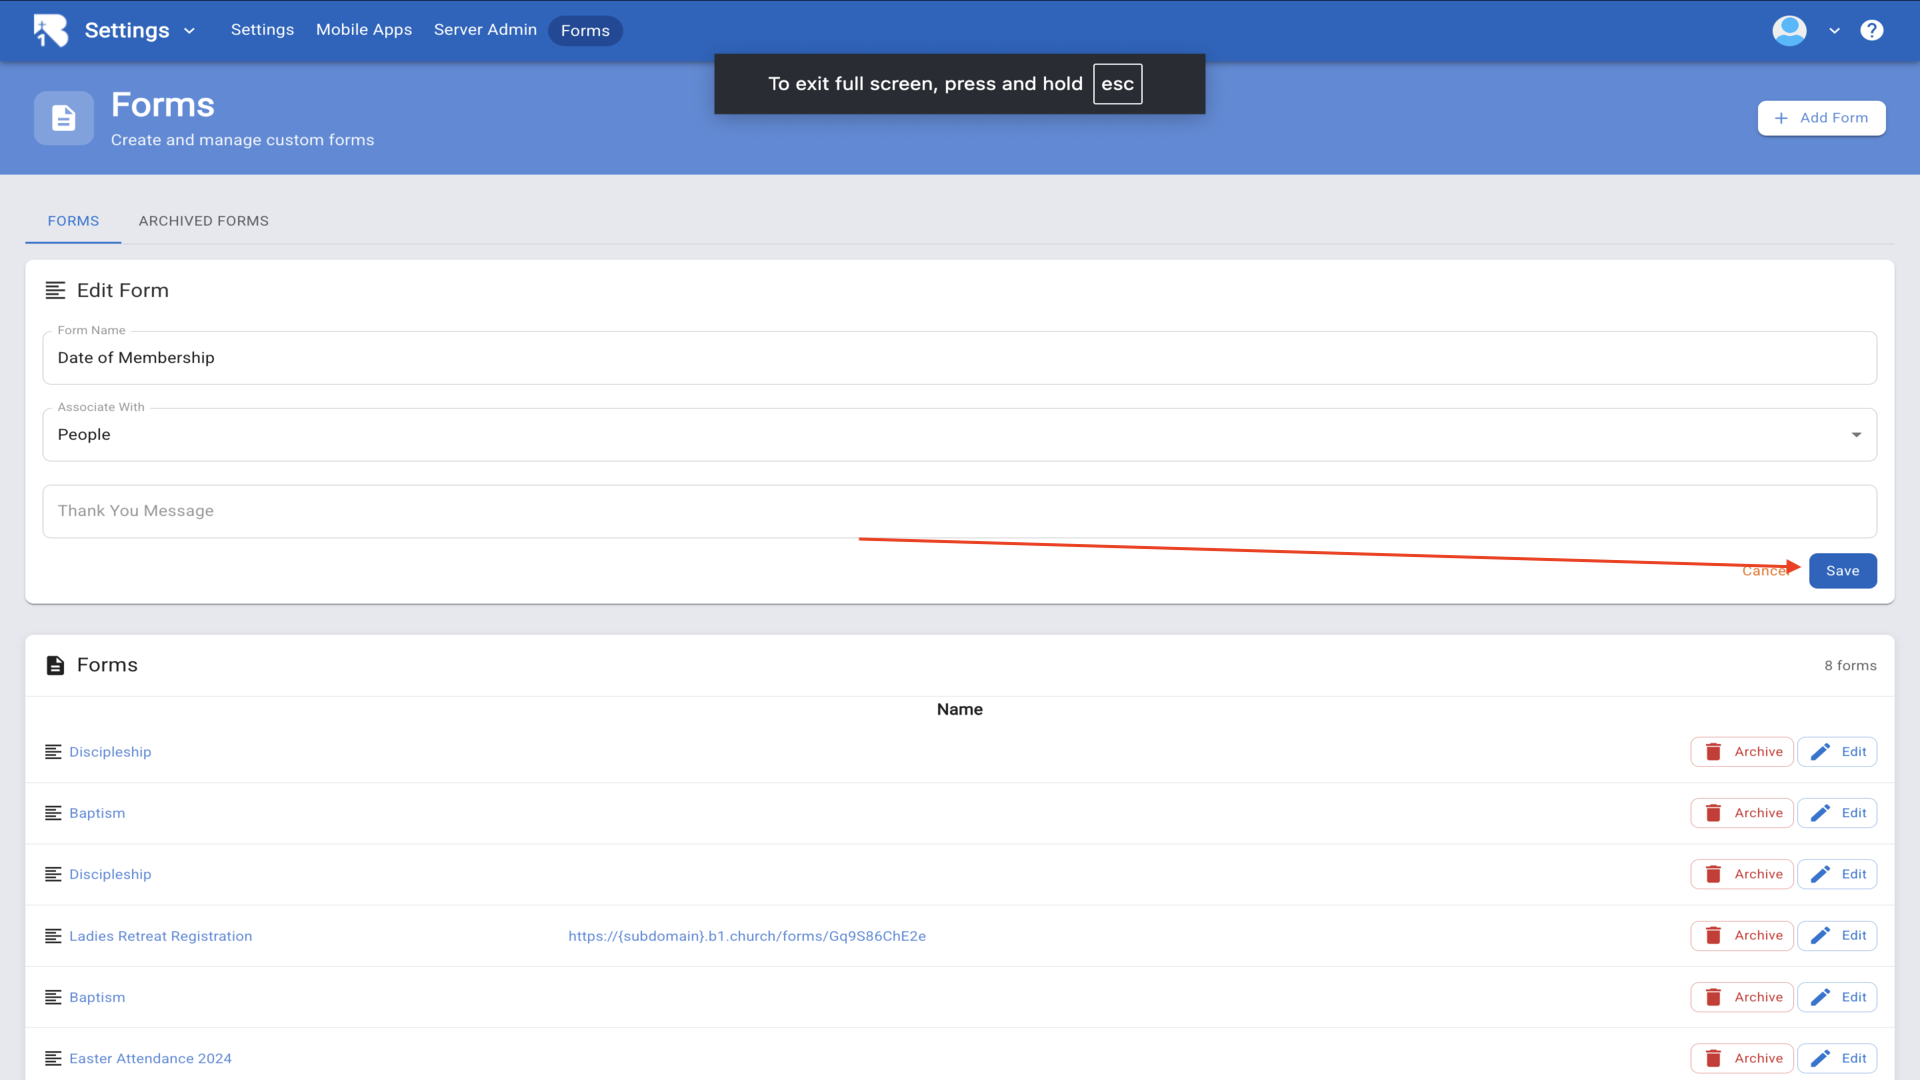
6.Click Save to create your form▼
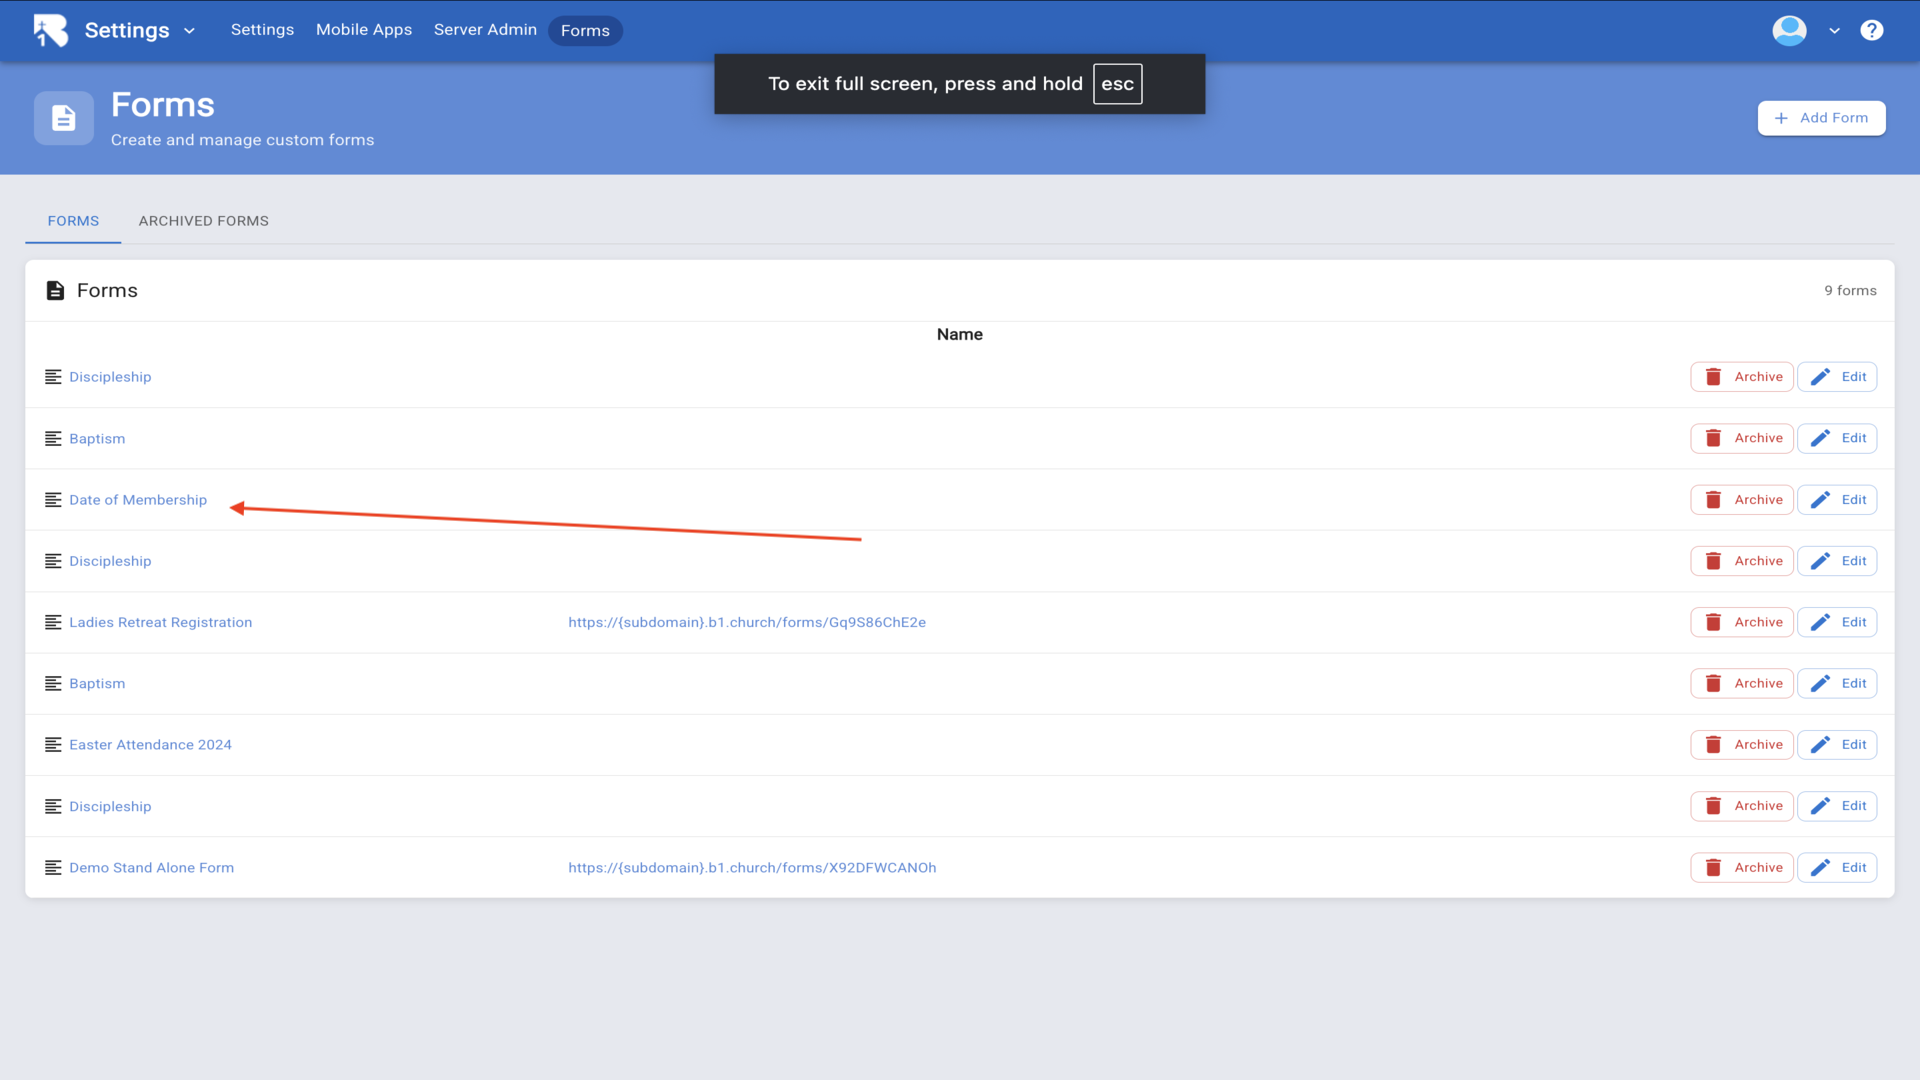
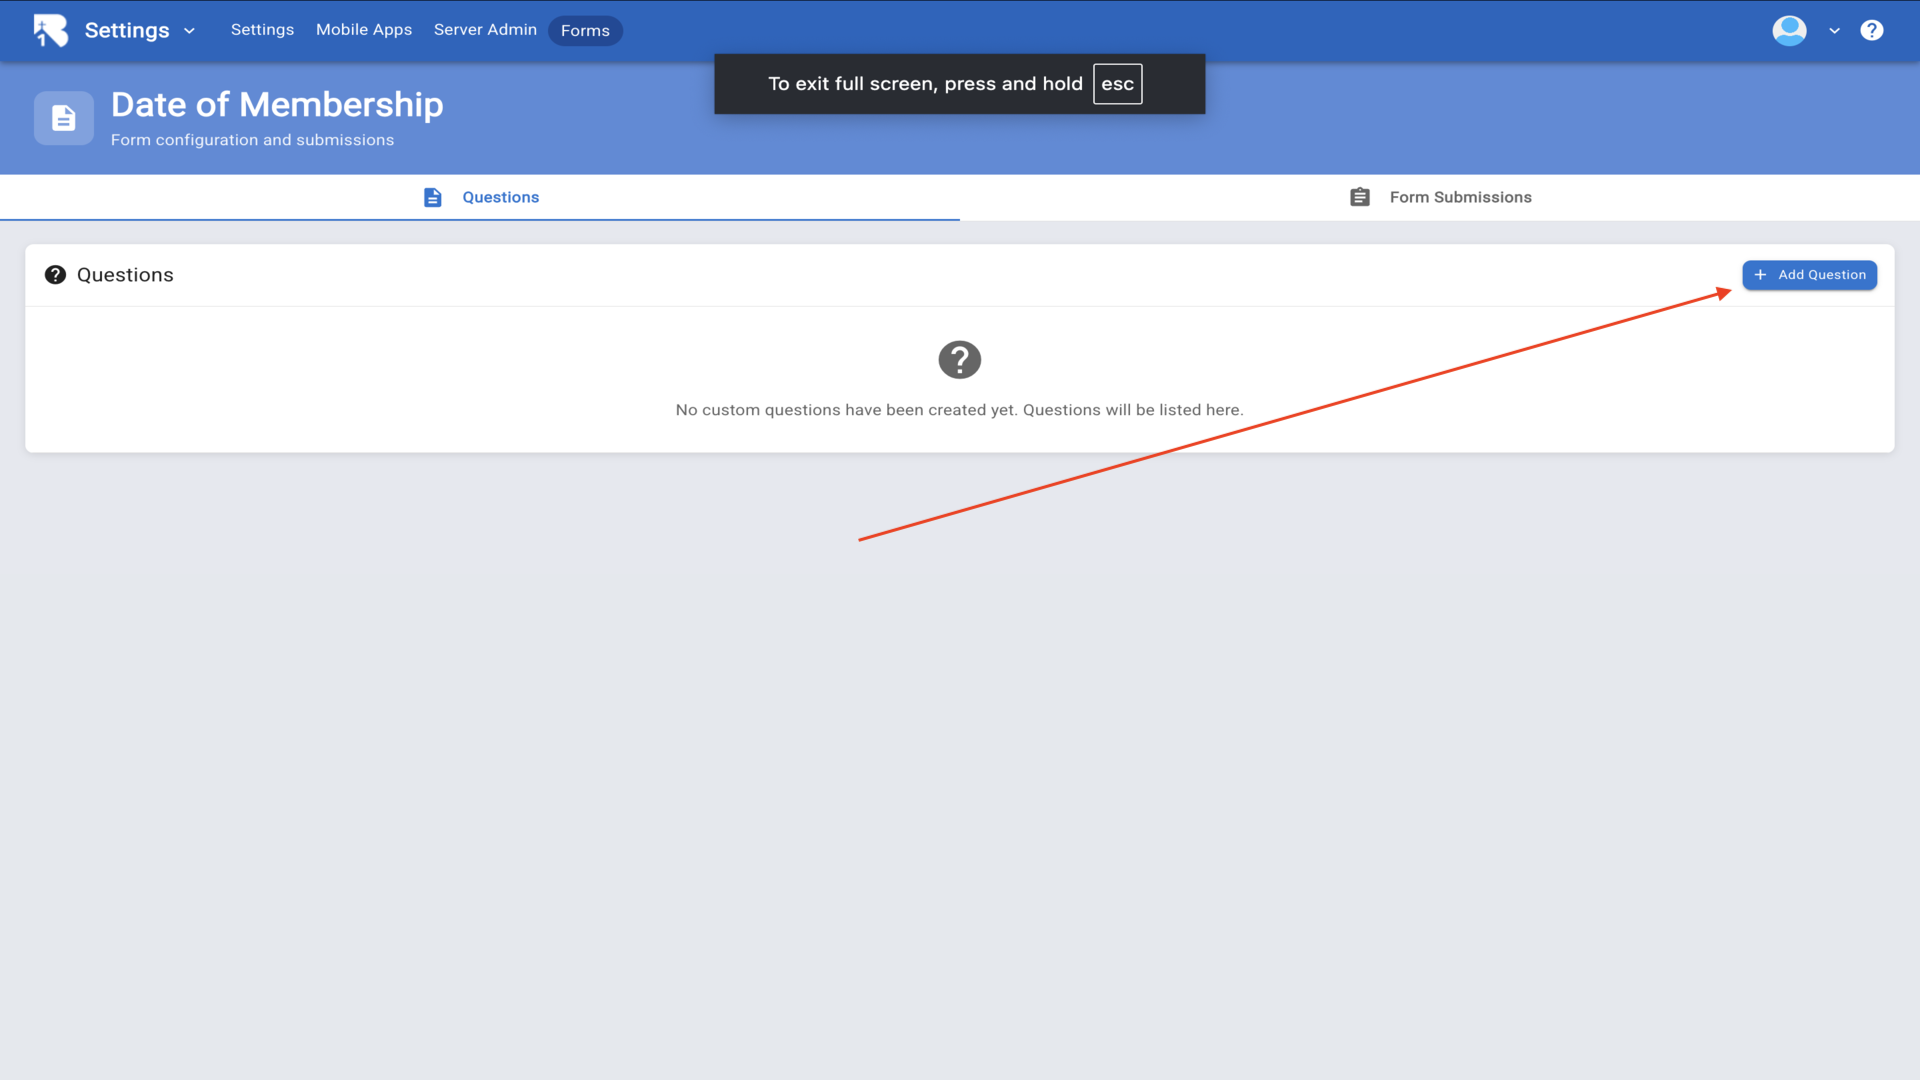
7.Your new form appears in the list - click on it to add questions▼
8.Click Add Question to create fields▼
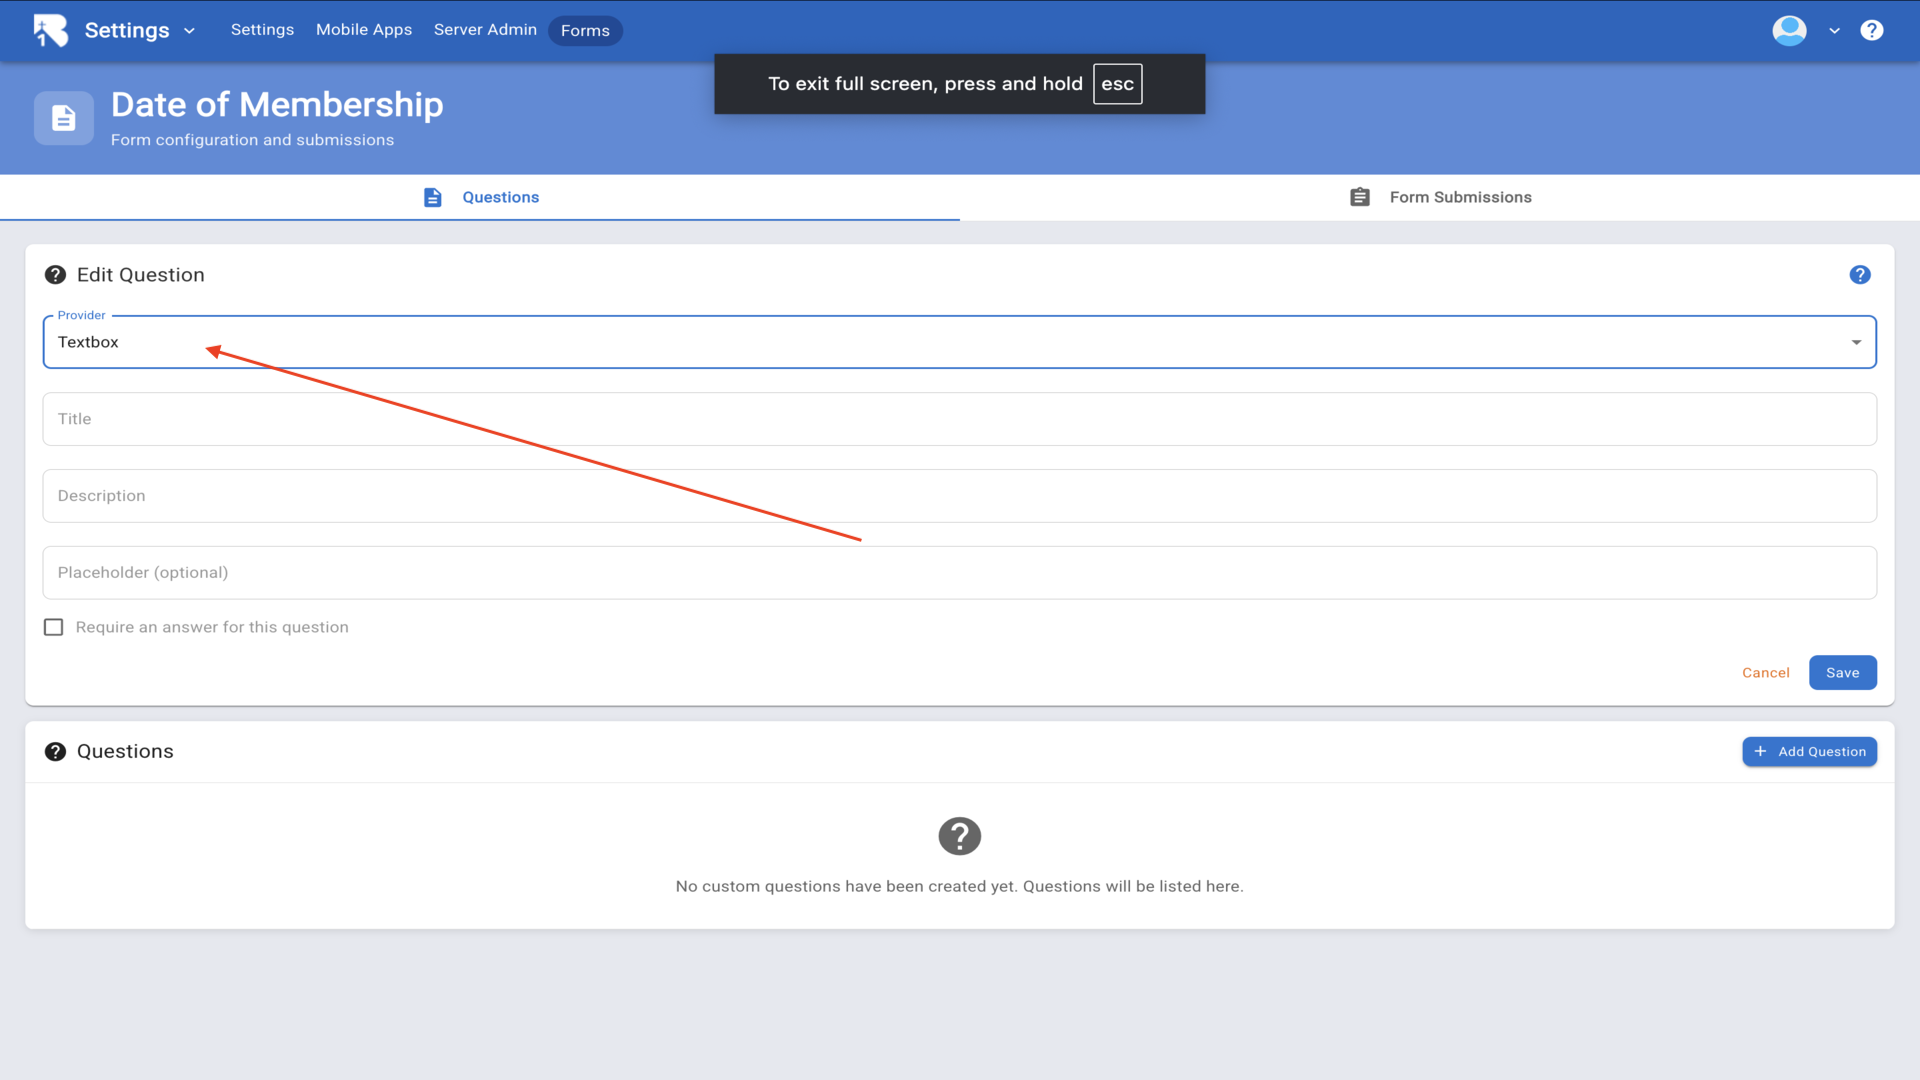
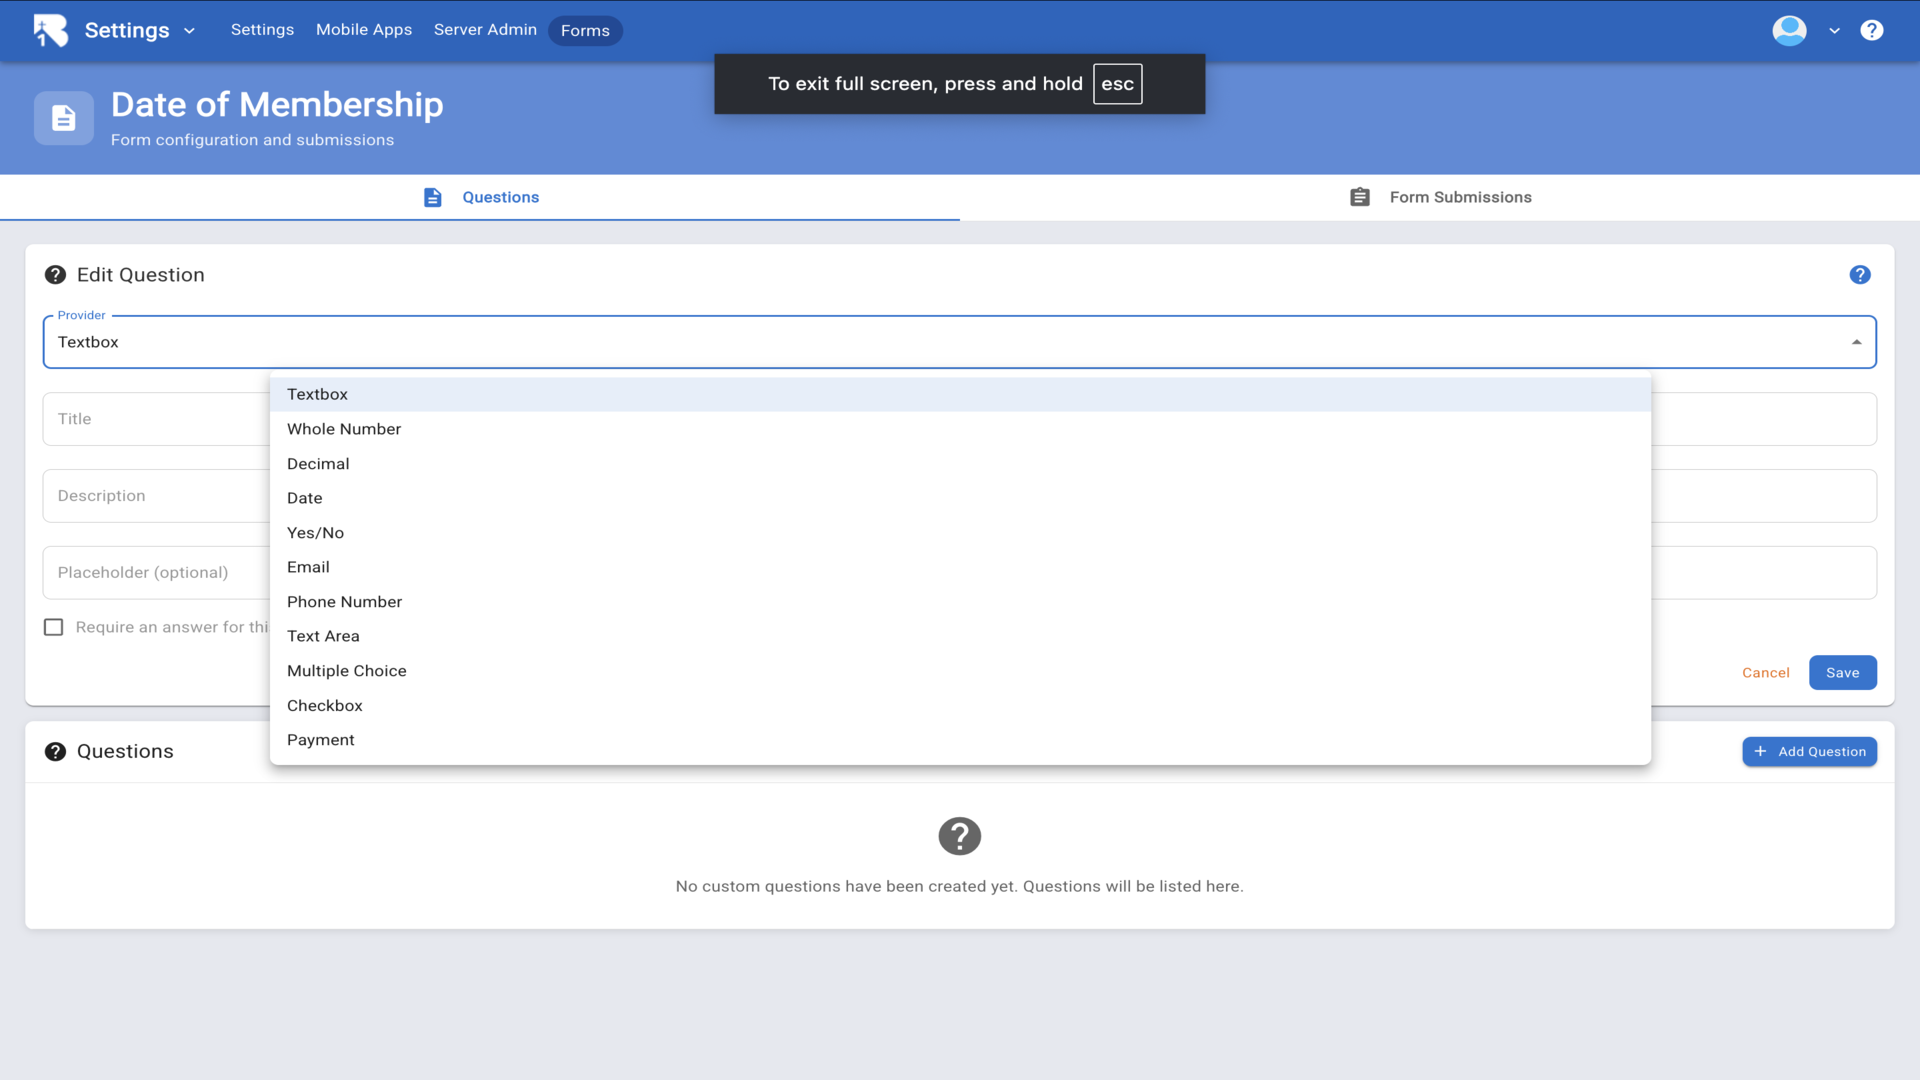
9.The Provider dropdown determines the input field type▼
10.Options include Textbox, Date, Email, Phone Number, Multiple Choice, and Payment▼
11.Fill in the Title and Description - check Require an answer if mandatory▼
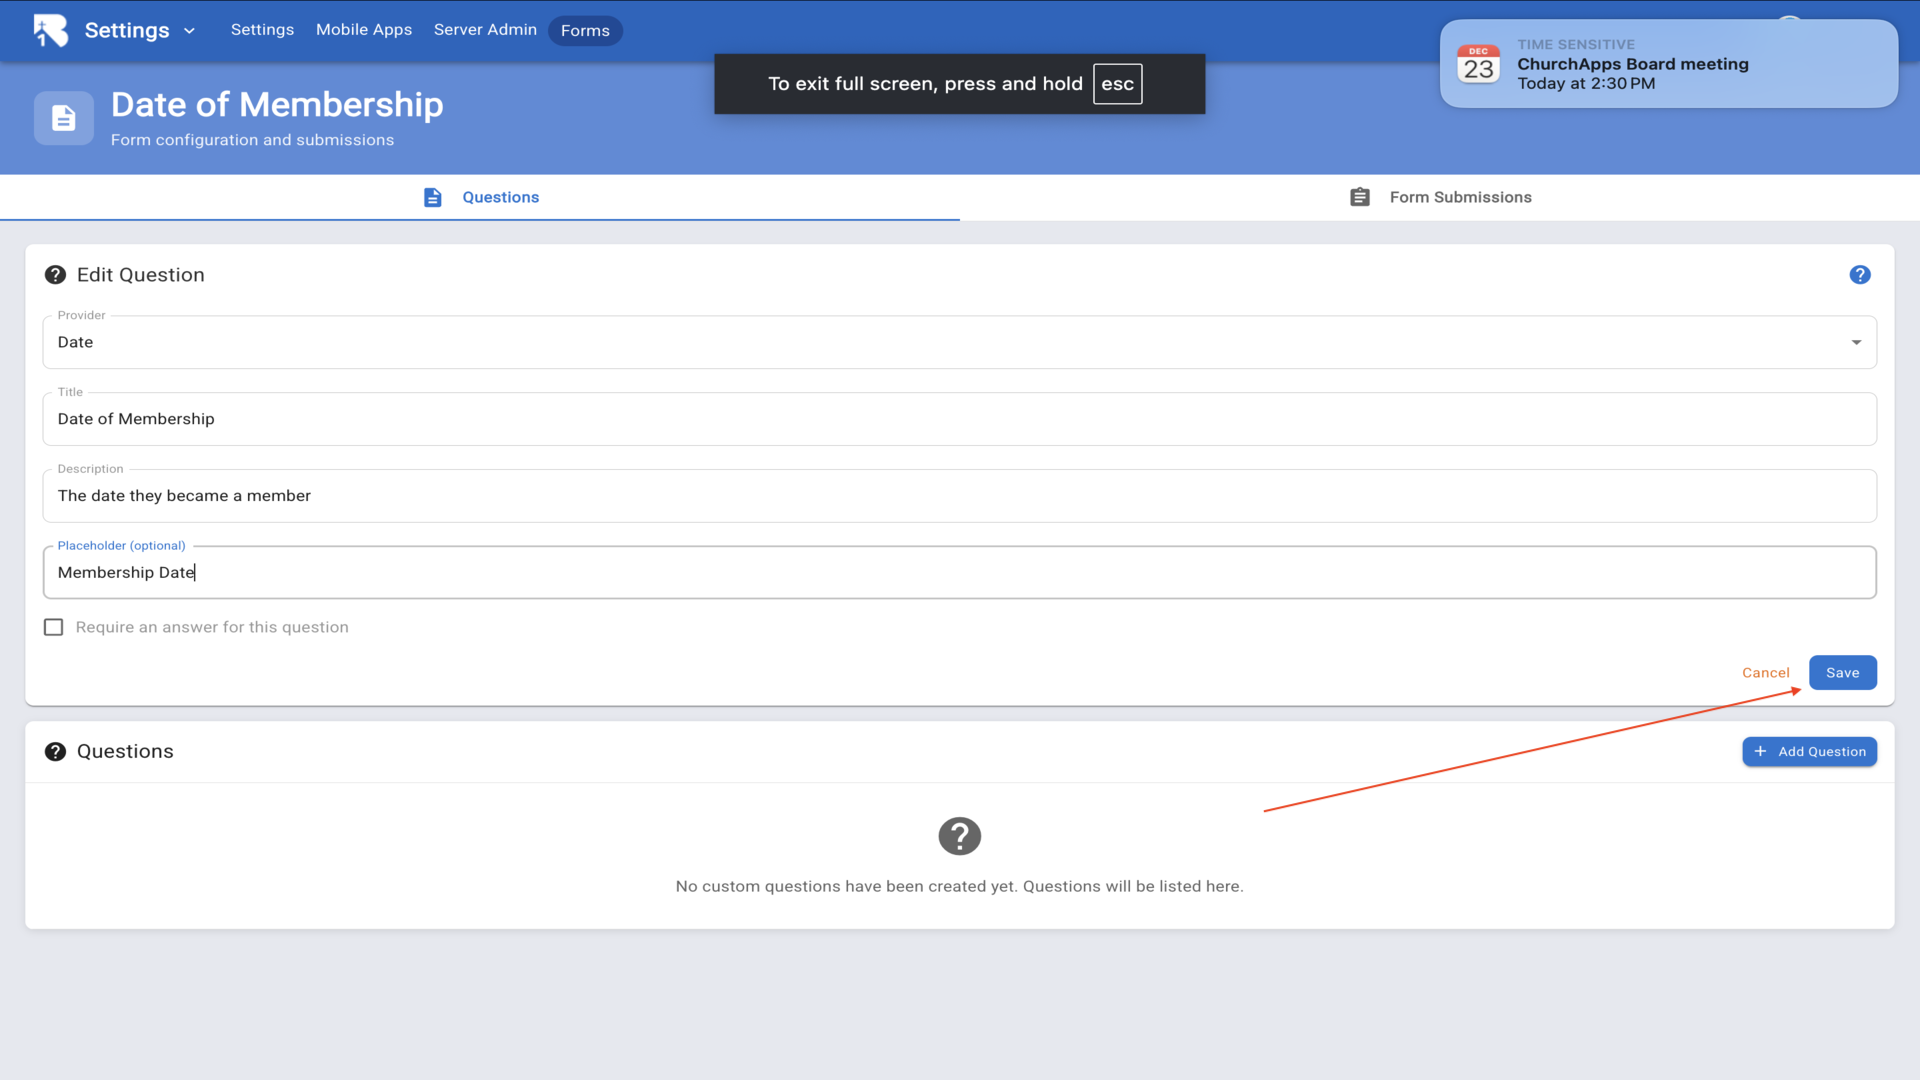
12.Click Save, then Add Question for more fields▼

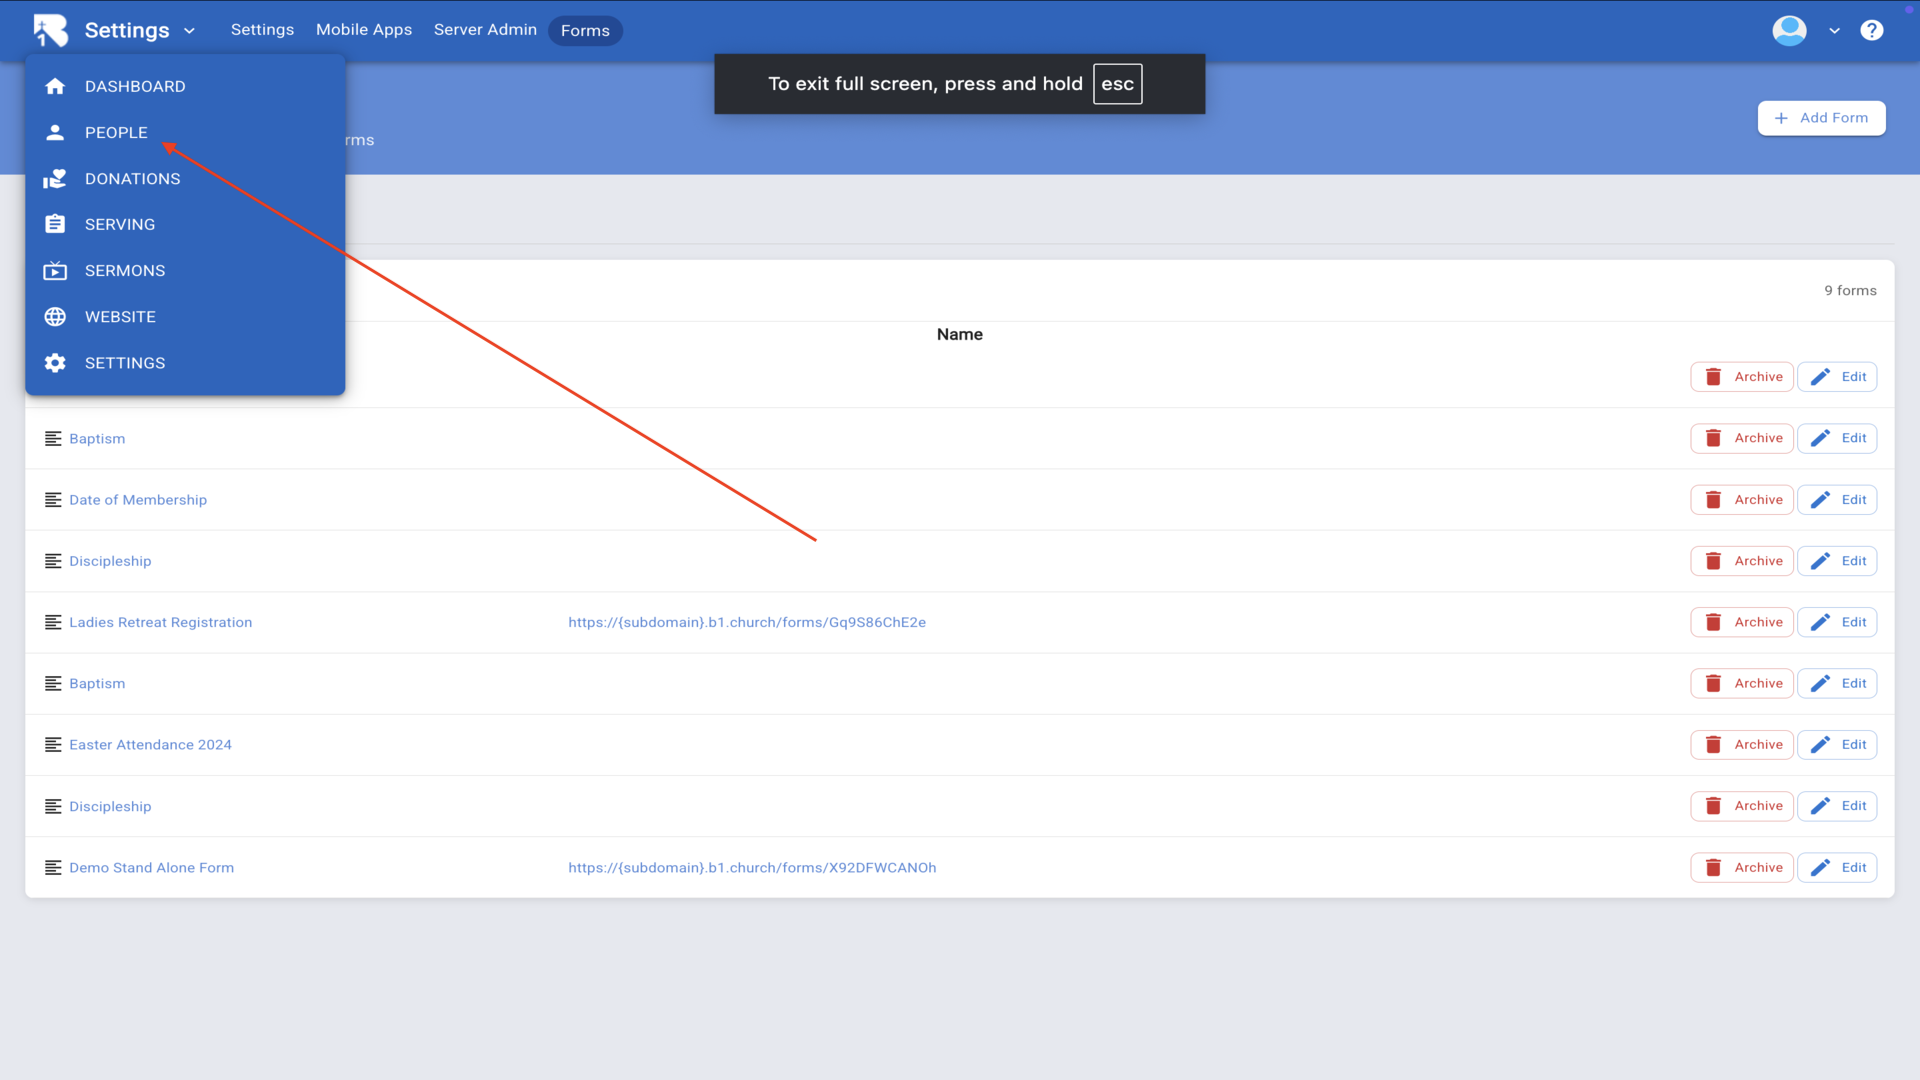
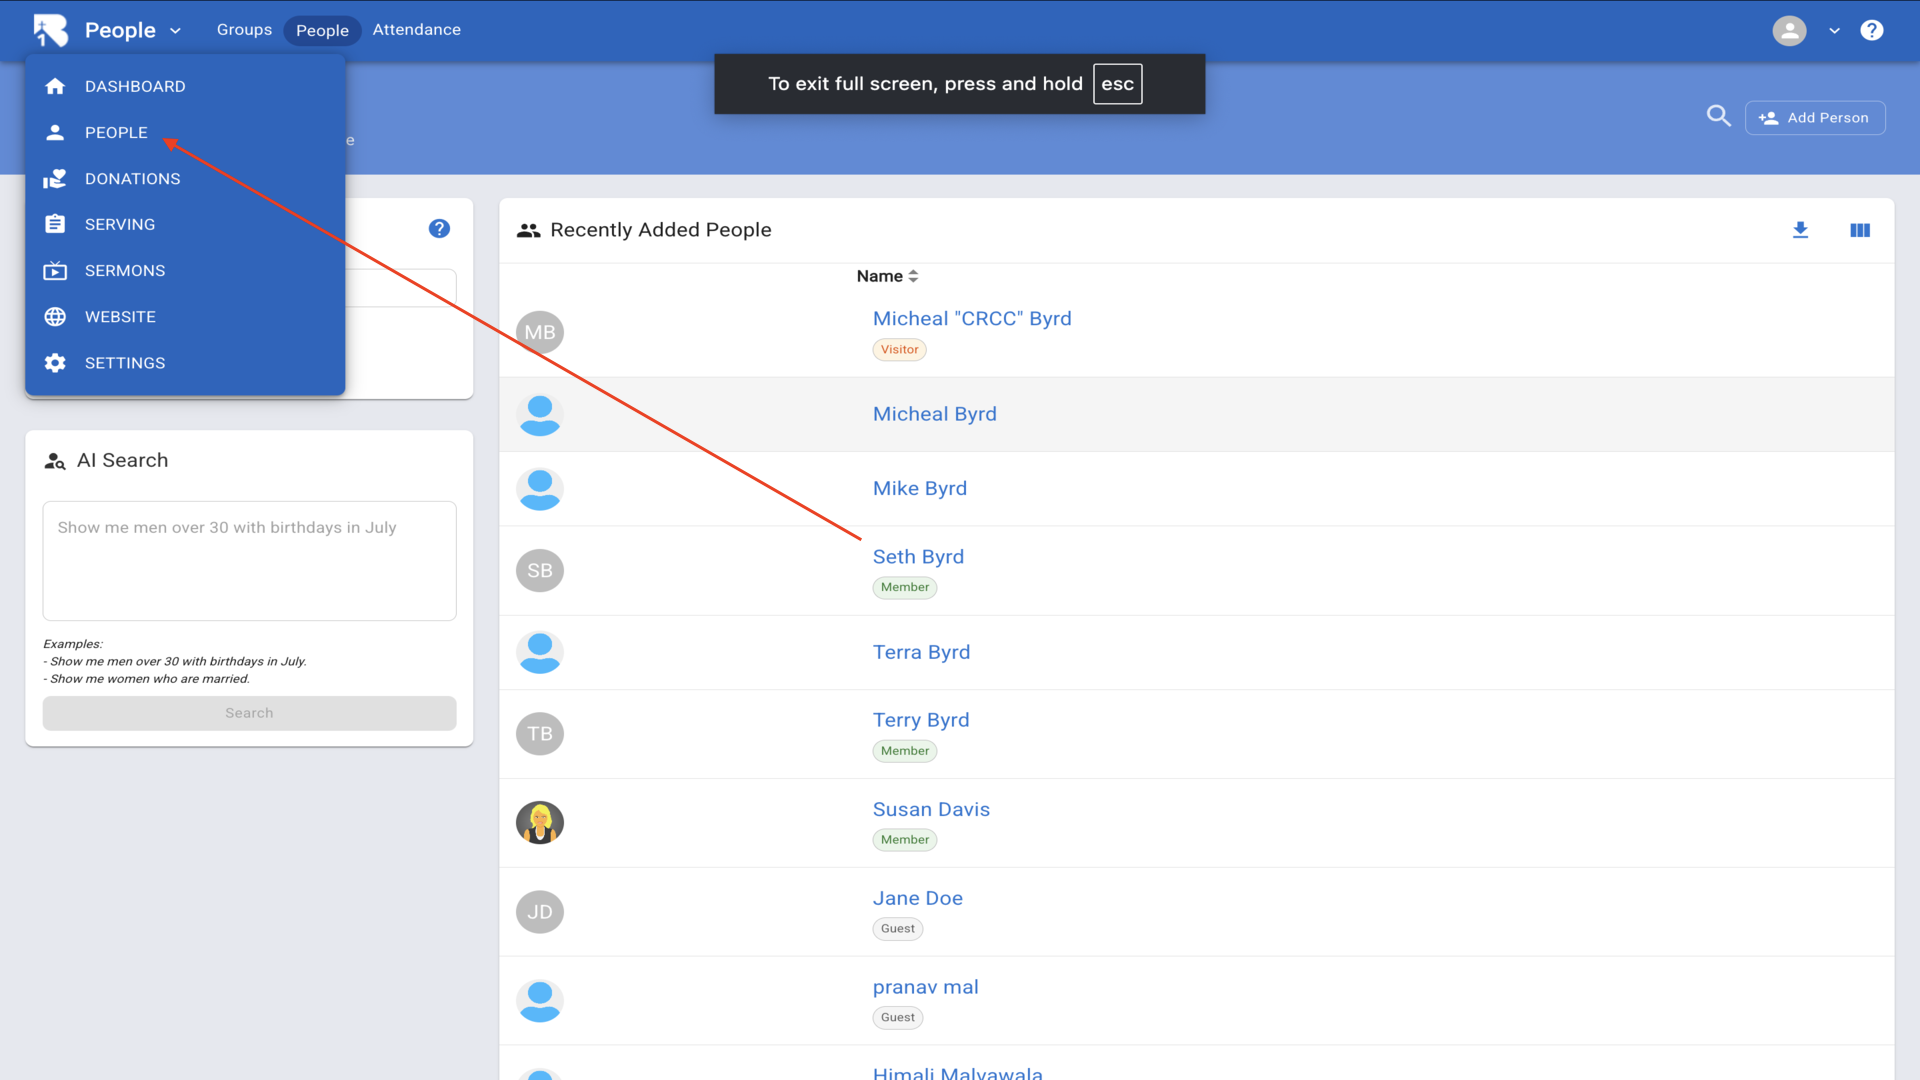
13.Go to People from the navigation menu▼
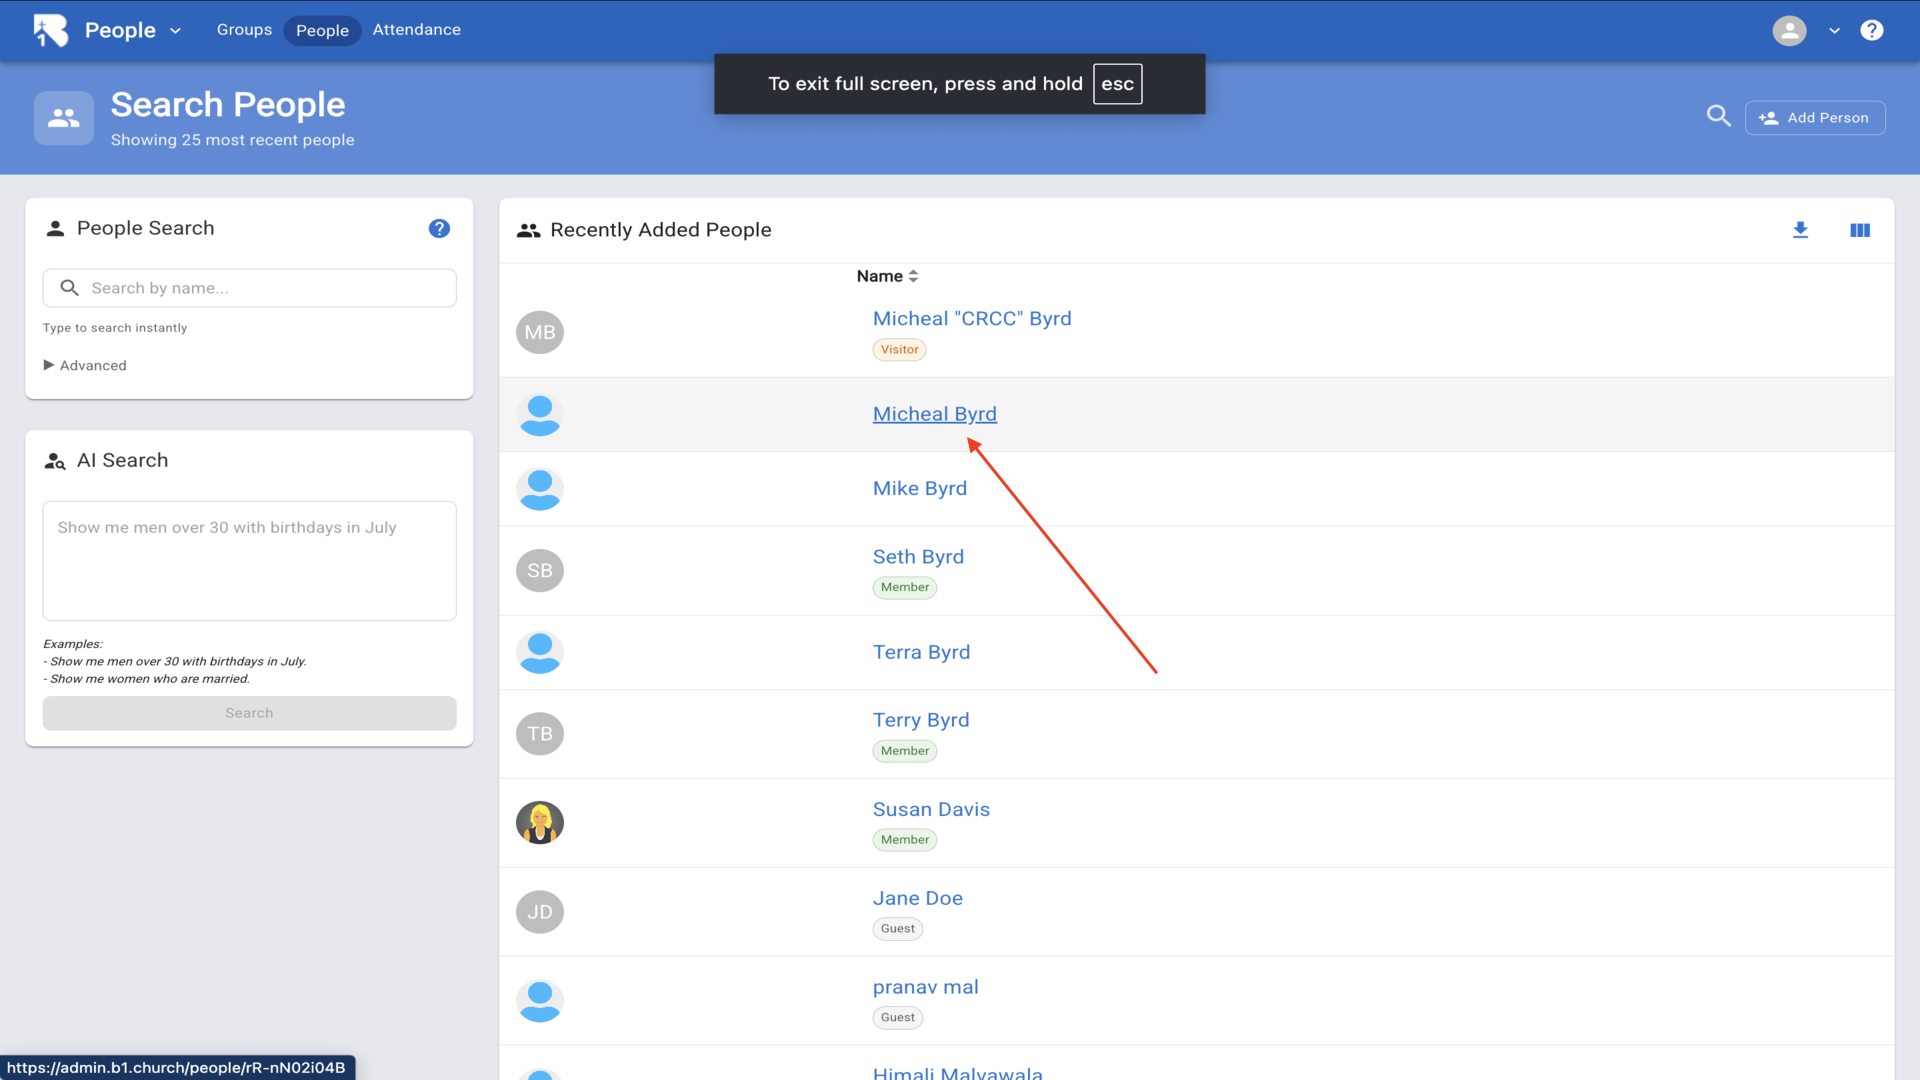
14.Click on a person to view their profile▼
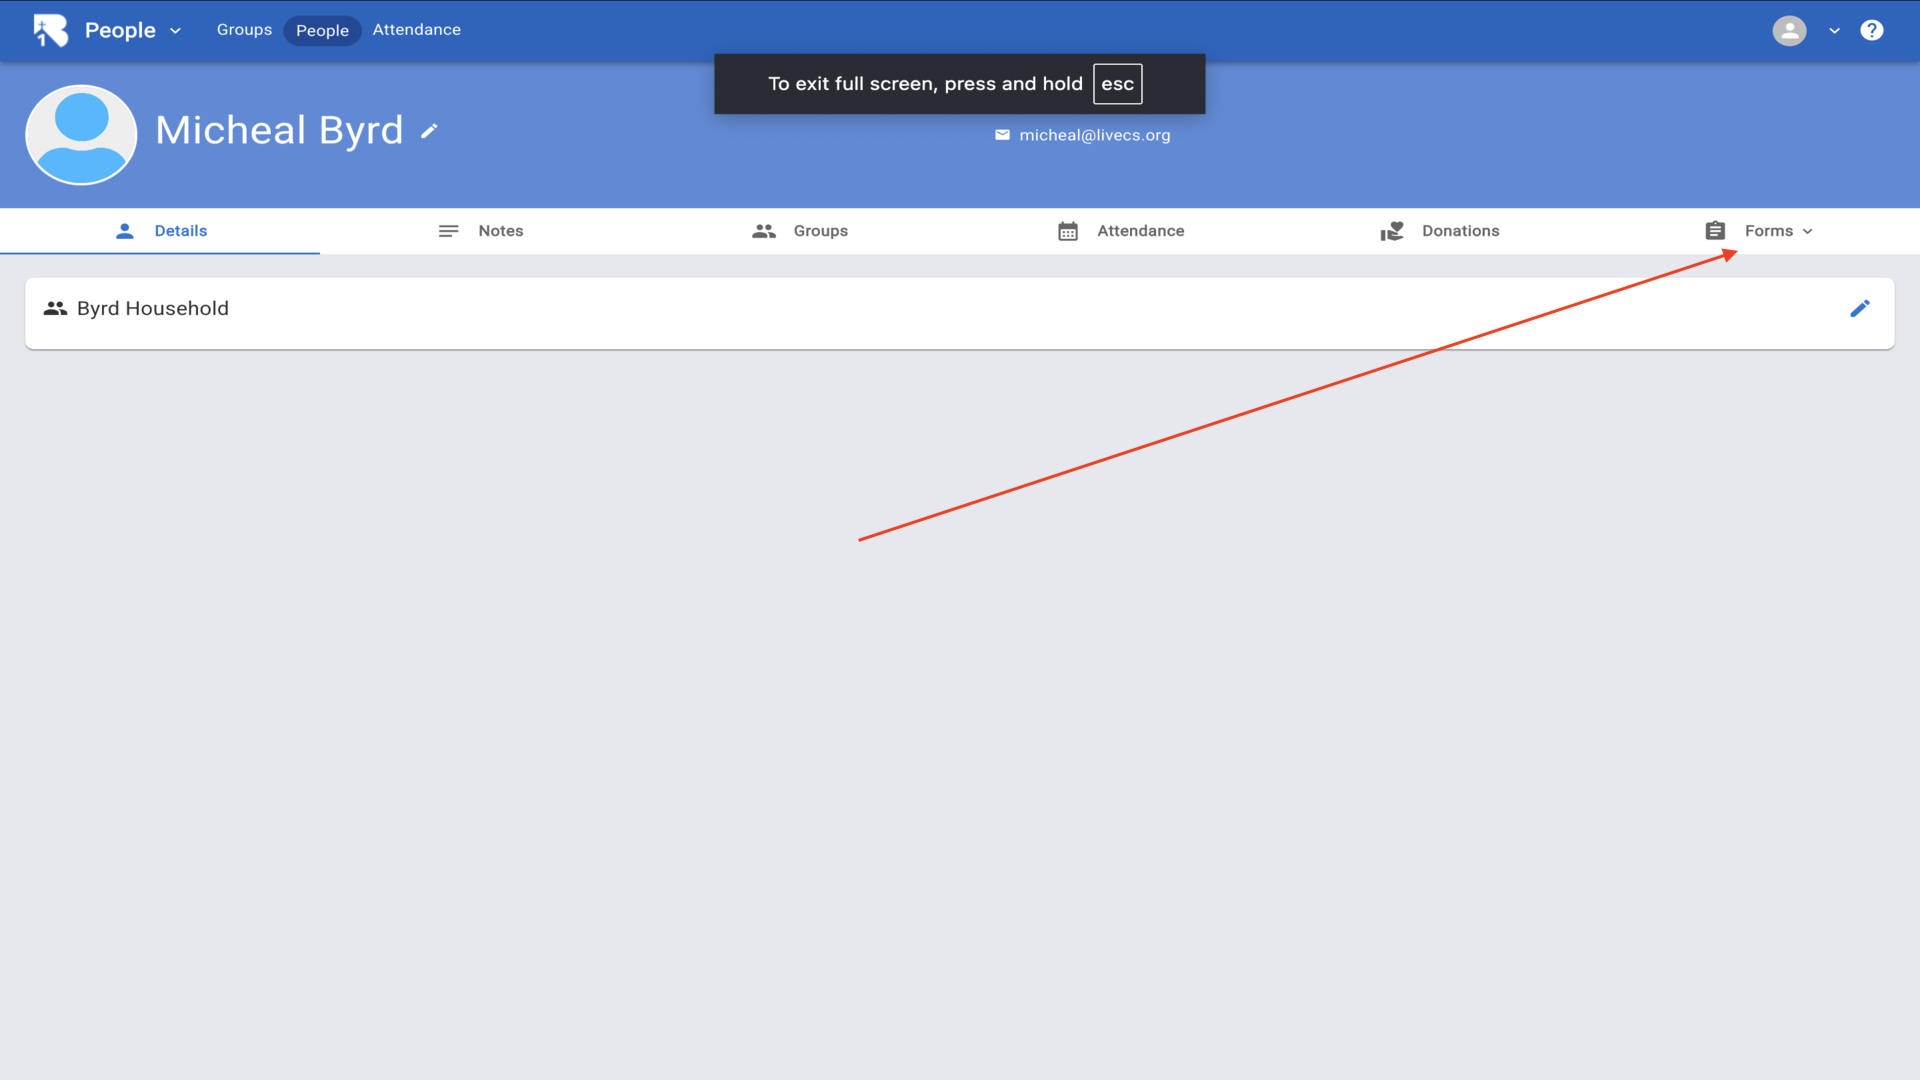
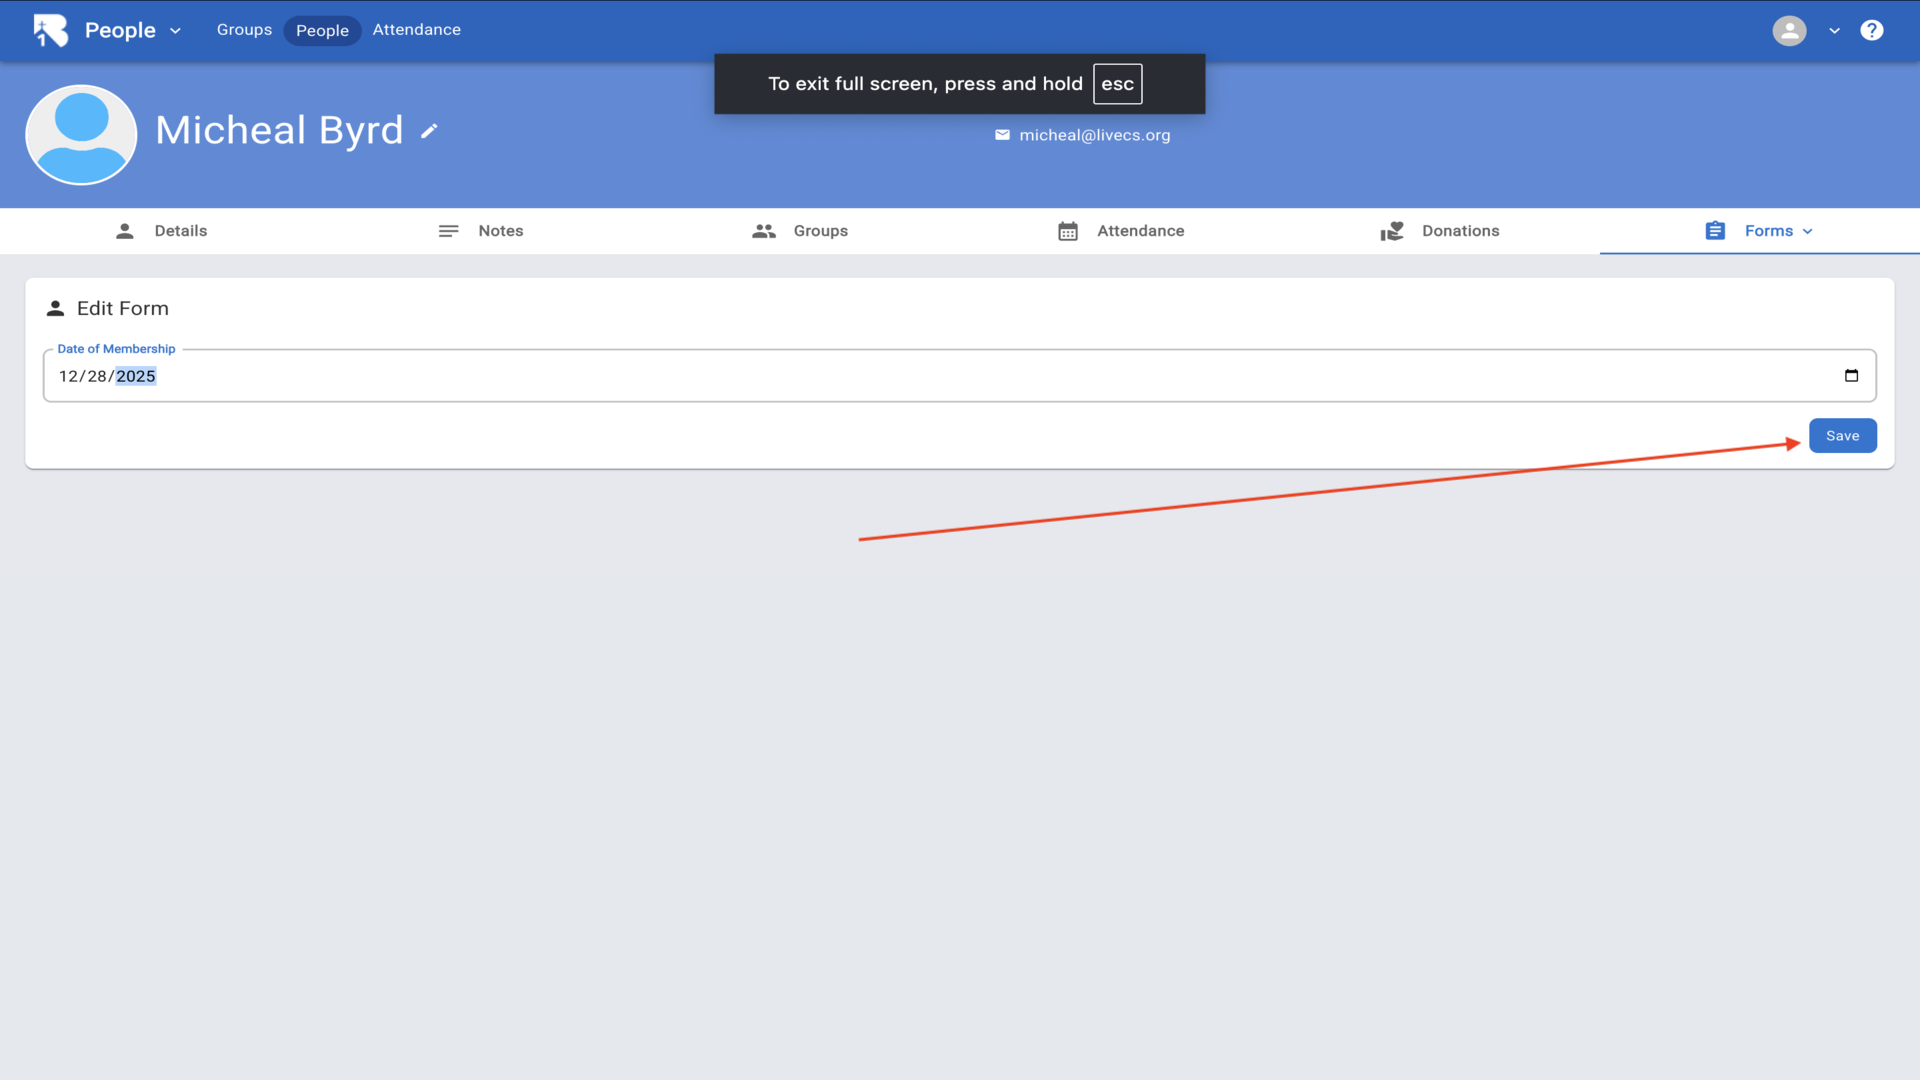
15.Click on the Forms tab to access forms▼
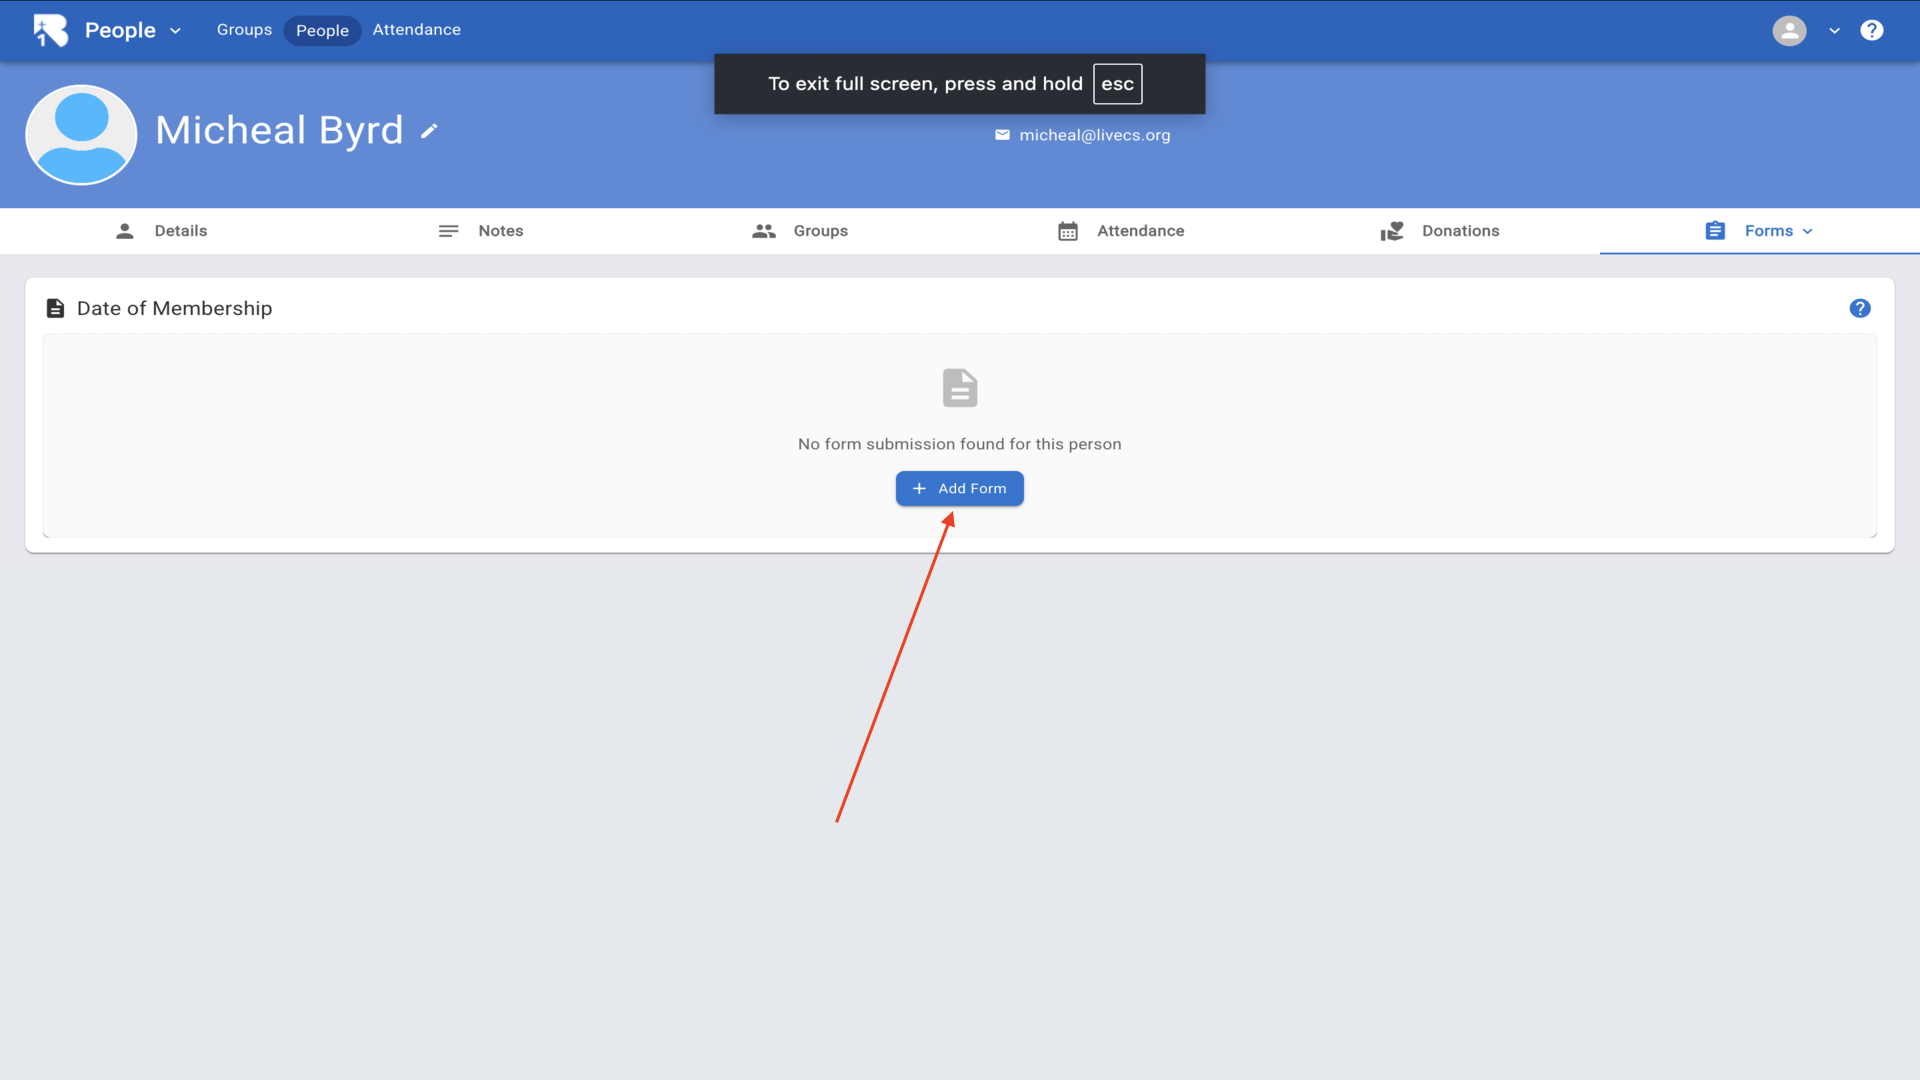
16.Select Date of Membership from the dropdown▼

17.Click Add Form to enter data▼
18.Enter the date and click Save▼
19.Go back to People▼
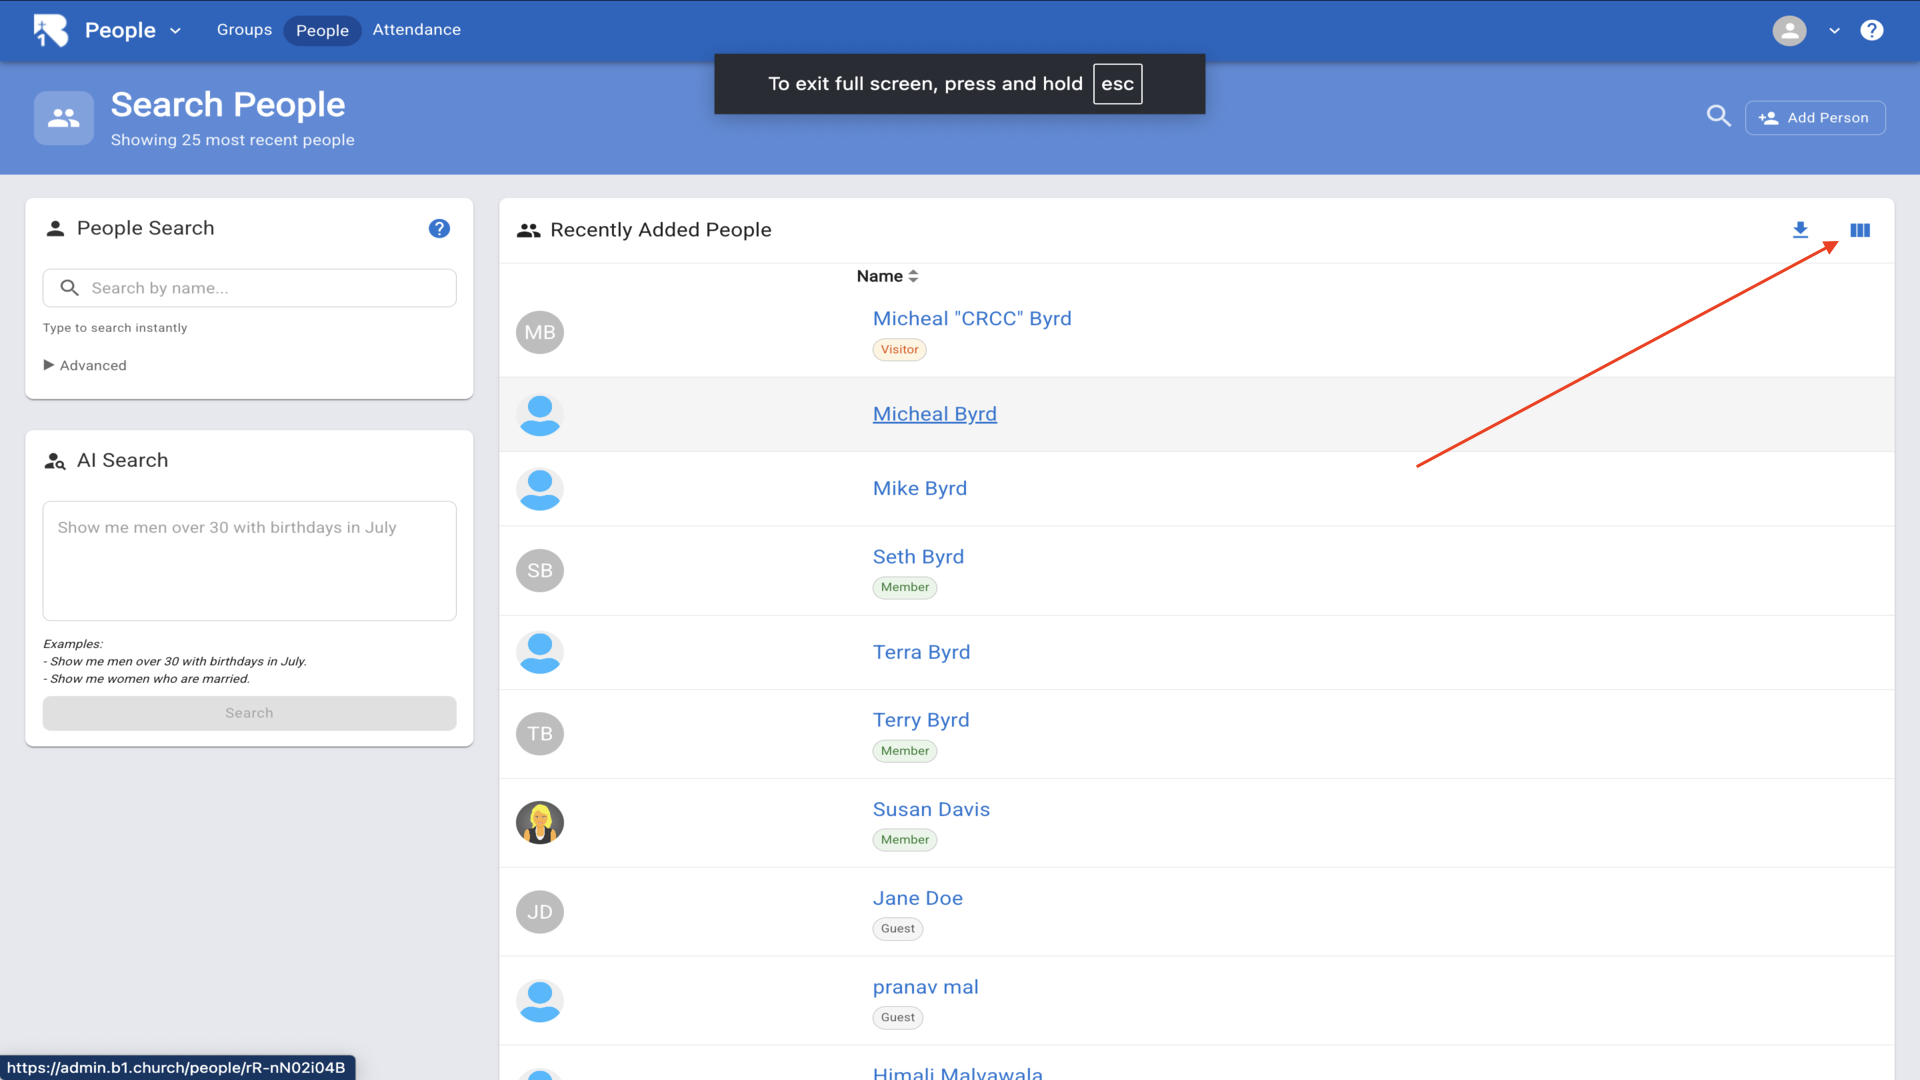
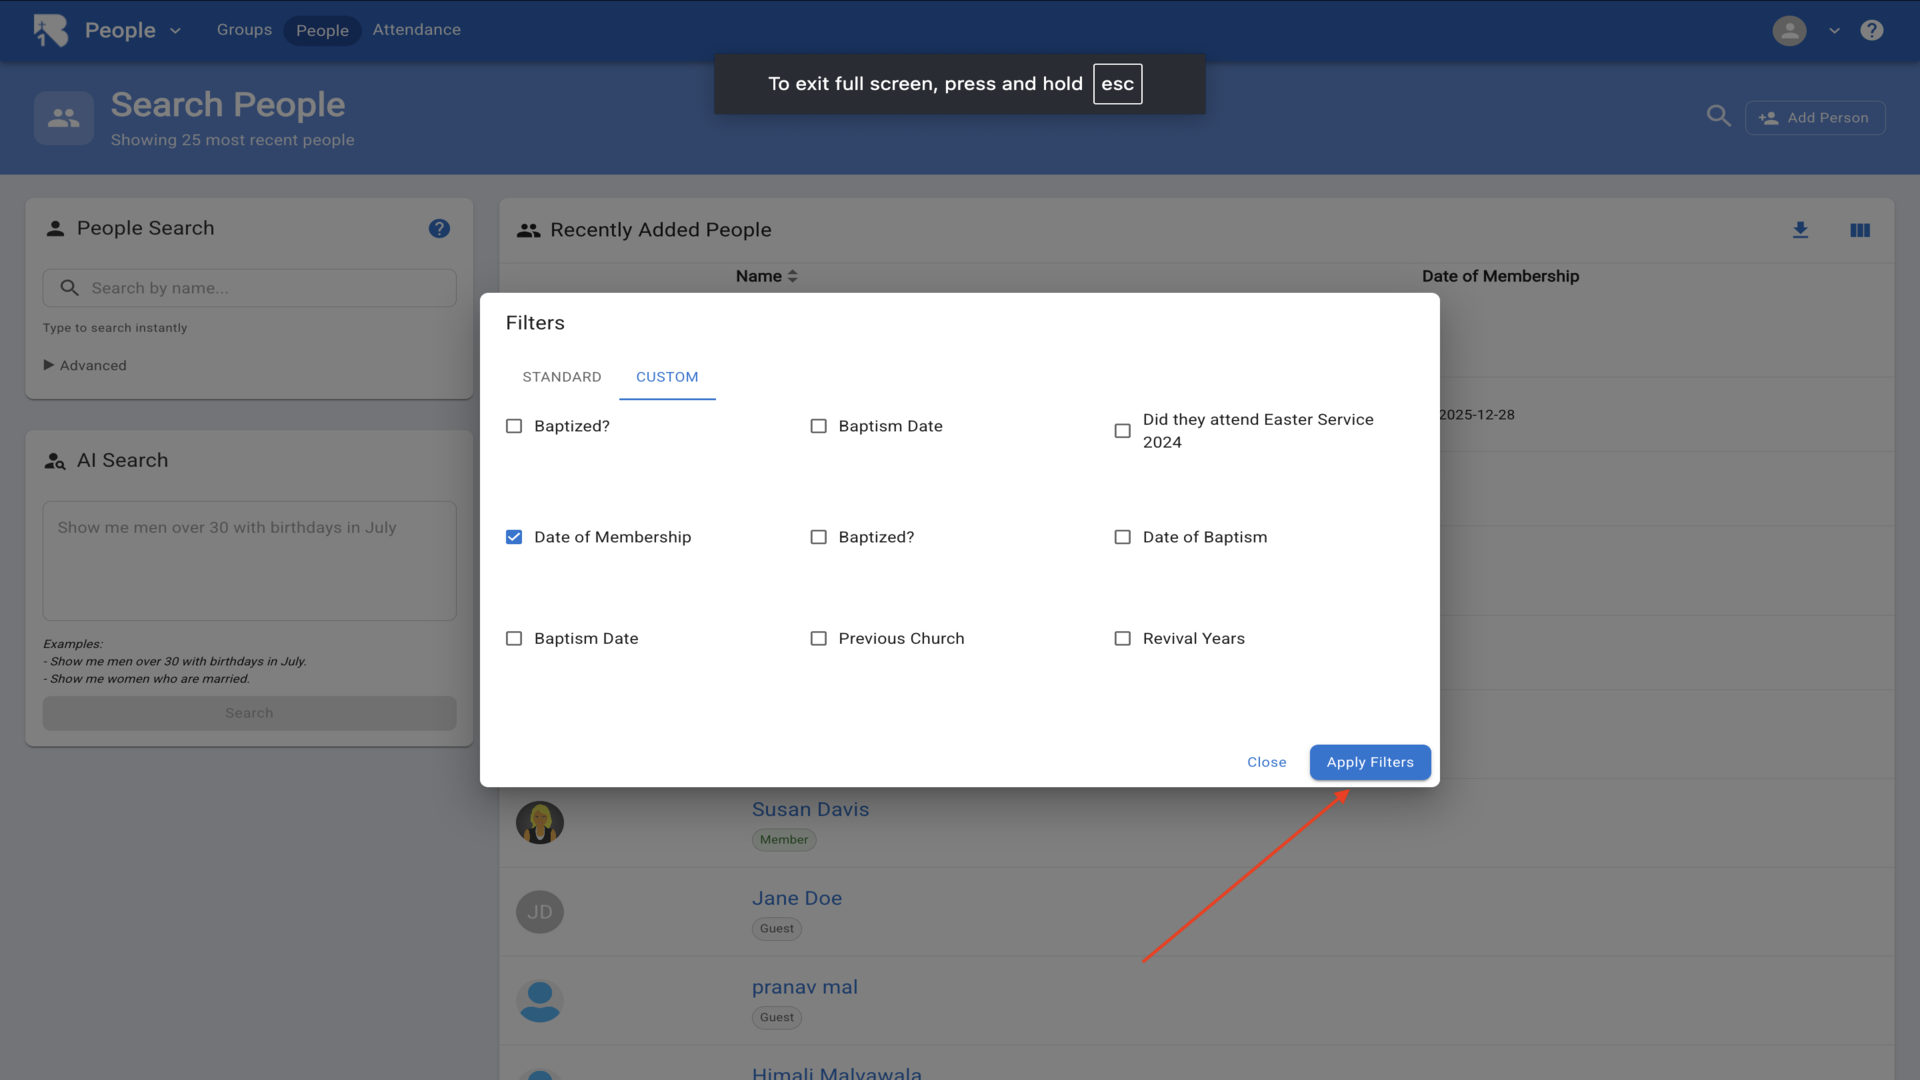
20.Click the filter icon▼
21.Click Custom and check Date of Membership▼
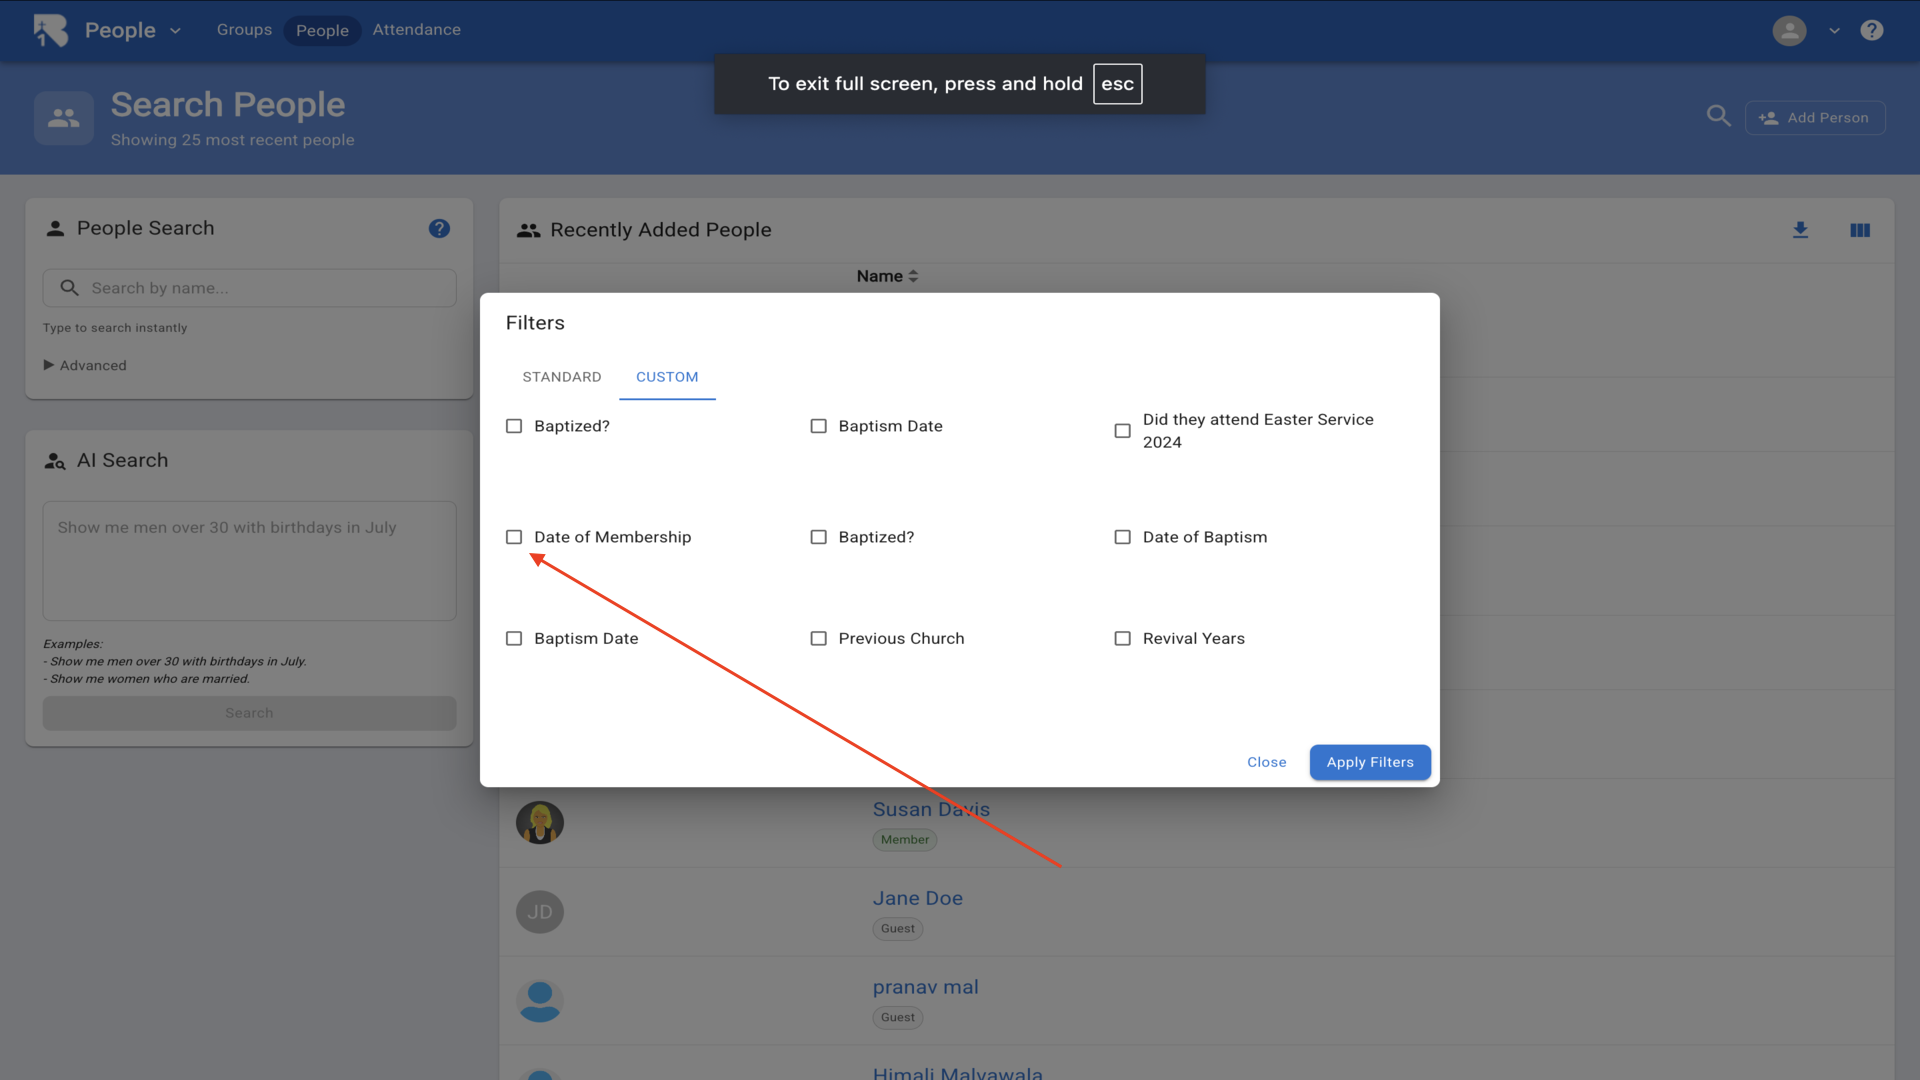
22.Click Apply Filters▼
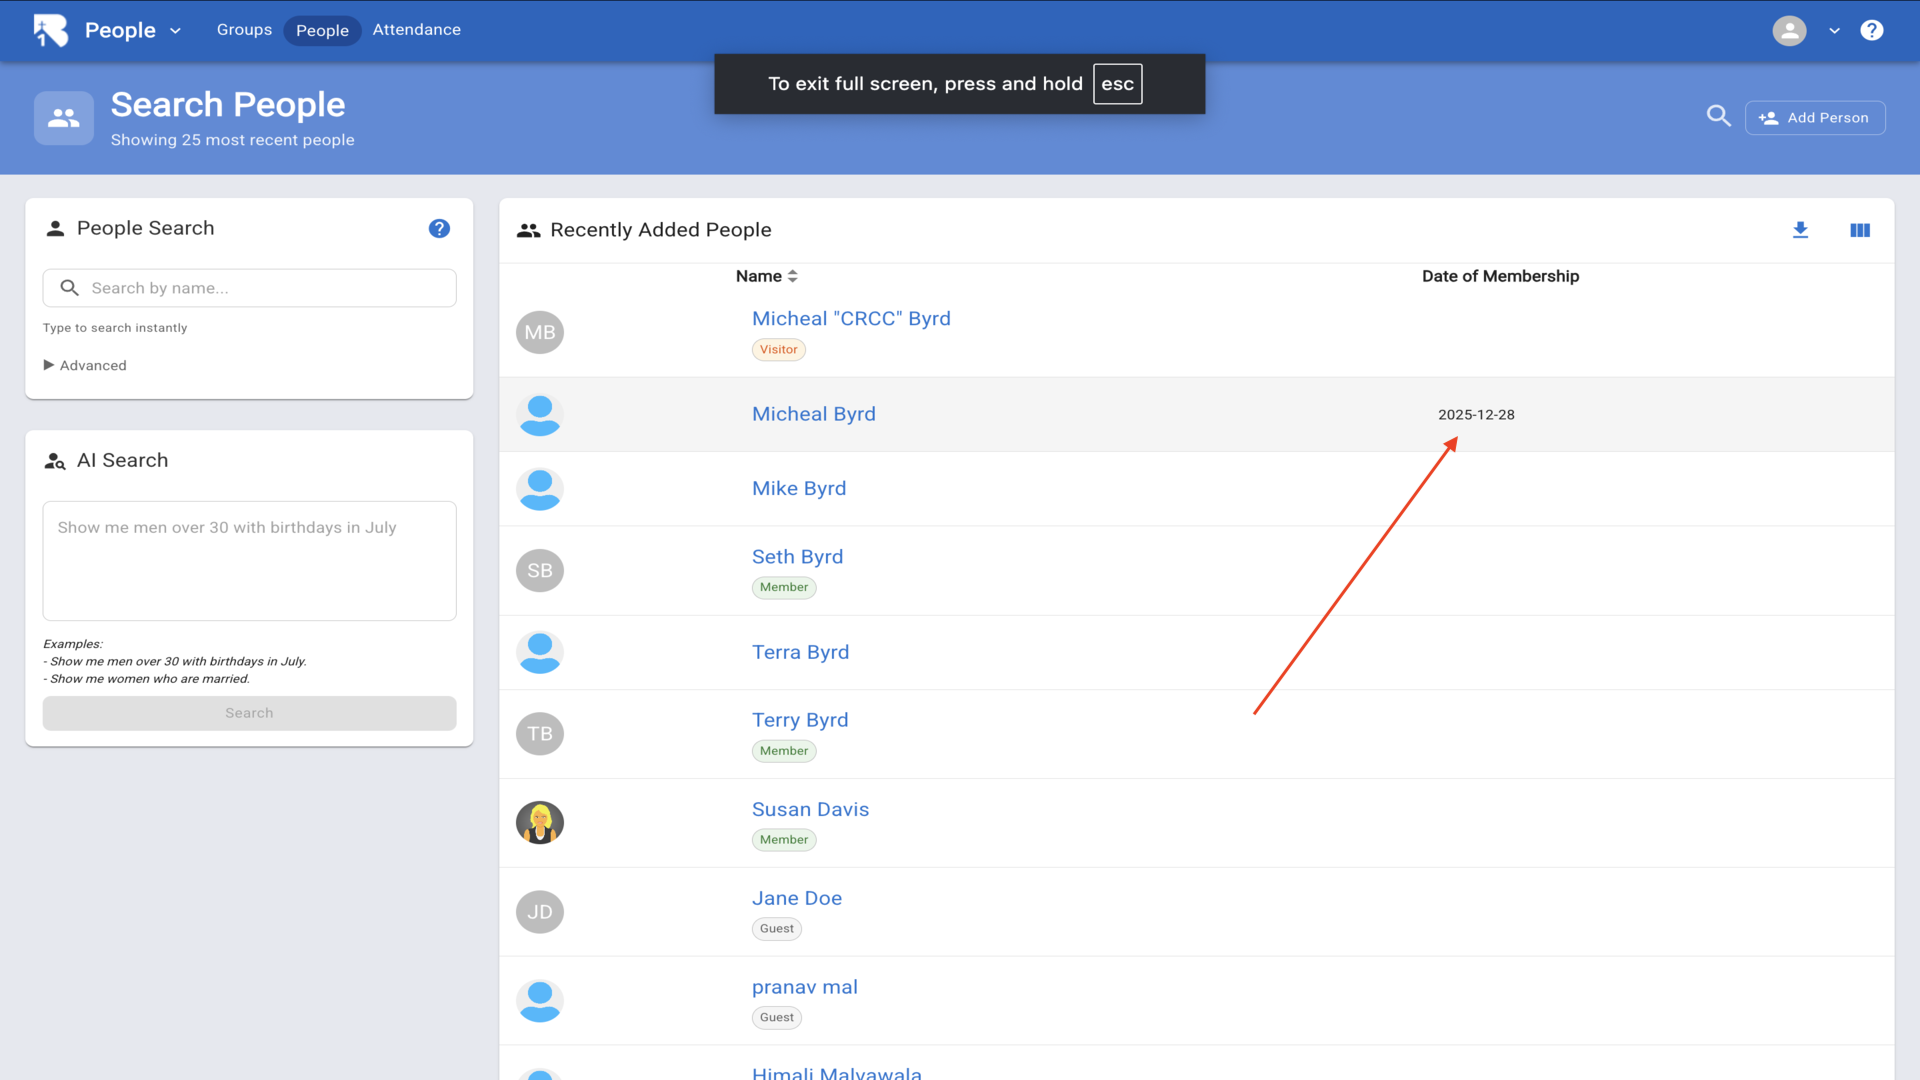
23.The list now shows the Date of Membership column▼
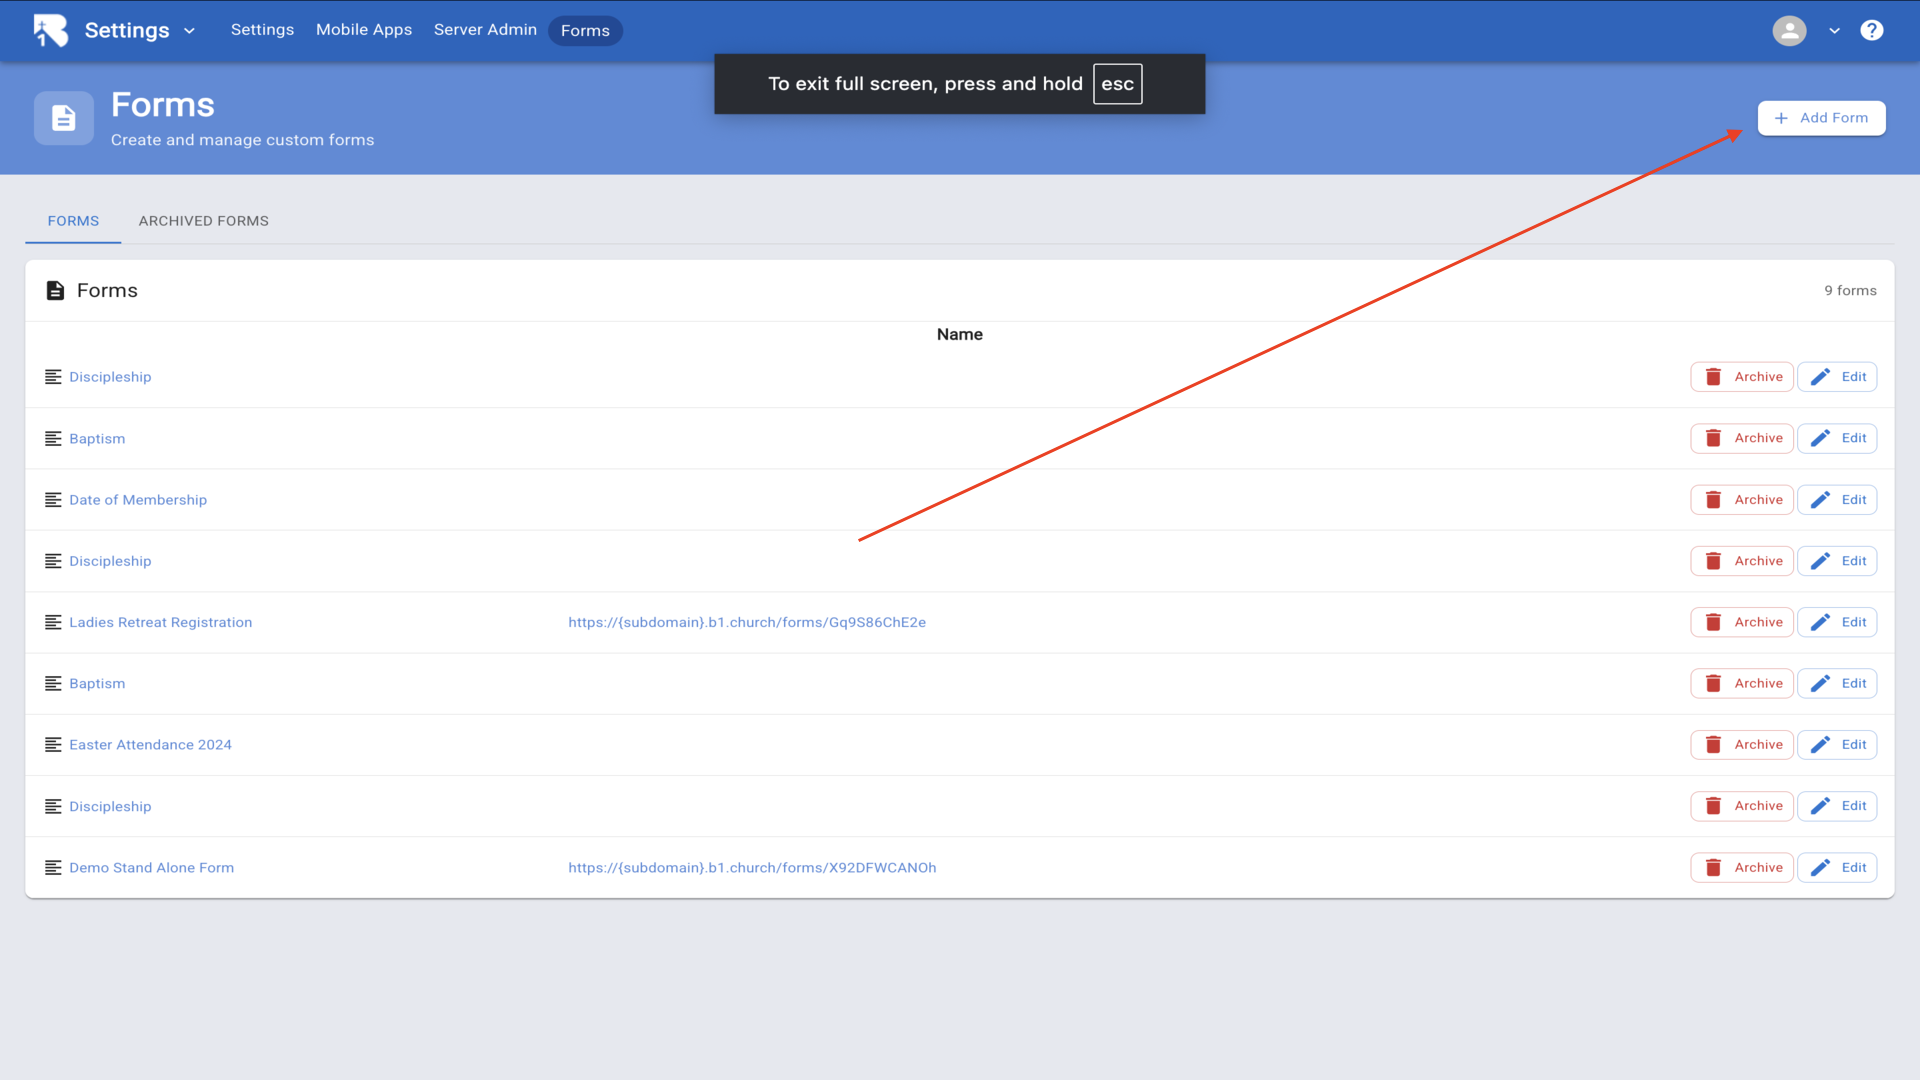
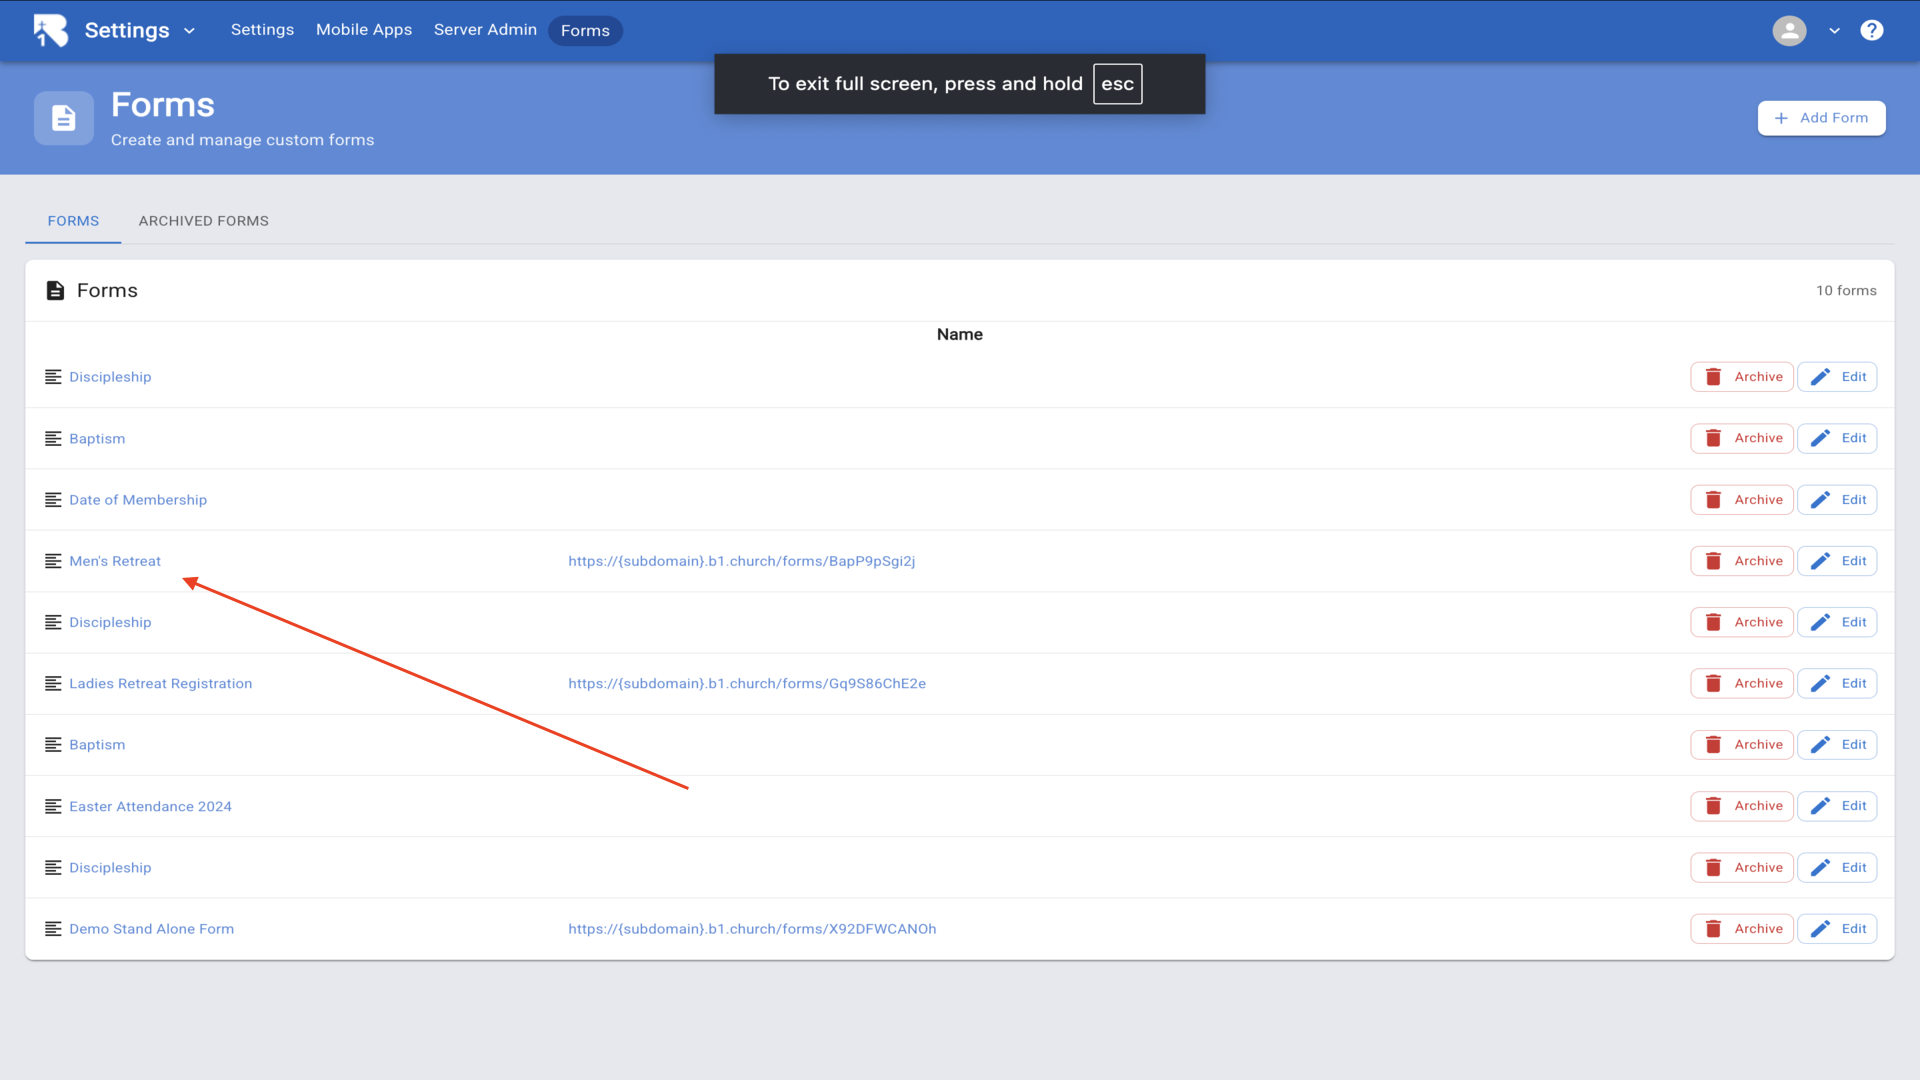
24.Create a Stand Alone form - click Add Form▼
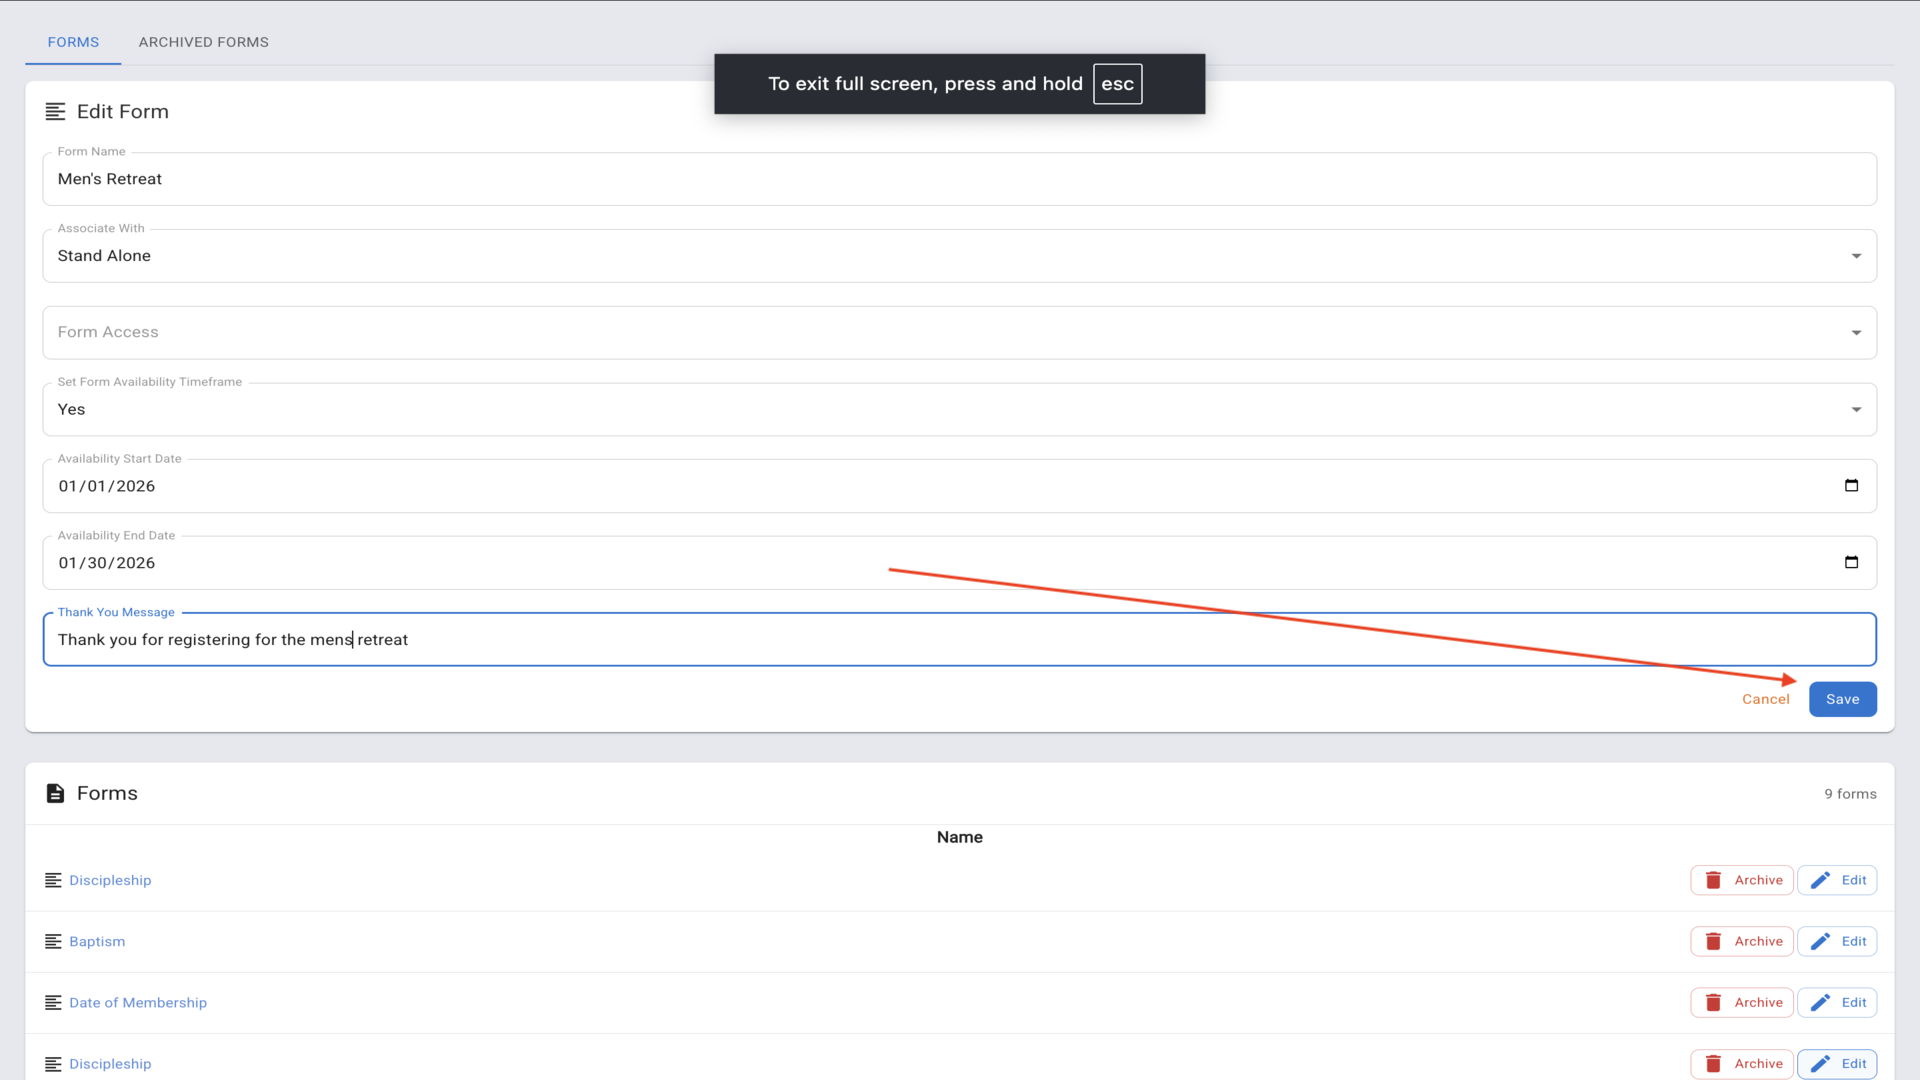
25.Create Men's Retreat as Stand Alone with availability dates and thank you message▼
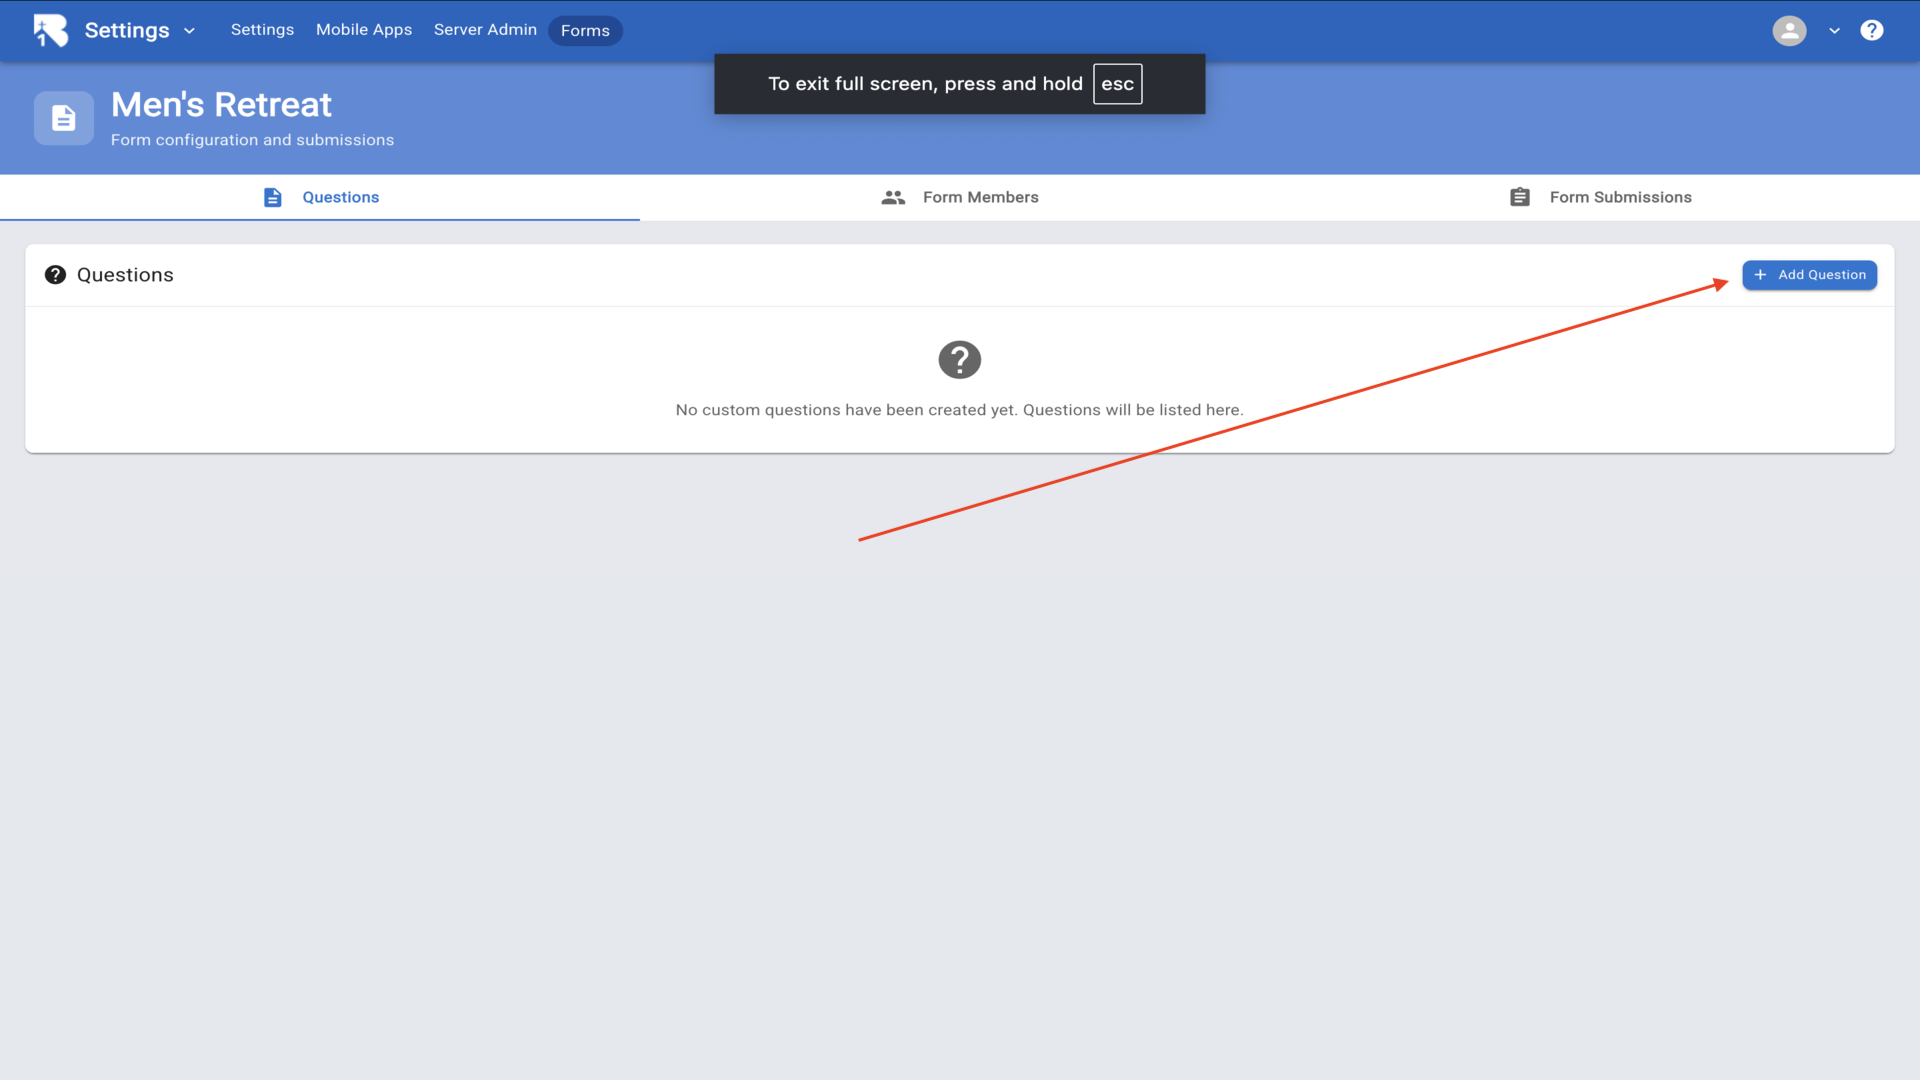
26.Stand Alone forms get a unique URL - click the form to configure it▼
27.Click Add Question▼
28.Add a Name field and check Require an answer▼
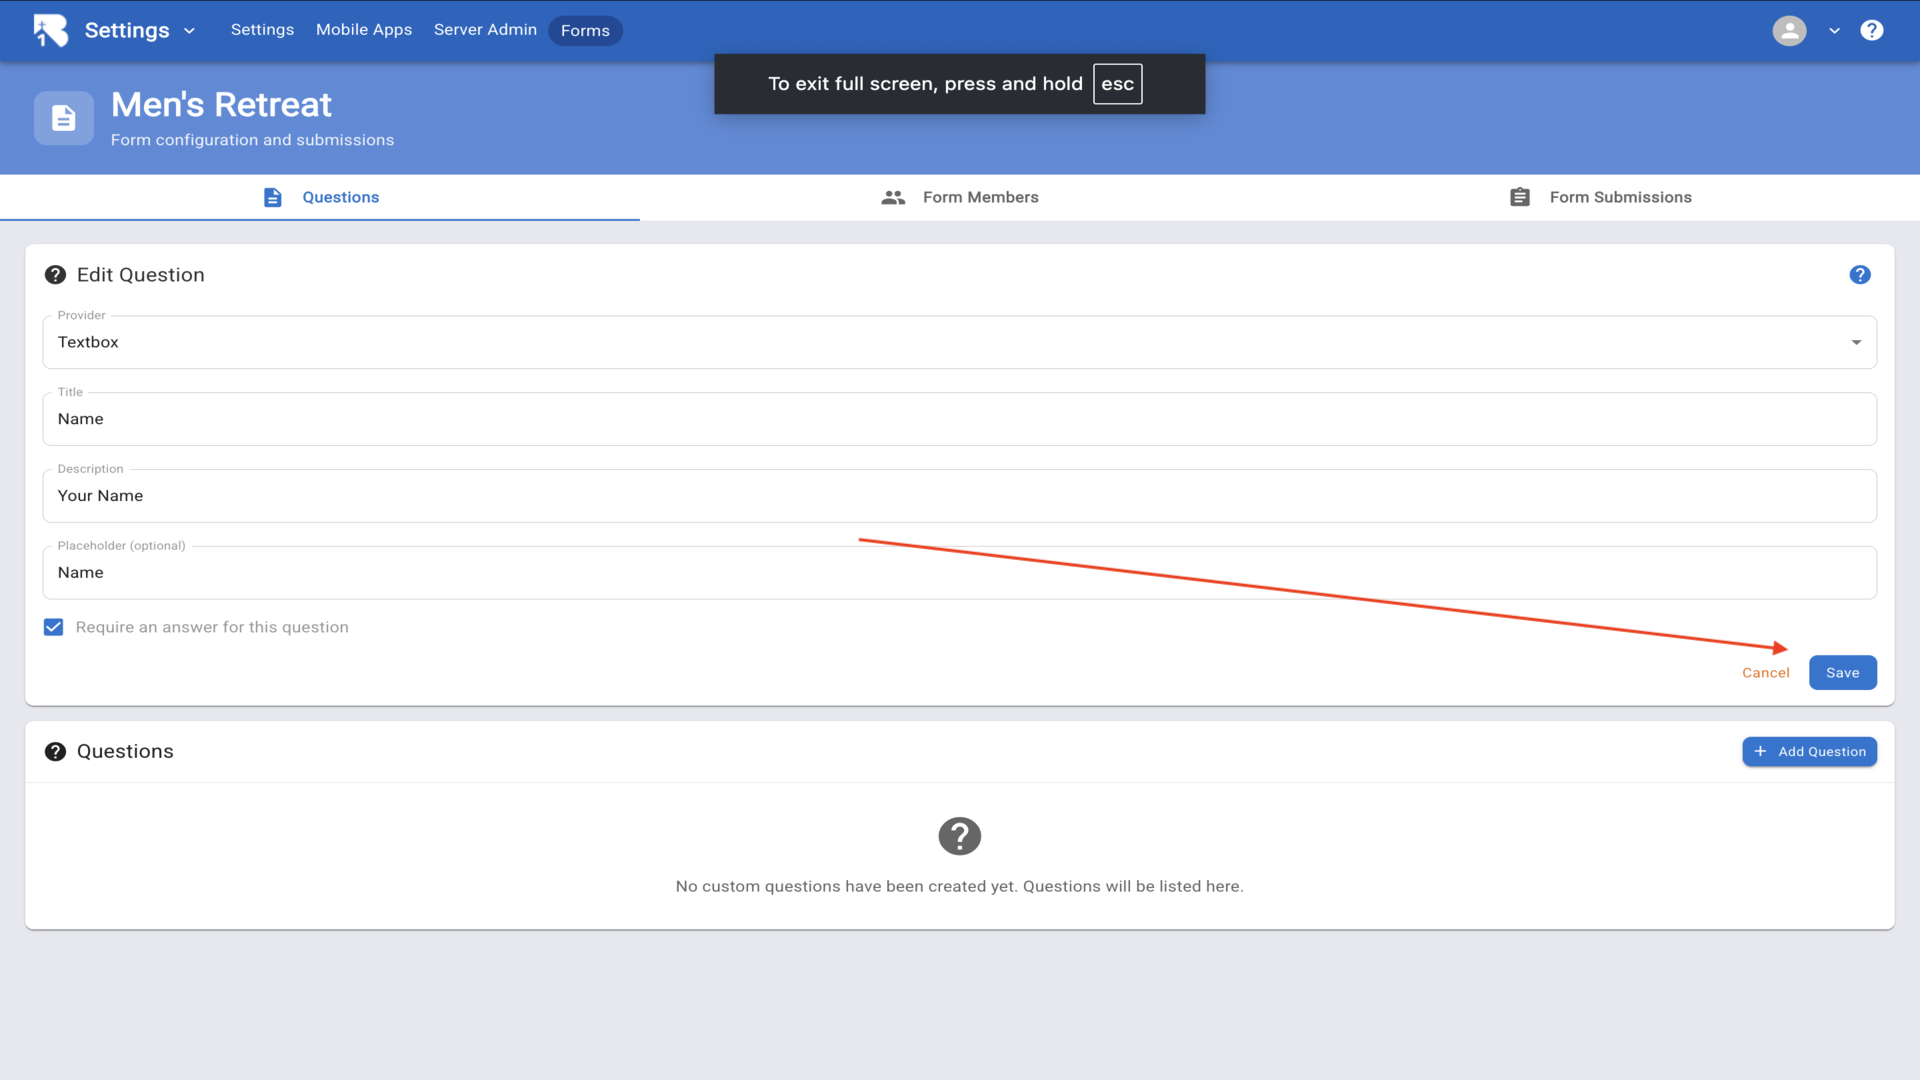
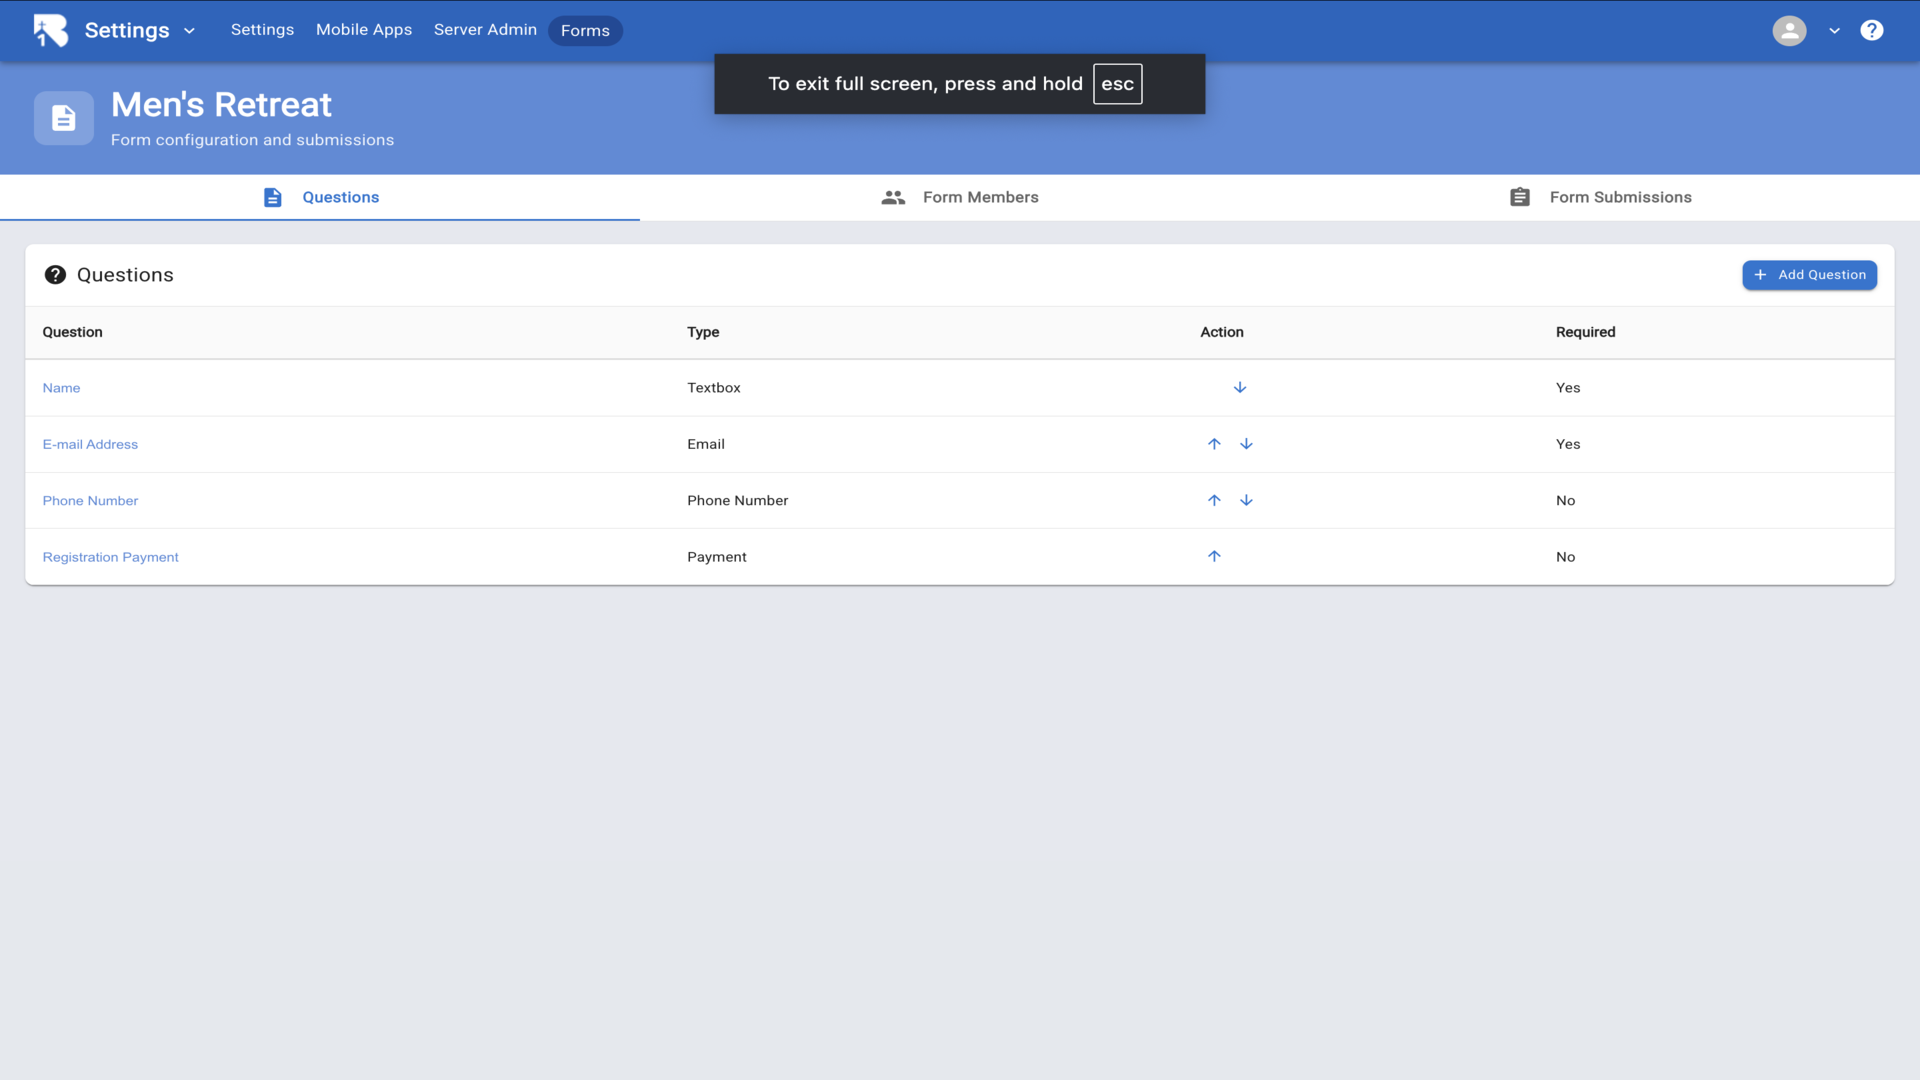
29.Add questions for Name, Email, Phone, and Payment▼
30.Click Form Members to manage administrators▼
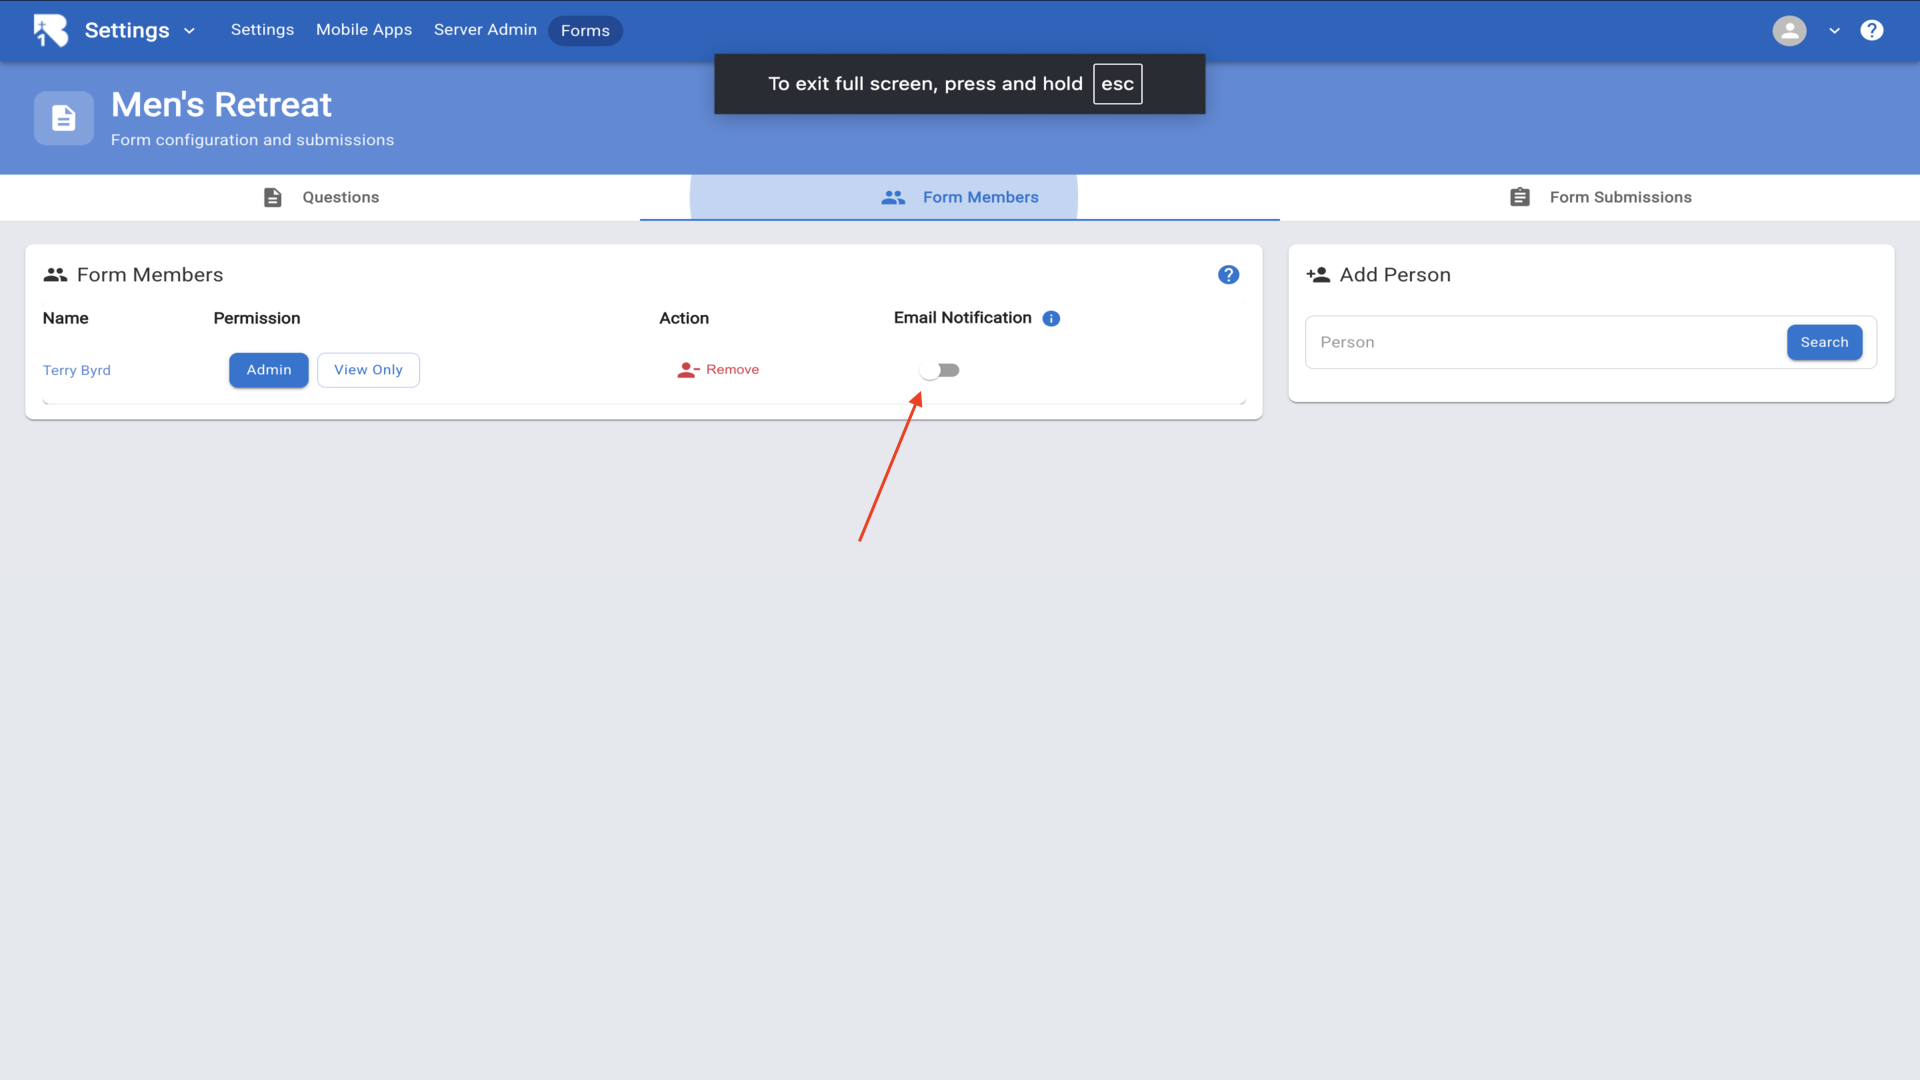
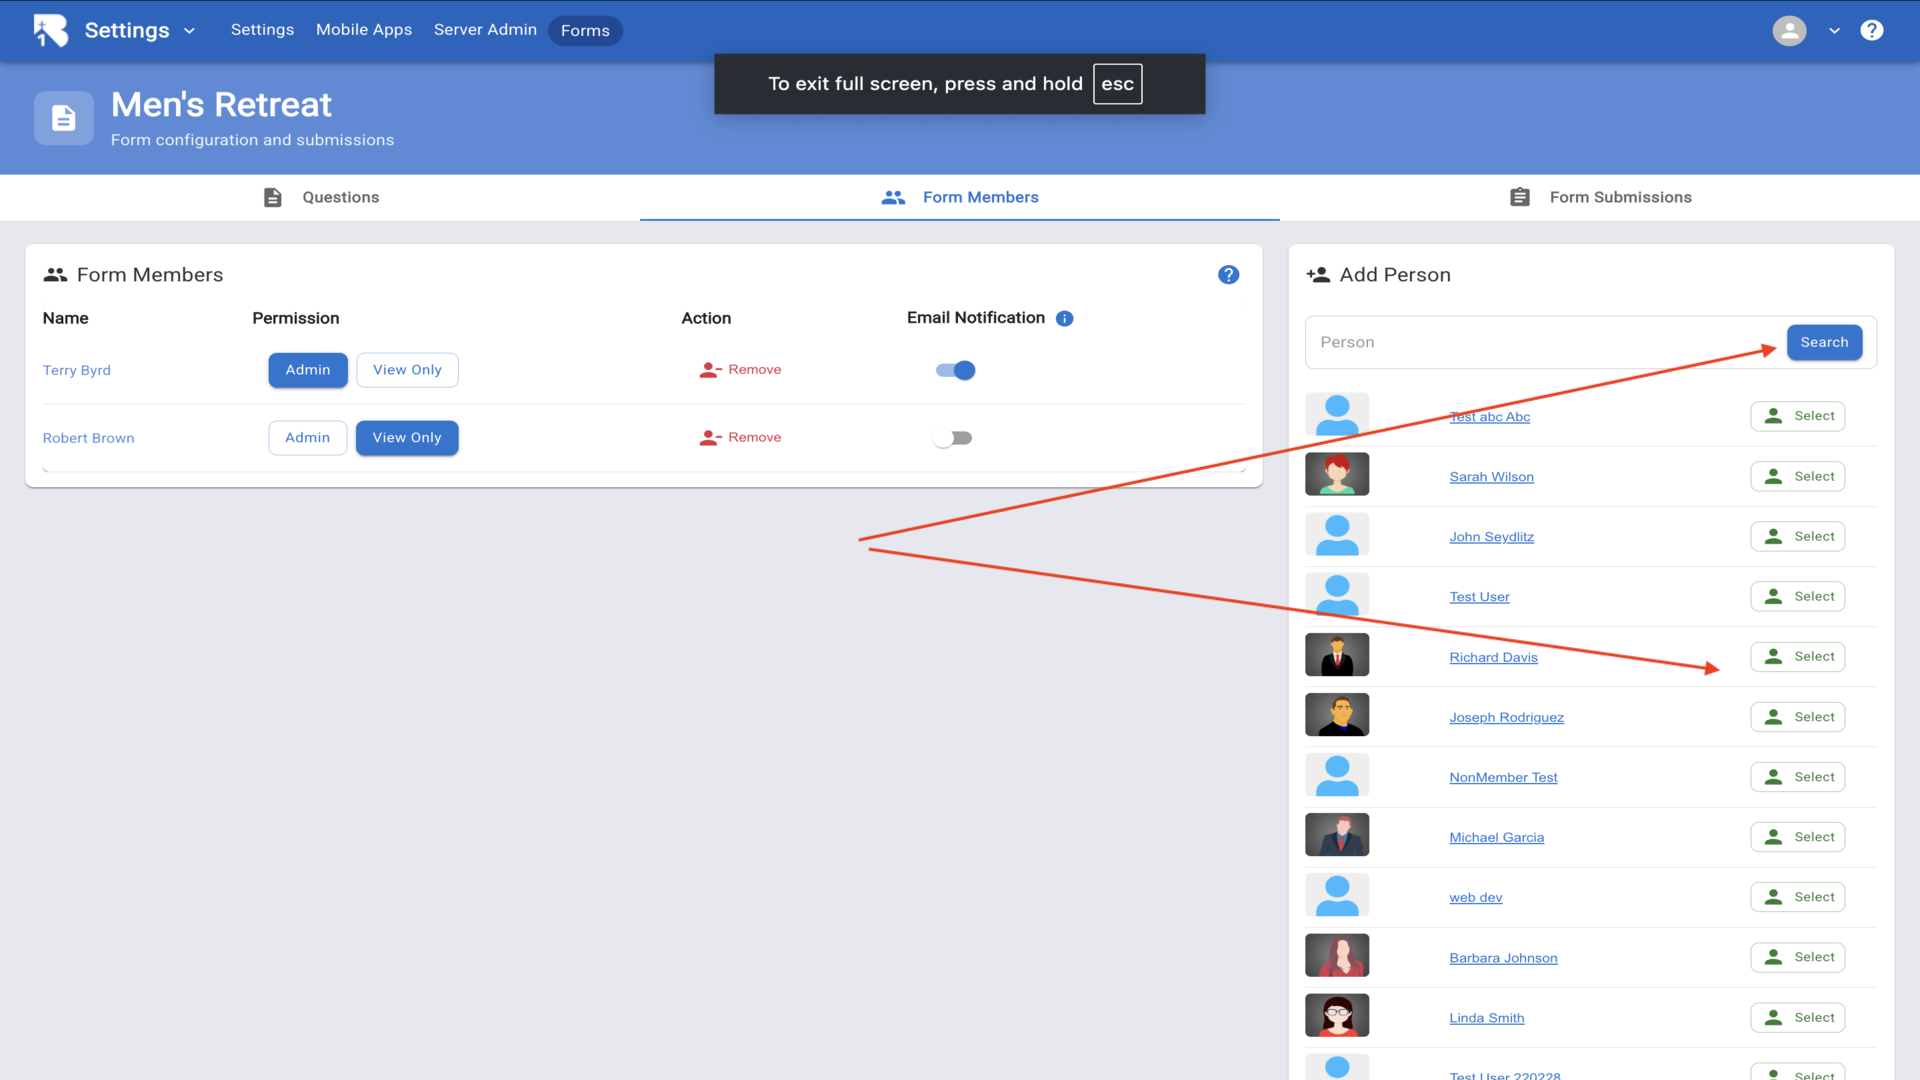
31.Search and add people as Admin or View Only▼
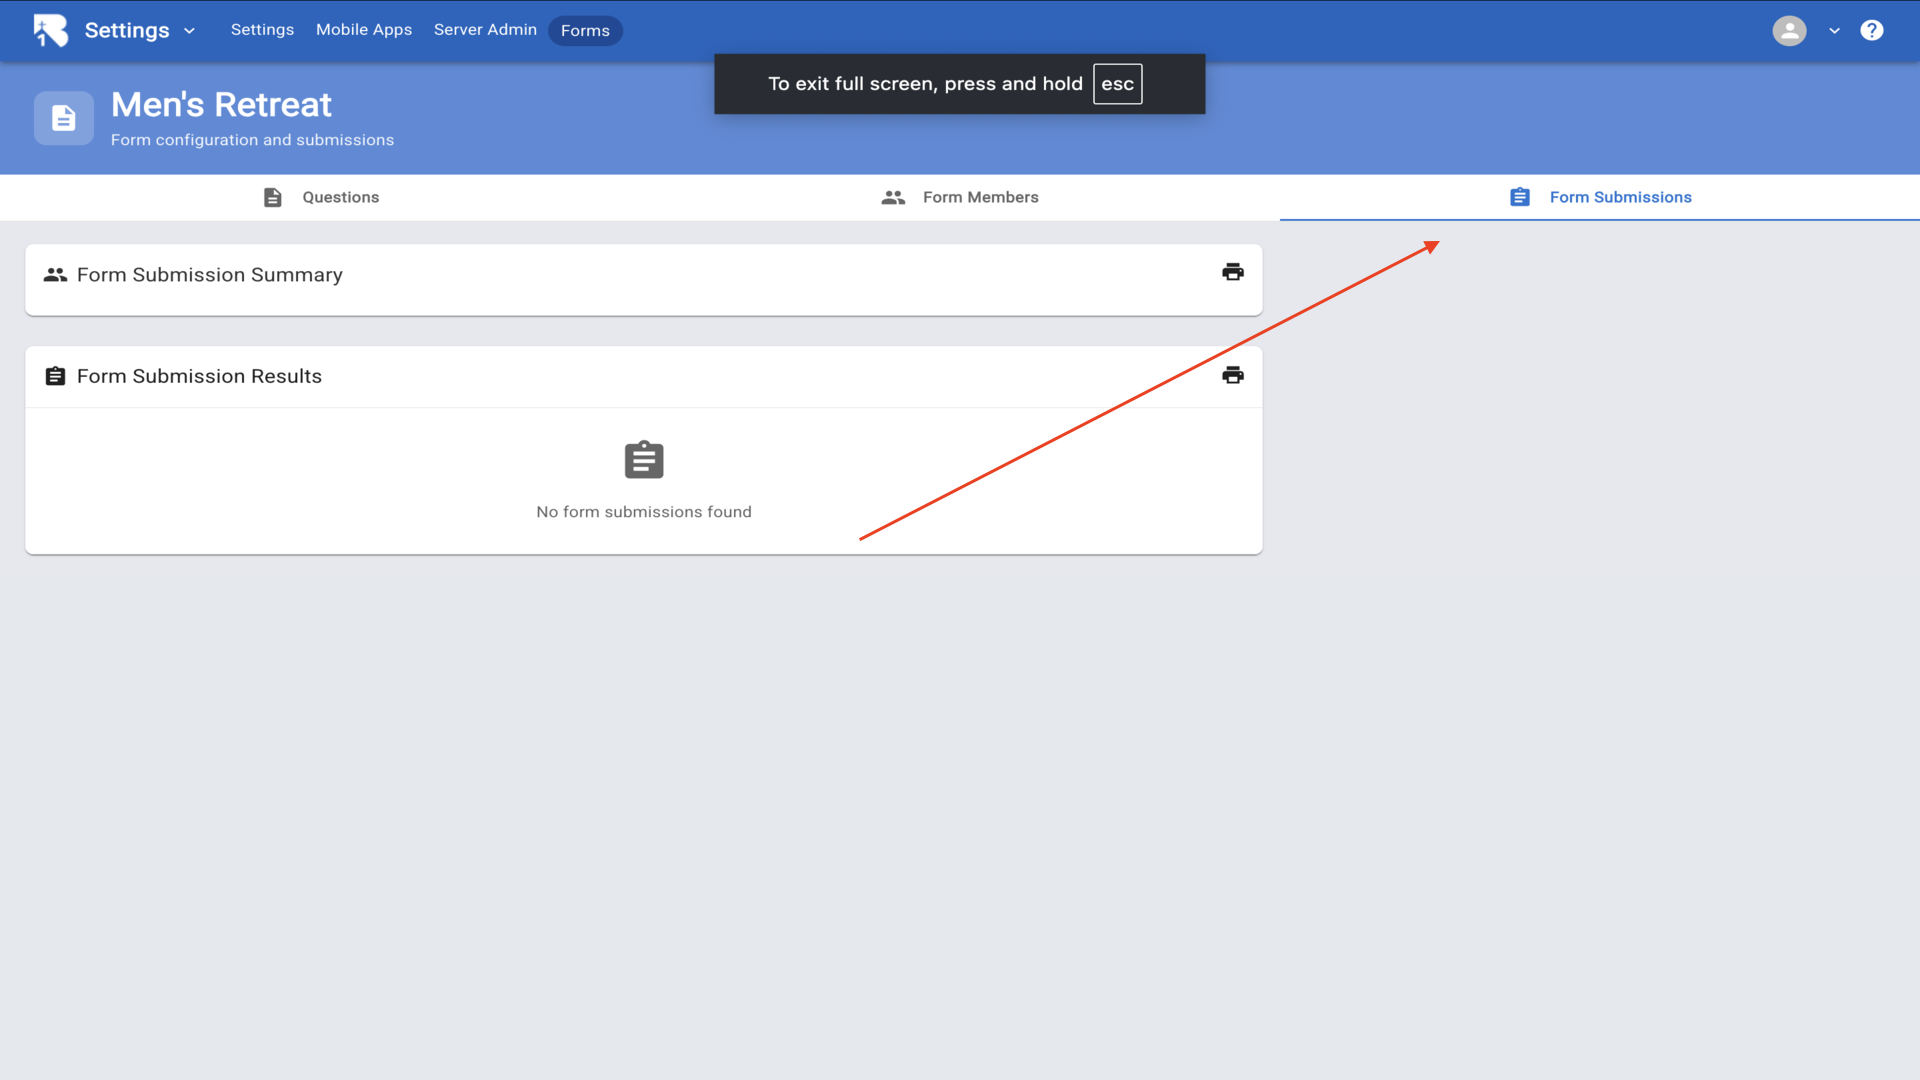
32.Form Submissions shows completed registrations▼
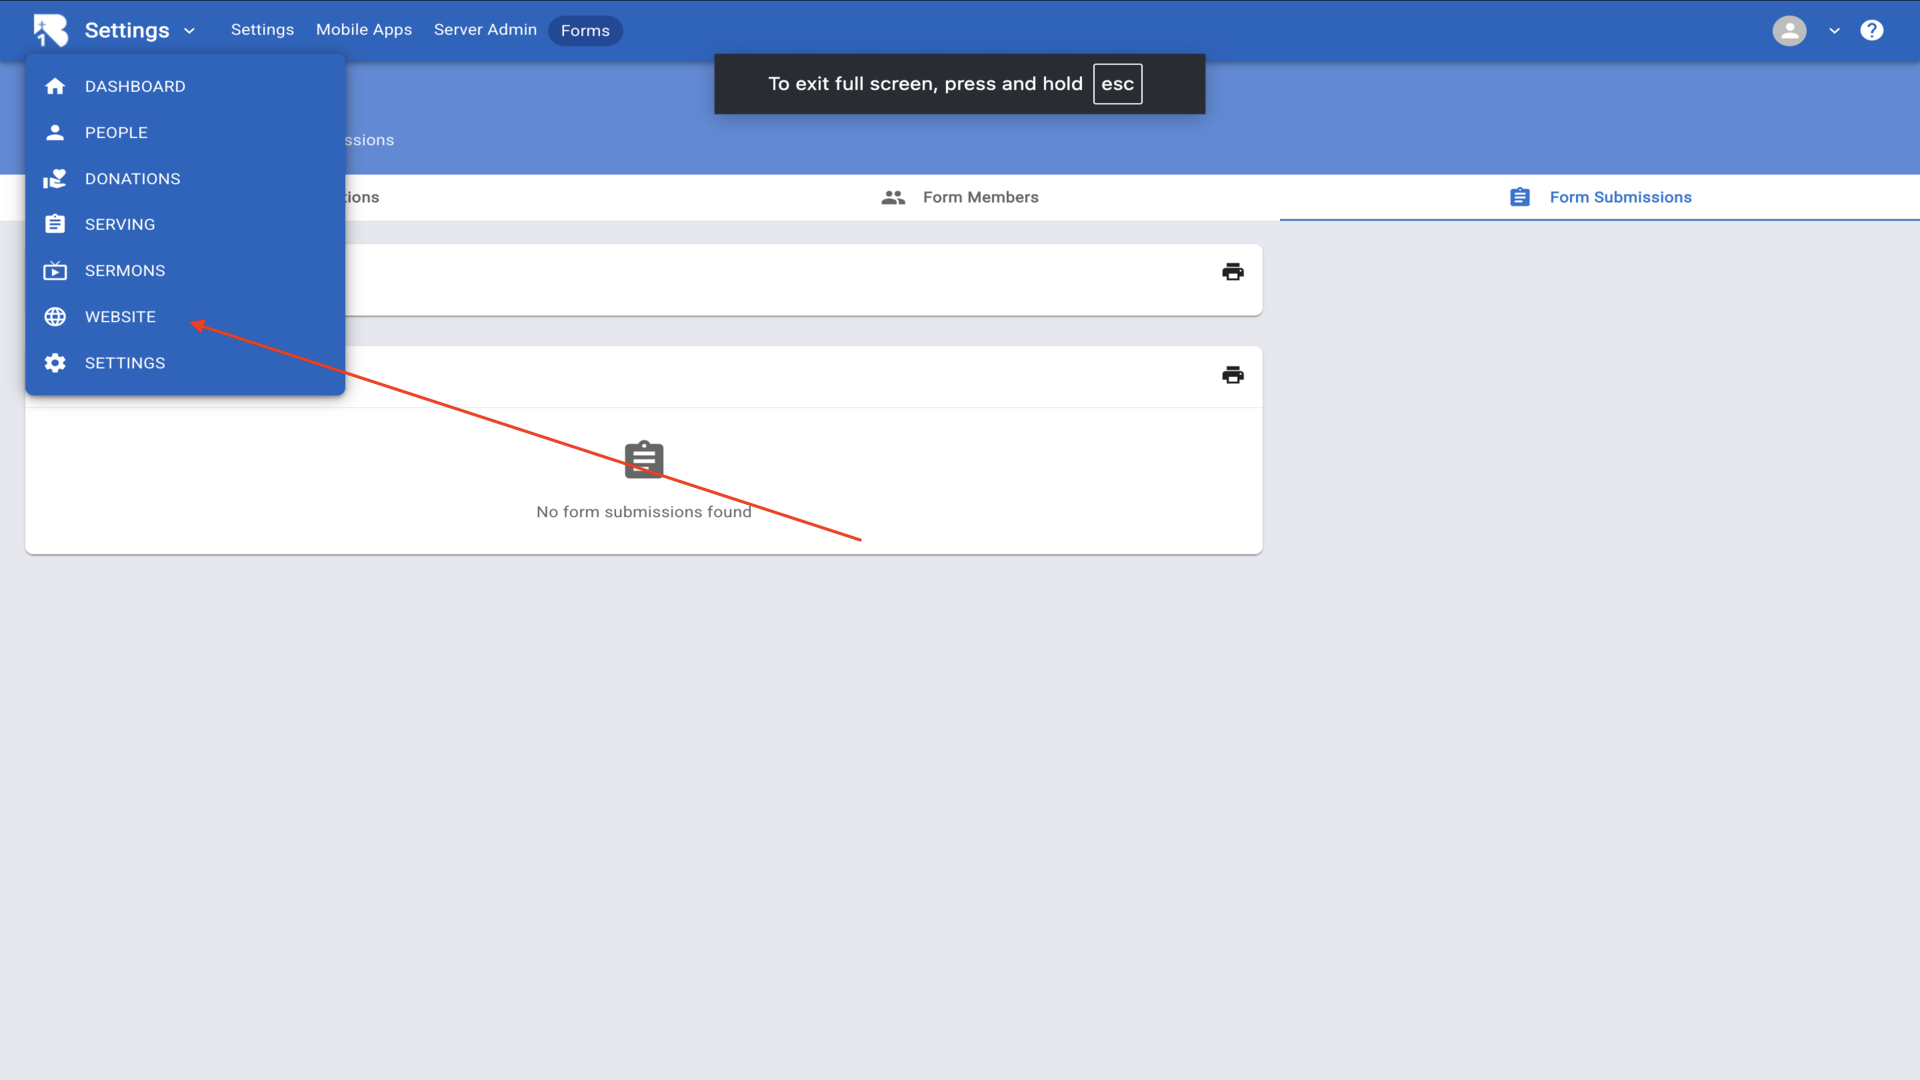
33.To embed forms on your website, go to Website▼
34.Click Add Page▼
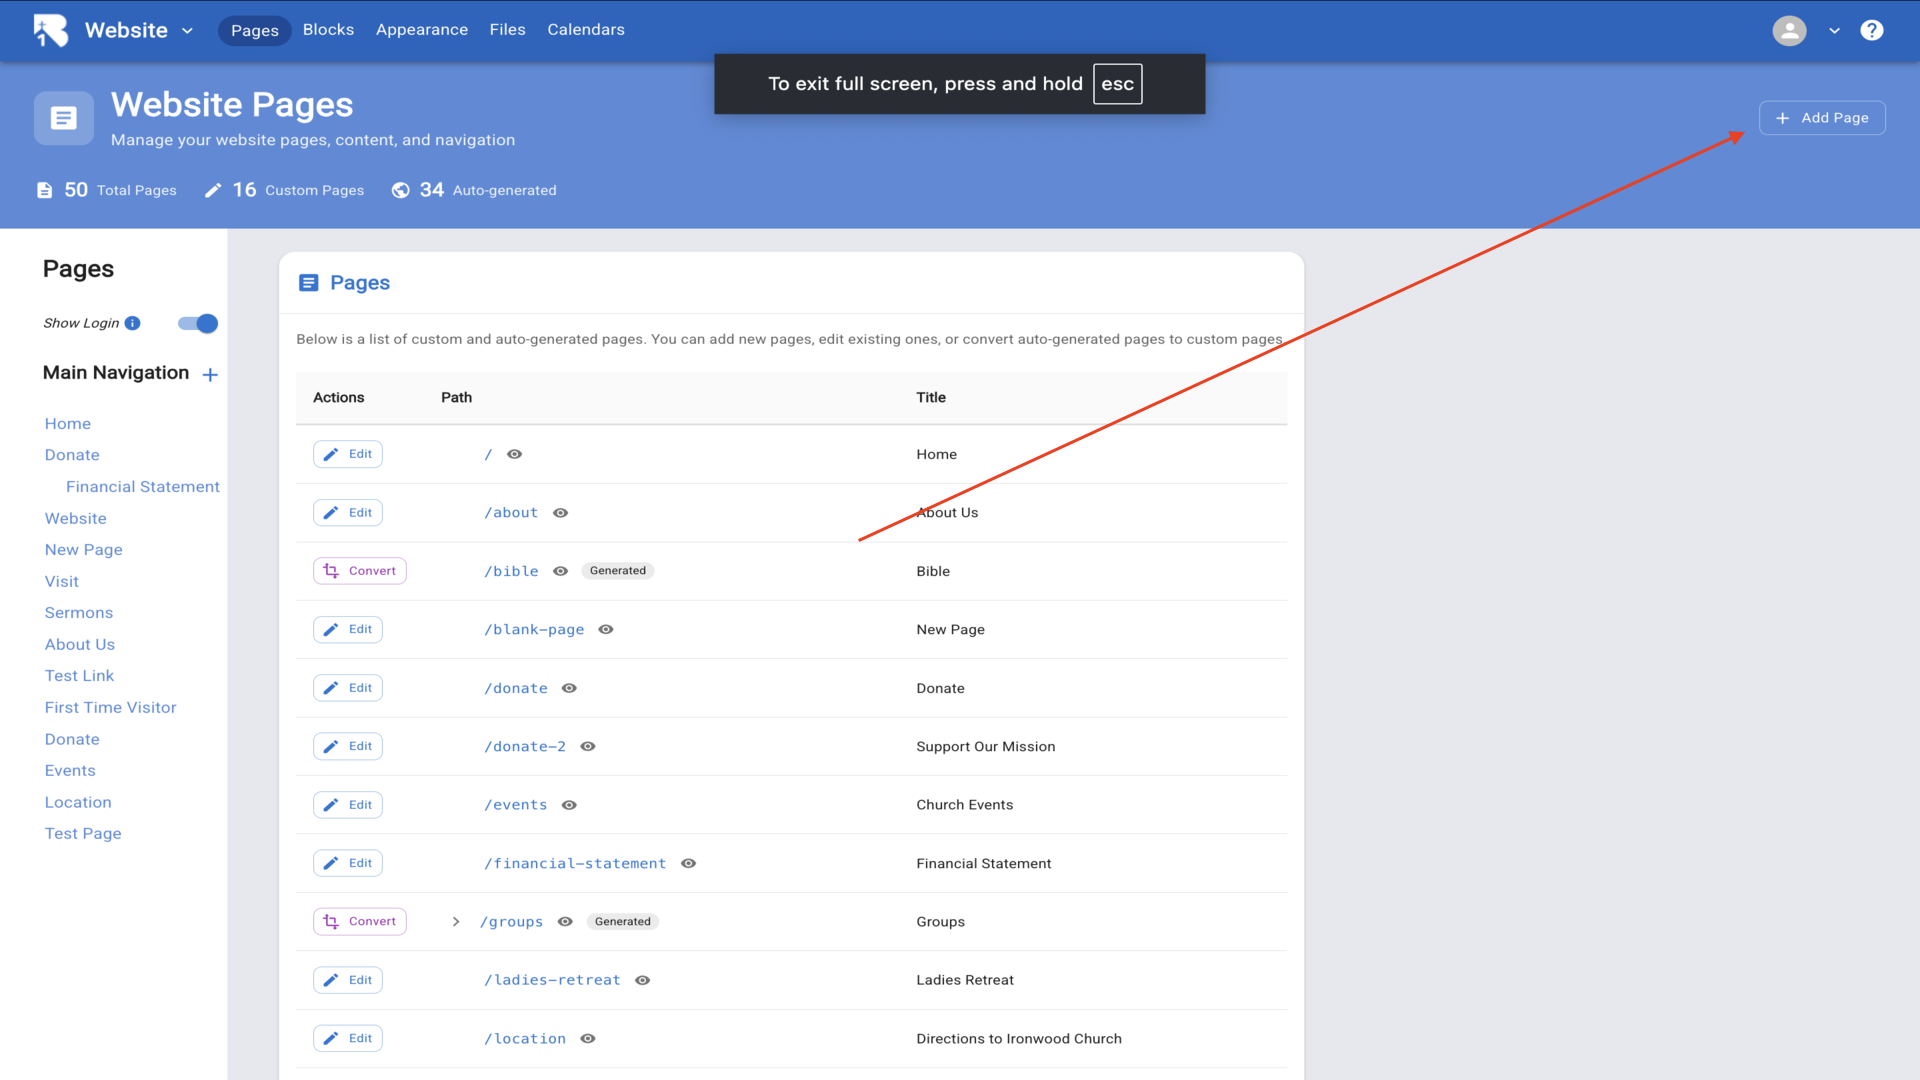
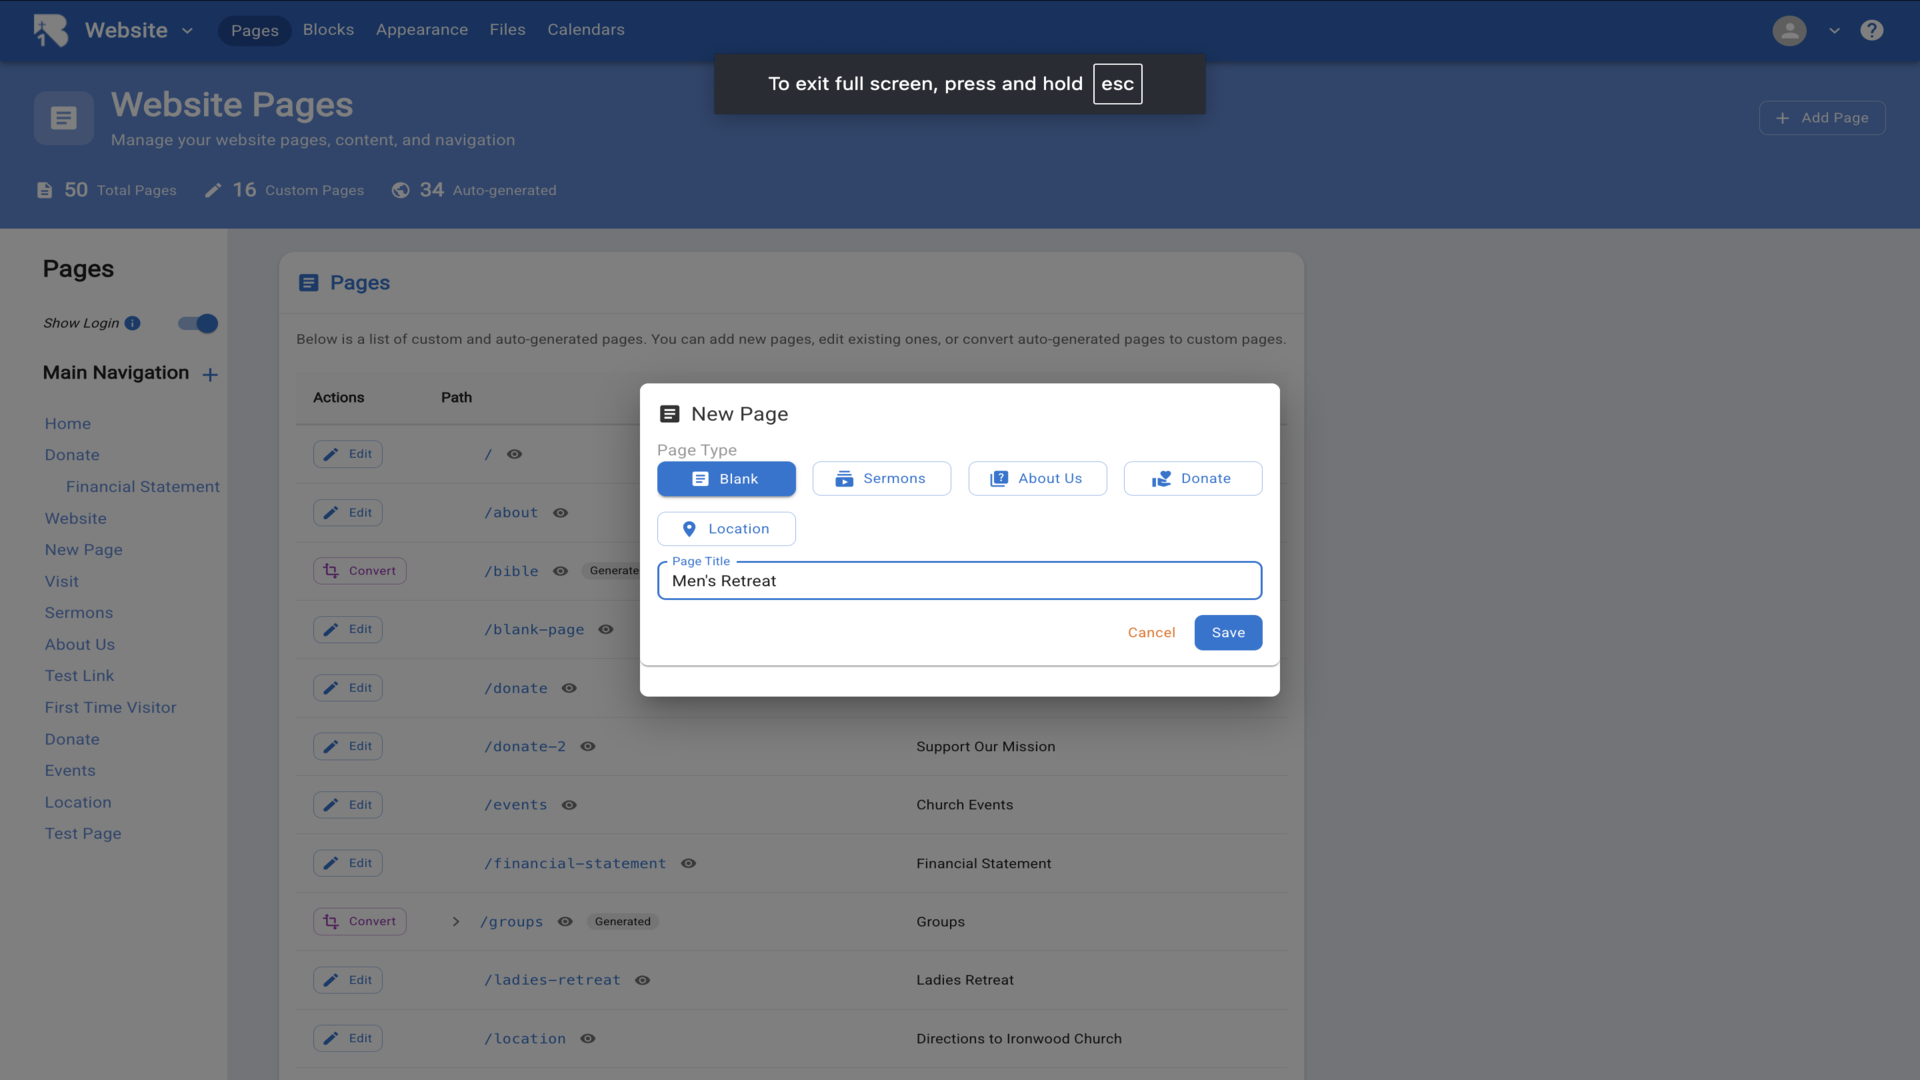
35.Select Blank, enter Men's Retreat, and Save▼
36.Click the plus icon to add elements▼
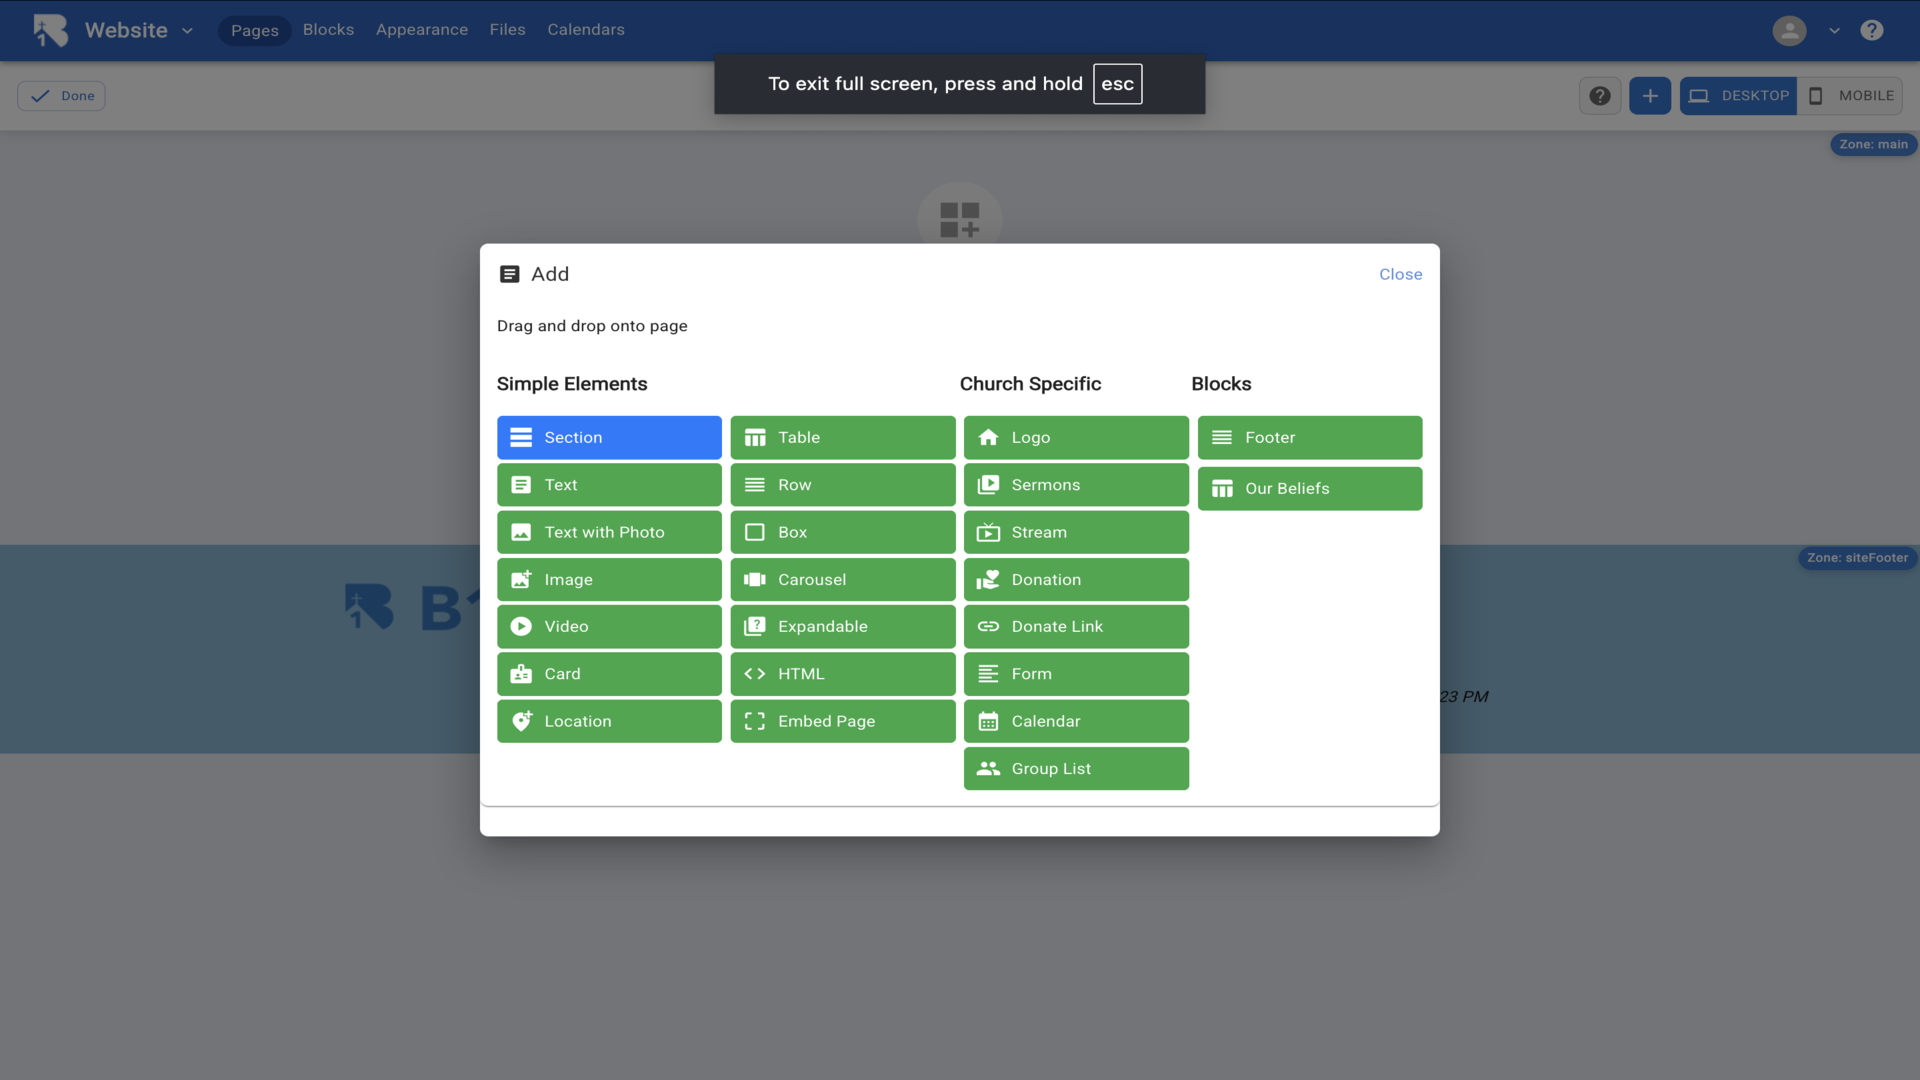
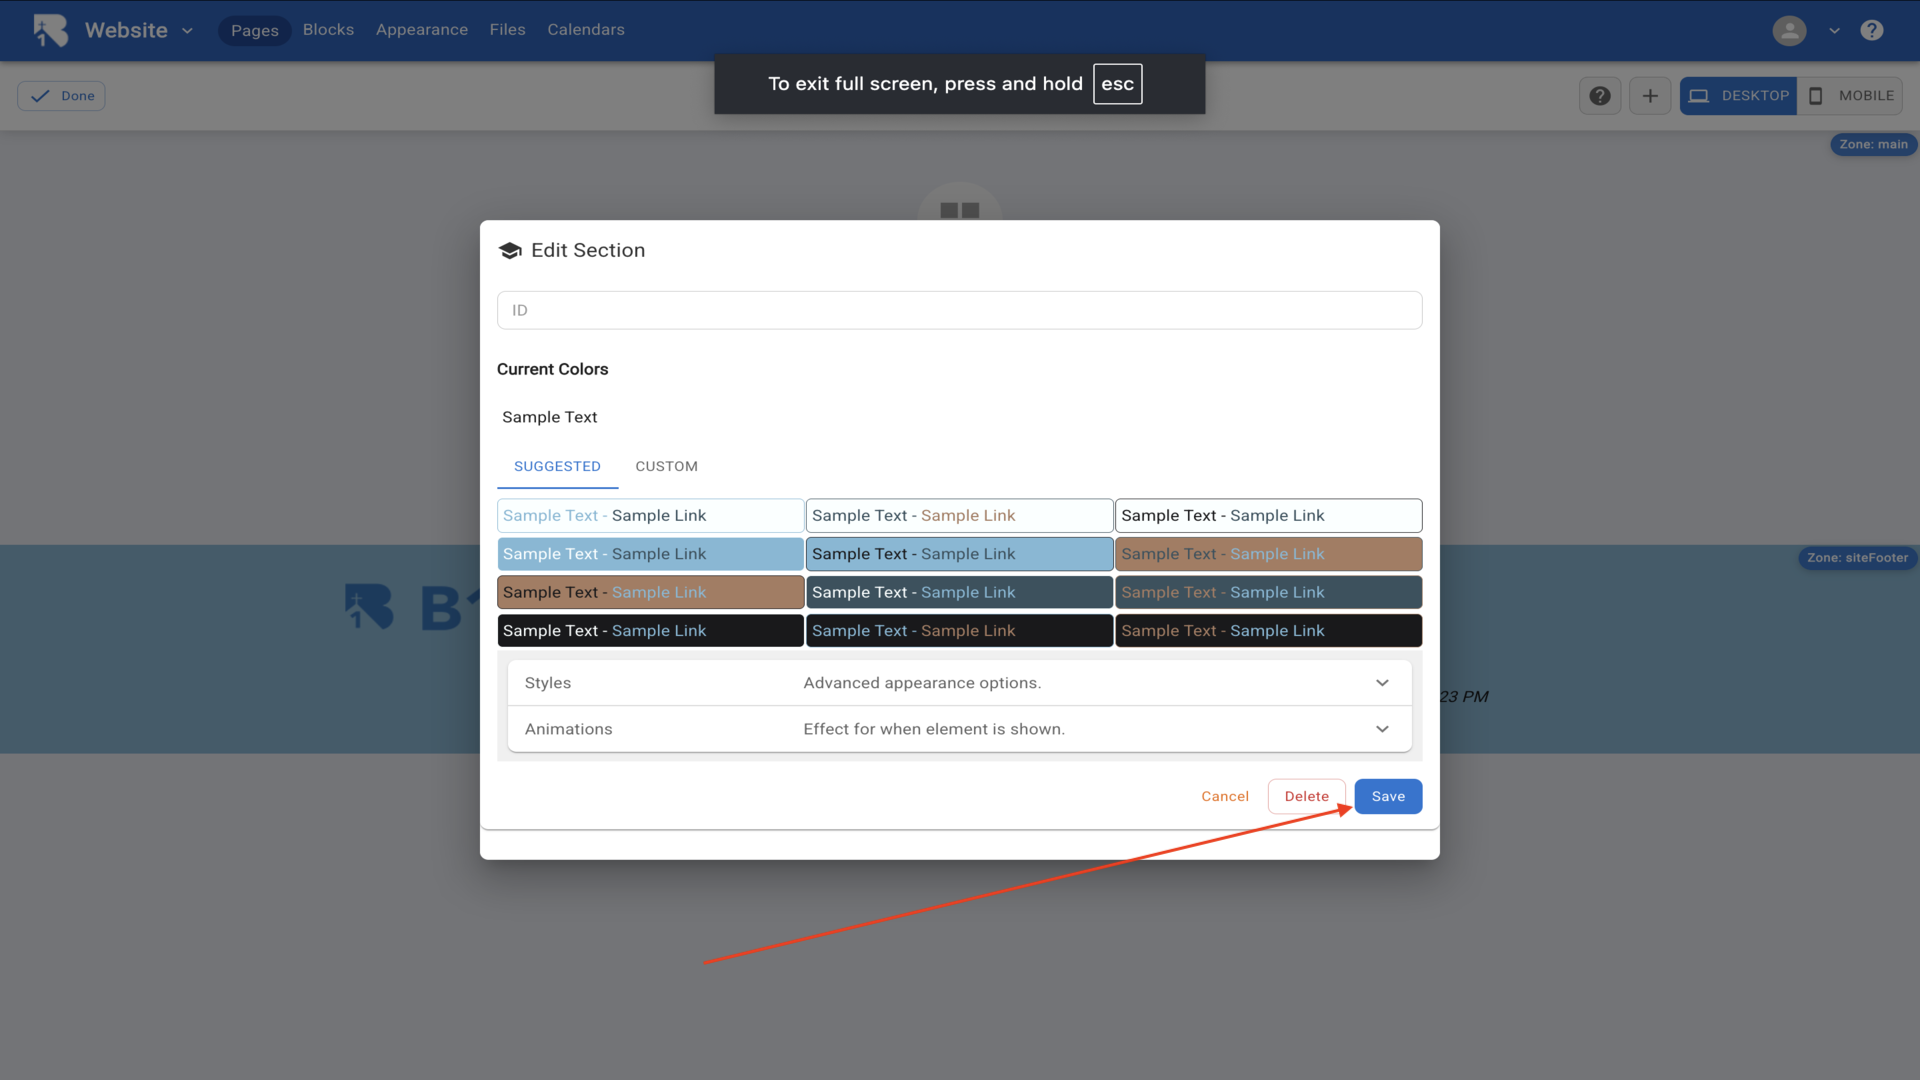
37.Add a Section and choose colors▼
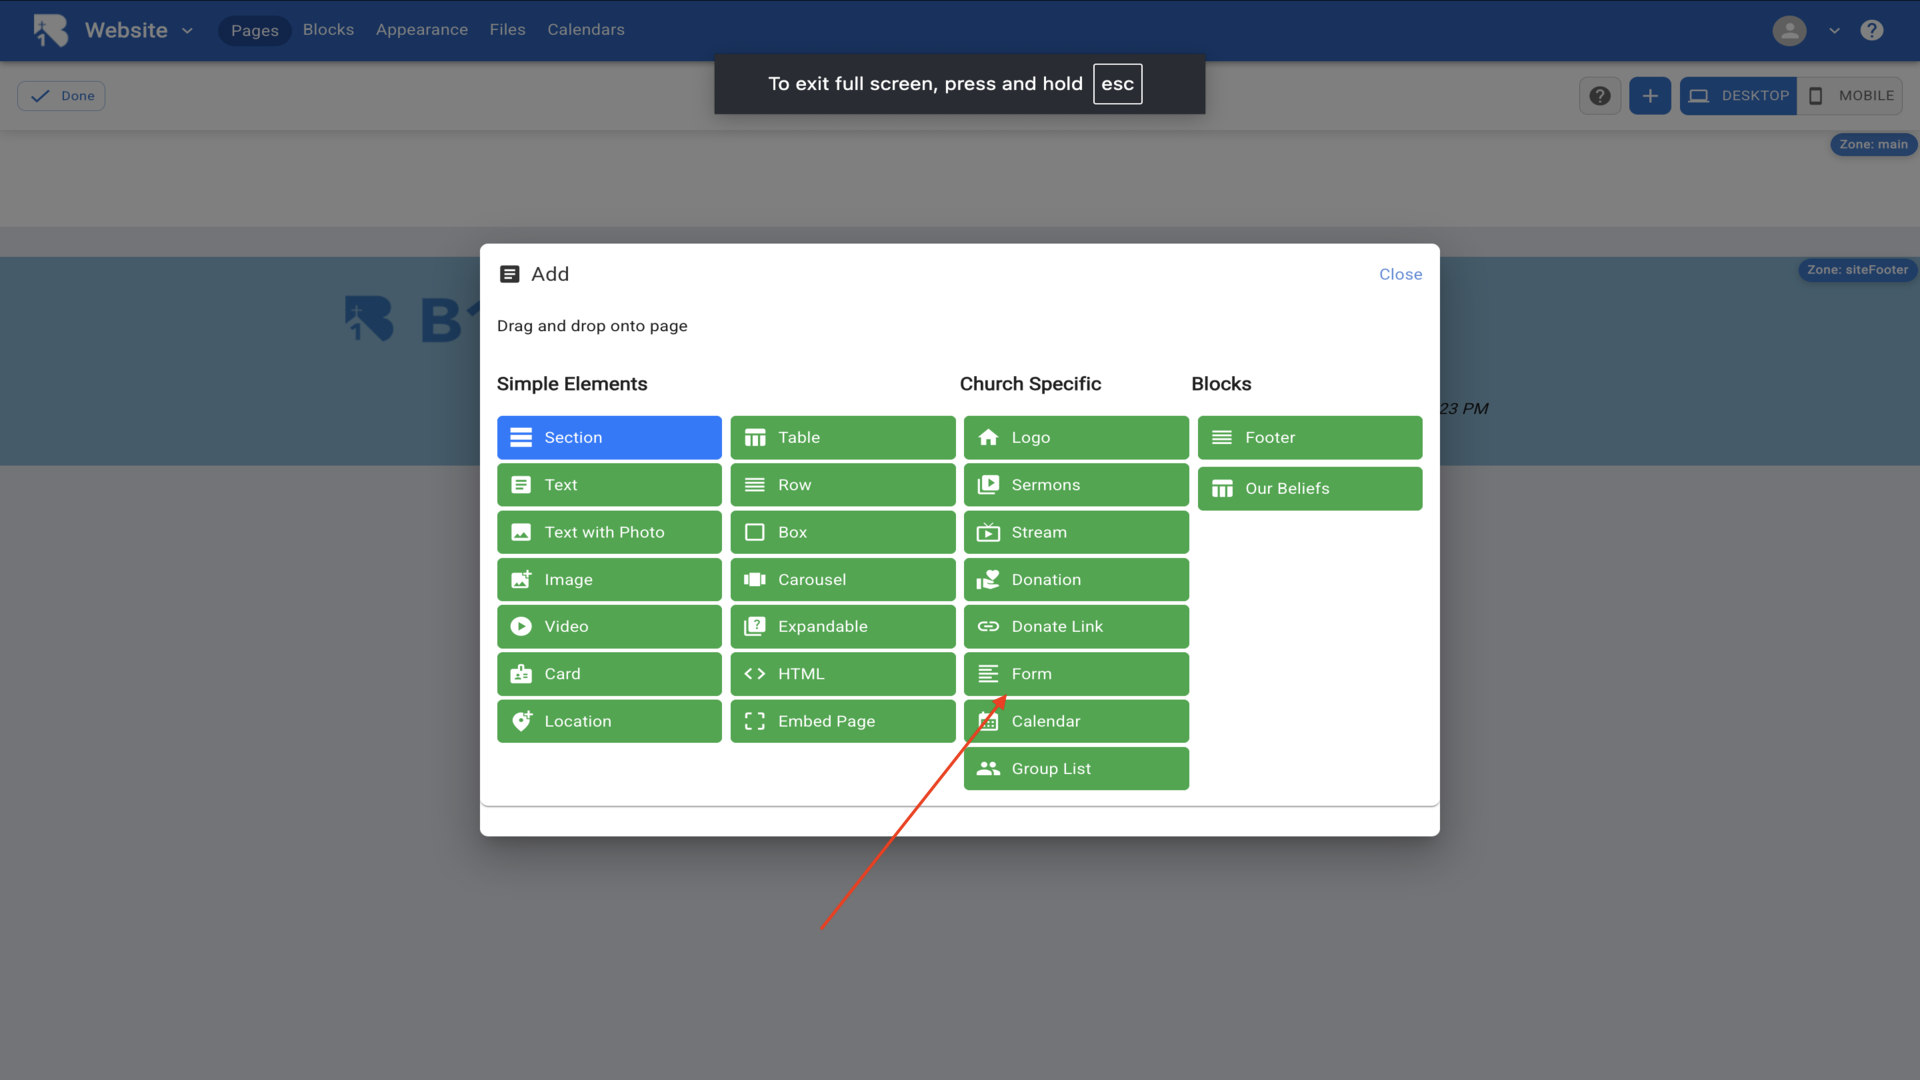
38.Click plus and select Form▼
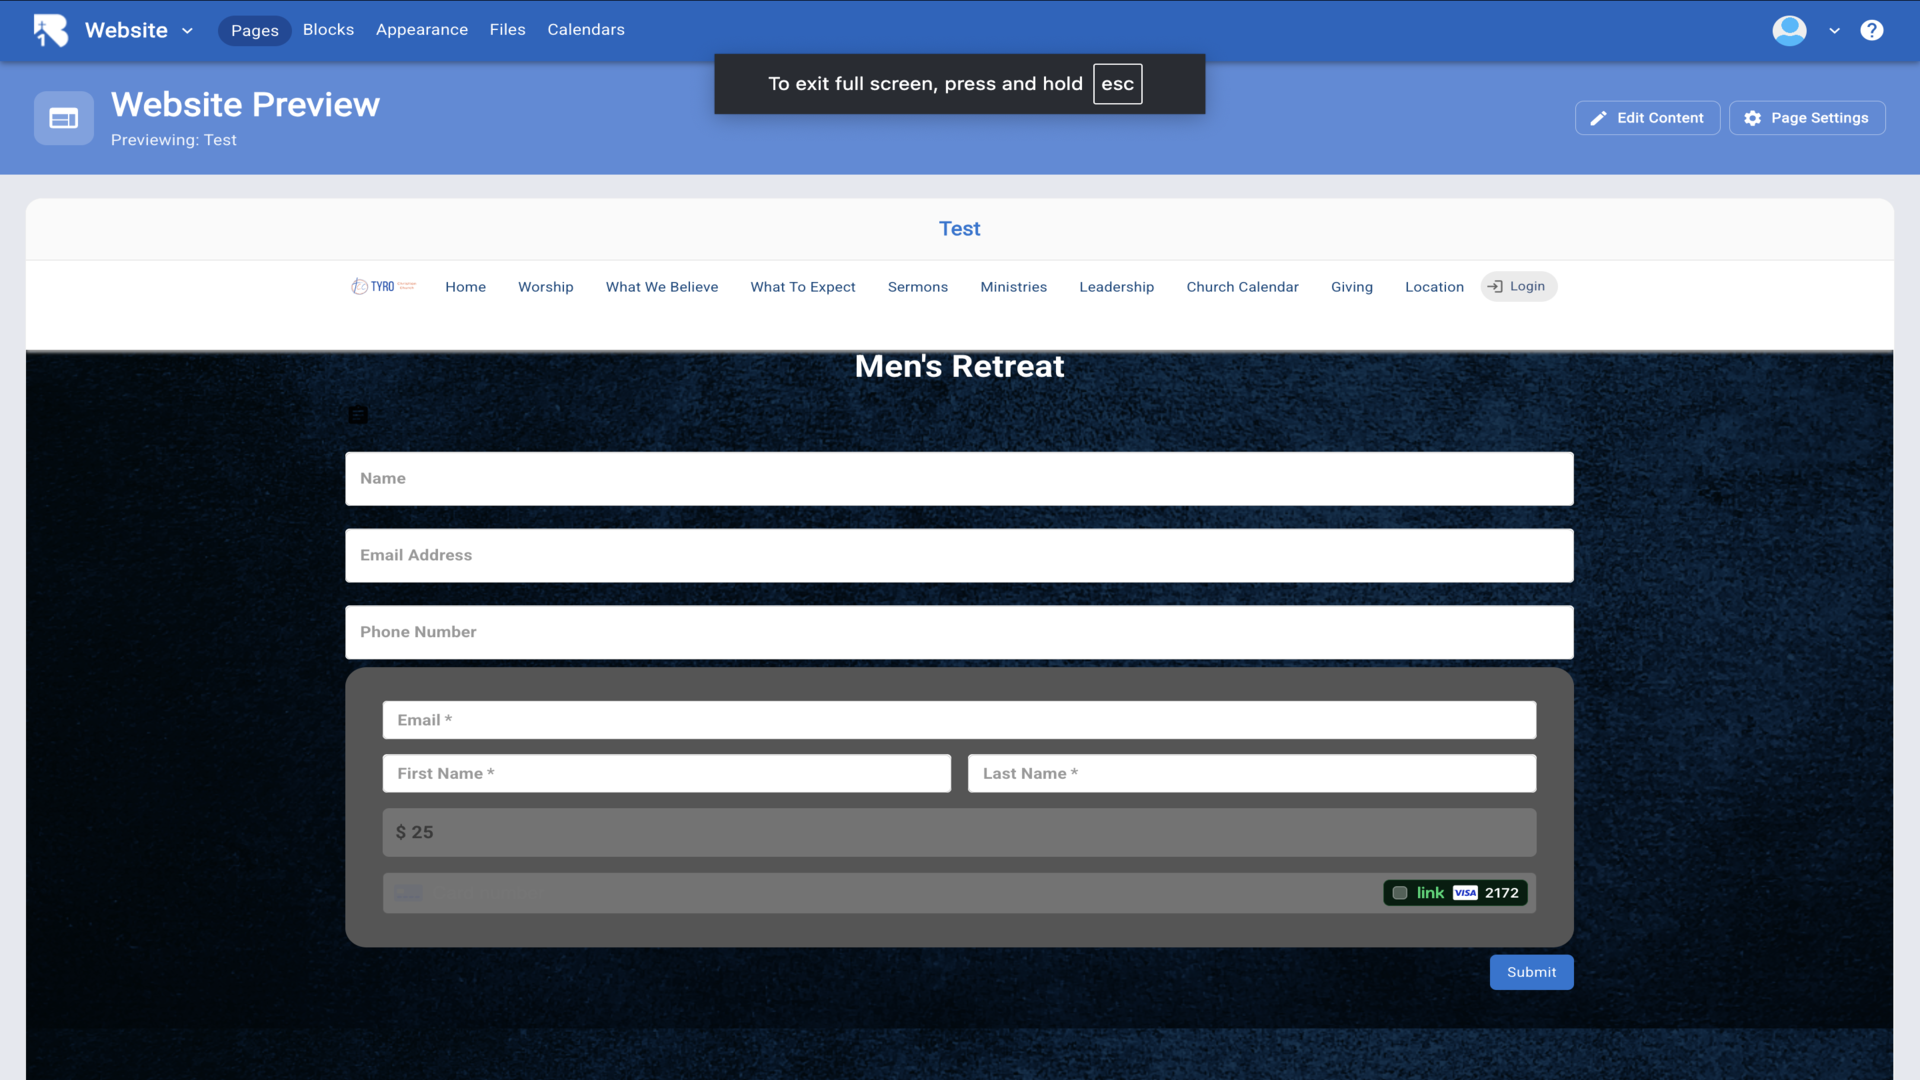
39.Click Select to choose the form▼
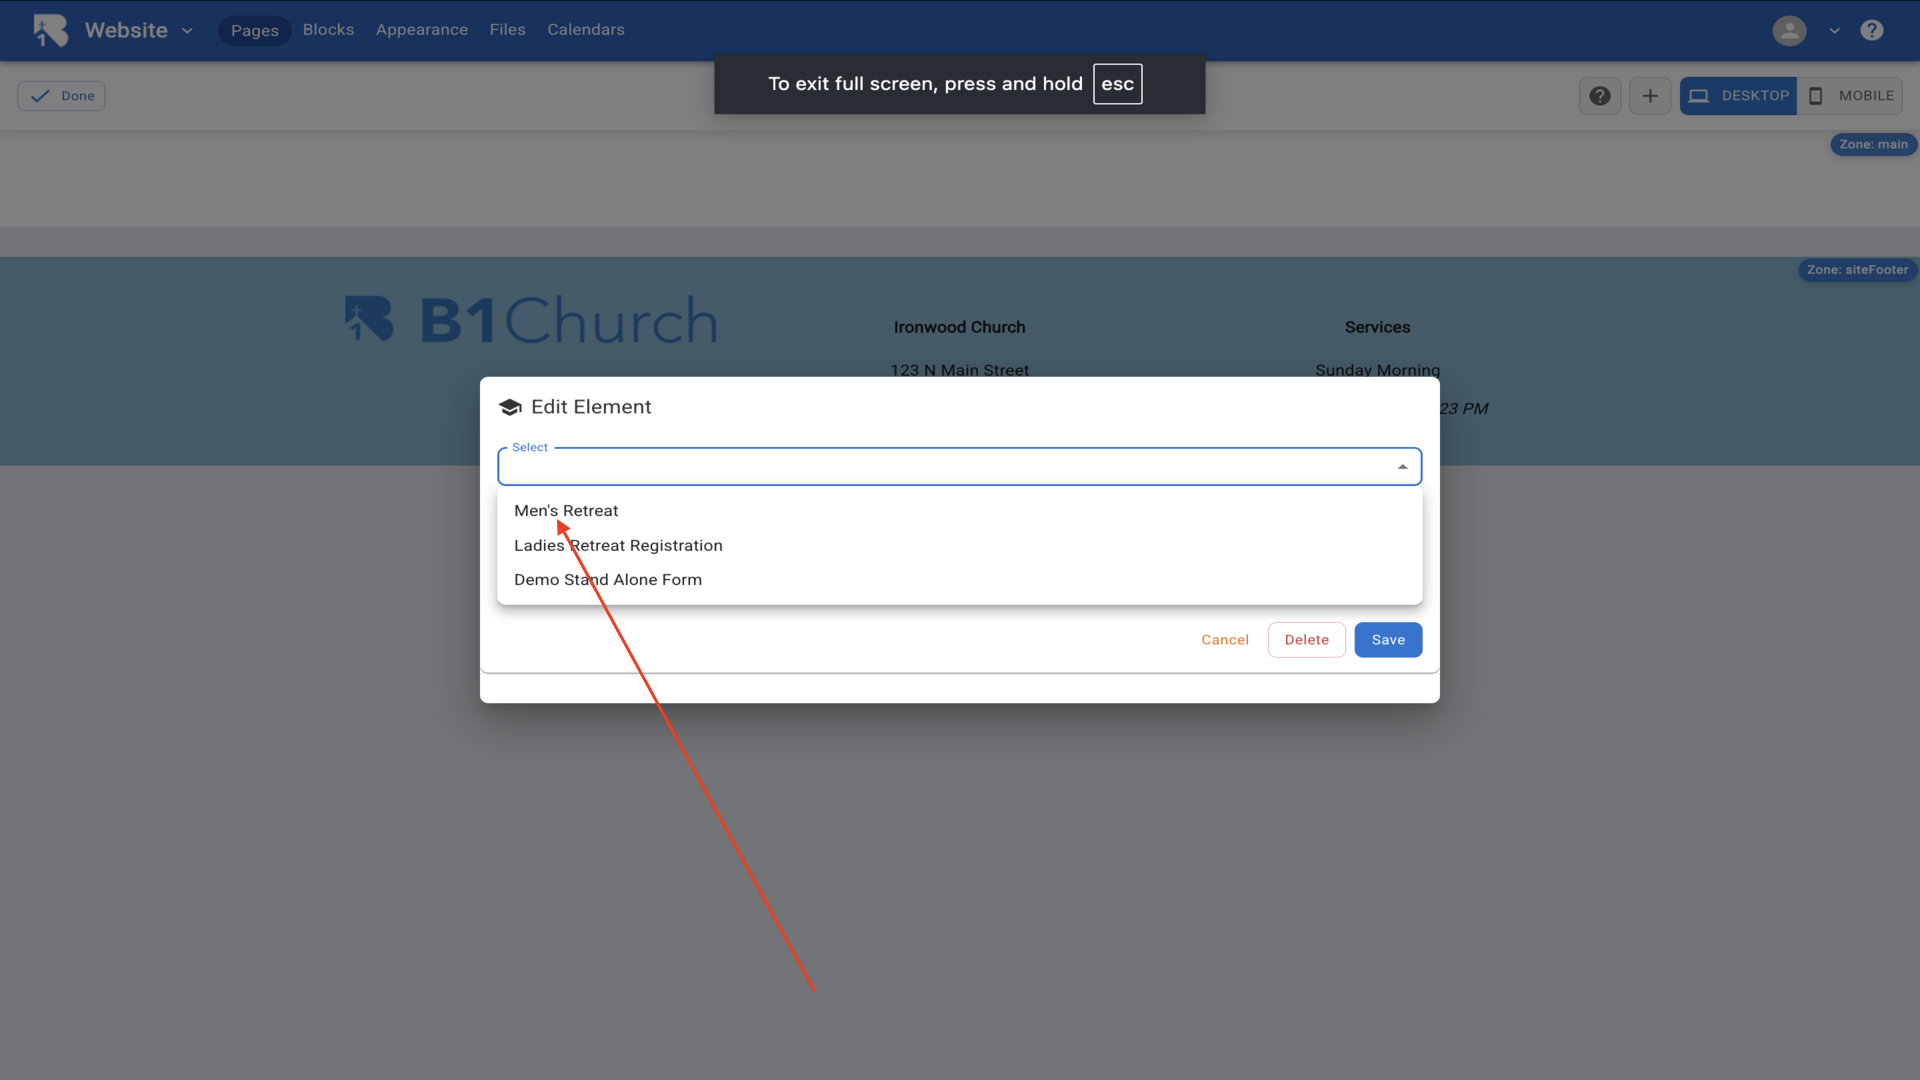
40.Select Men's Retreat and Save▼
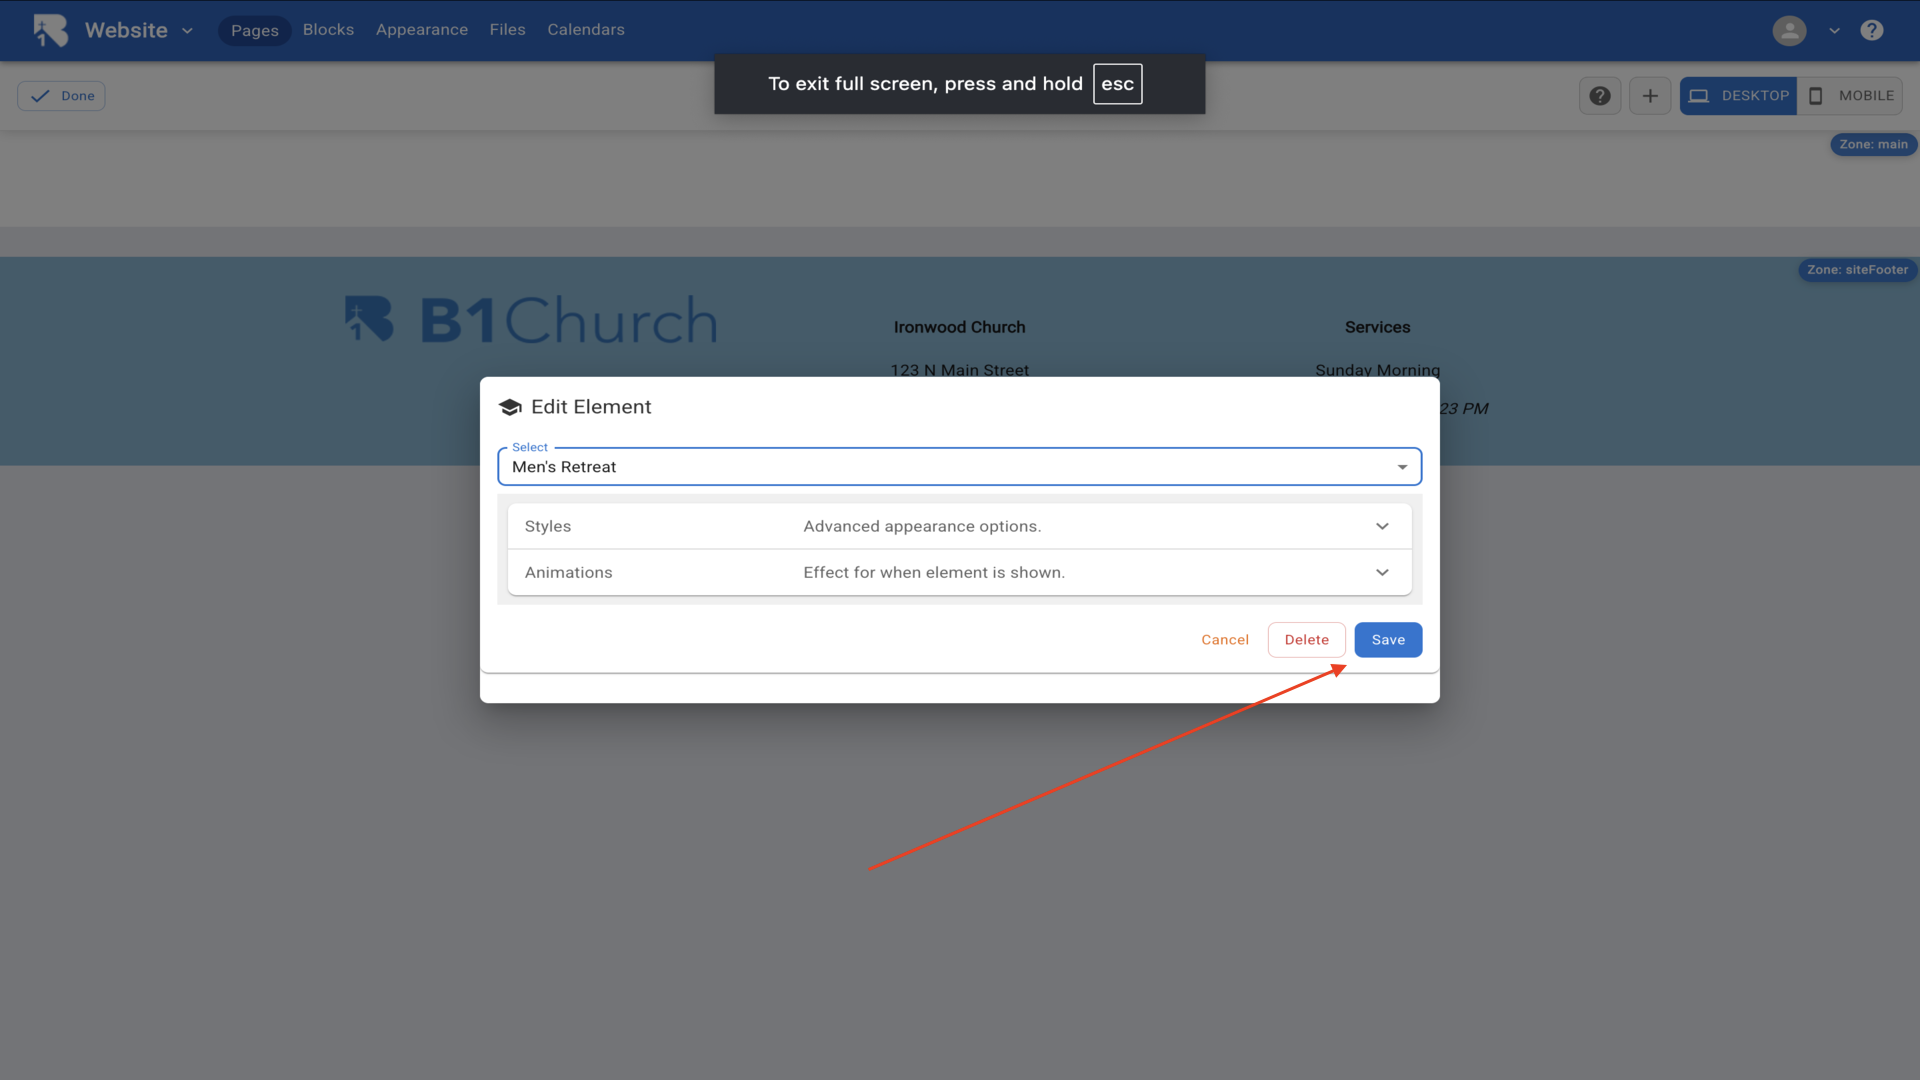
41.Your form is now embedded and ready for registrations▼