02 Admin
Configuring Online Streaming and Sermon Videos
Steps
Steps
1.To configure navigation links and tabs for your live stream, start from the Dashboard and click on "Sermons" in the left navigation menu.▼
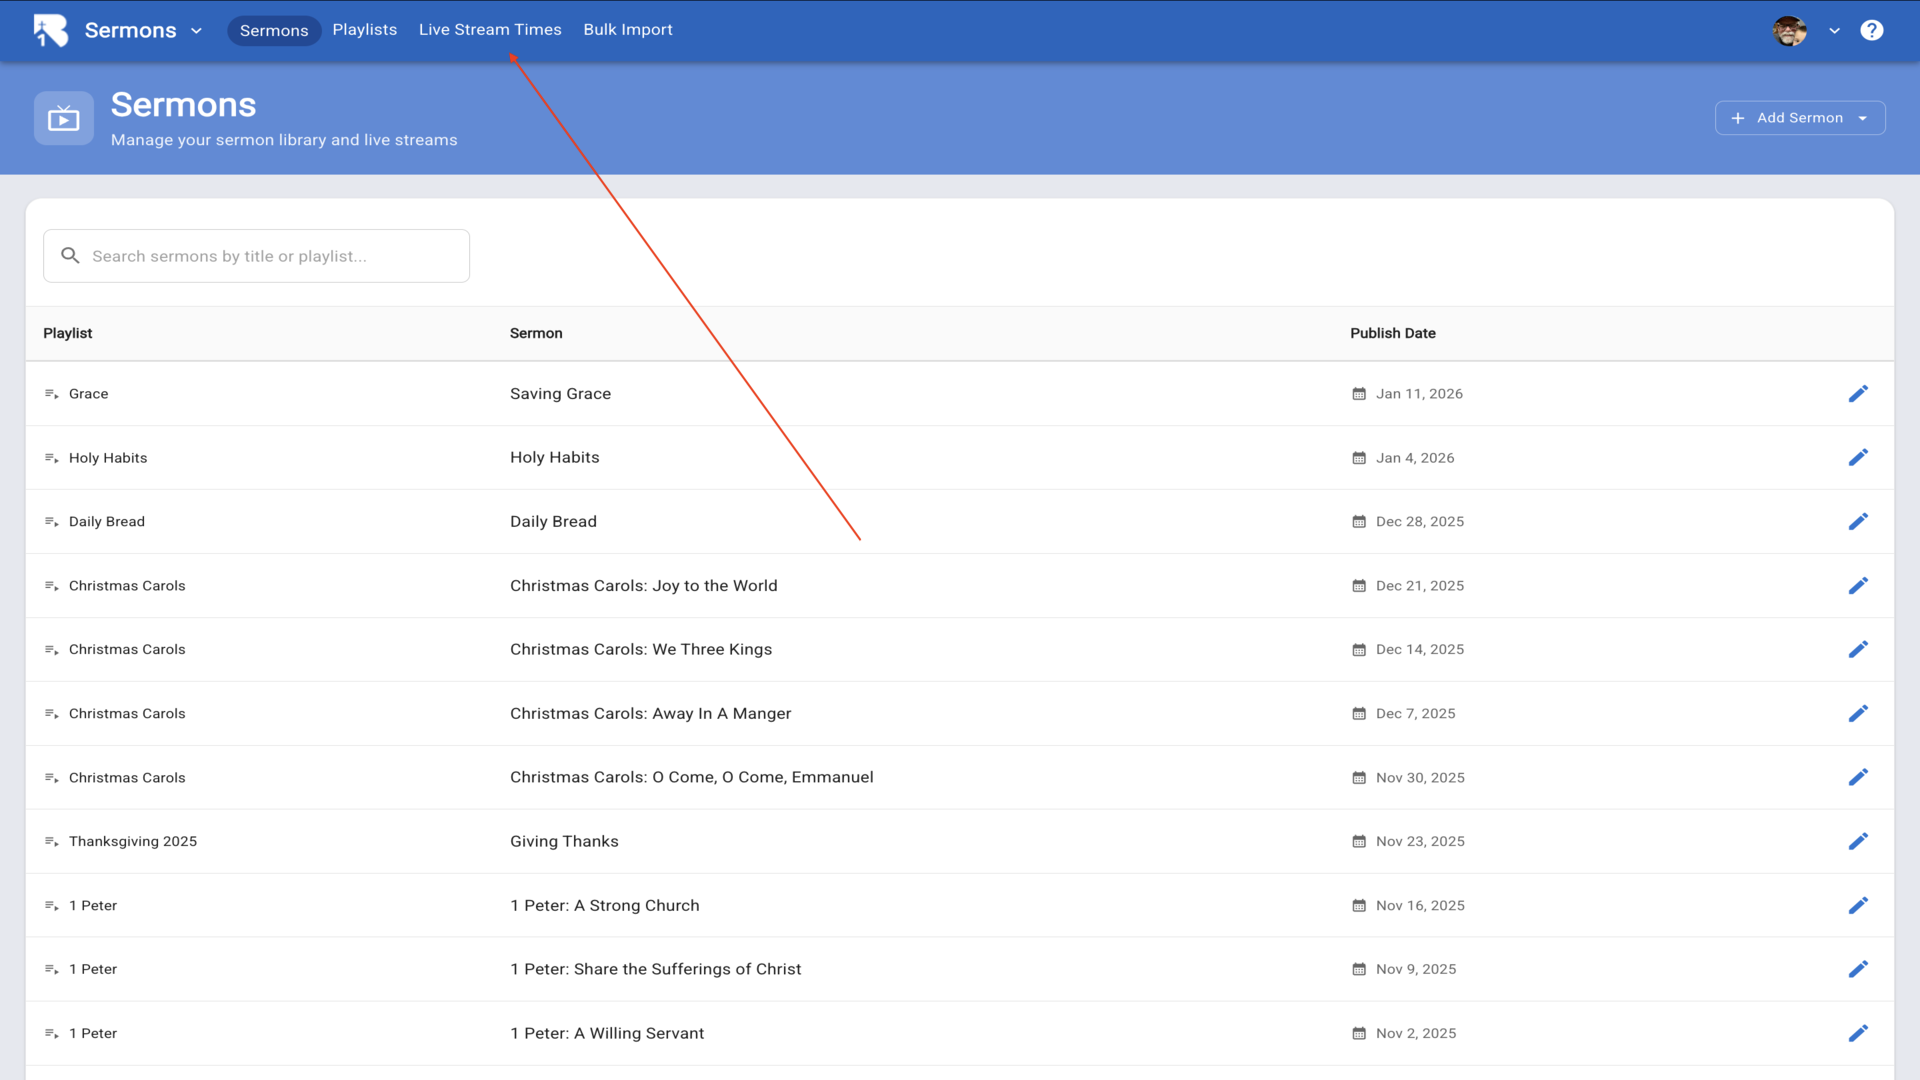
2.From the Sermons page, click on the "Live Stream Times" tab to access stream configuration.▼
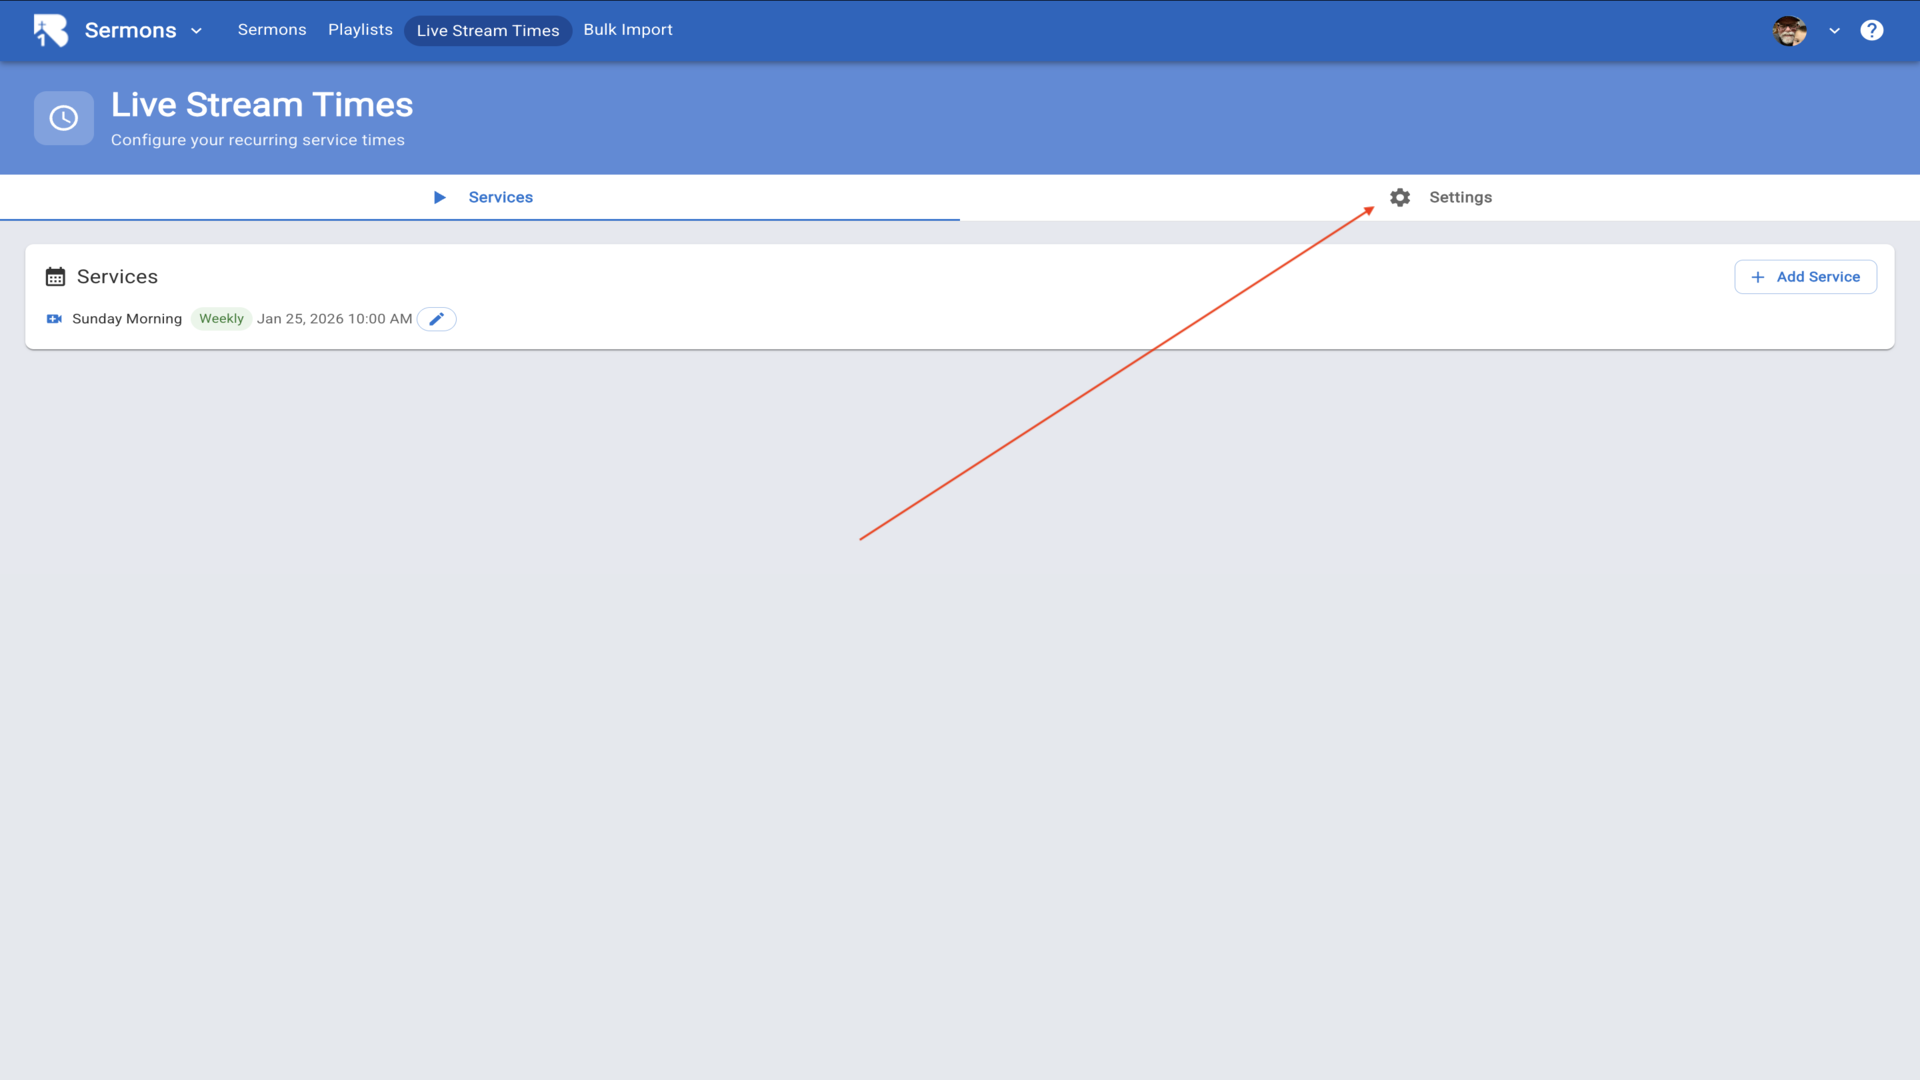
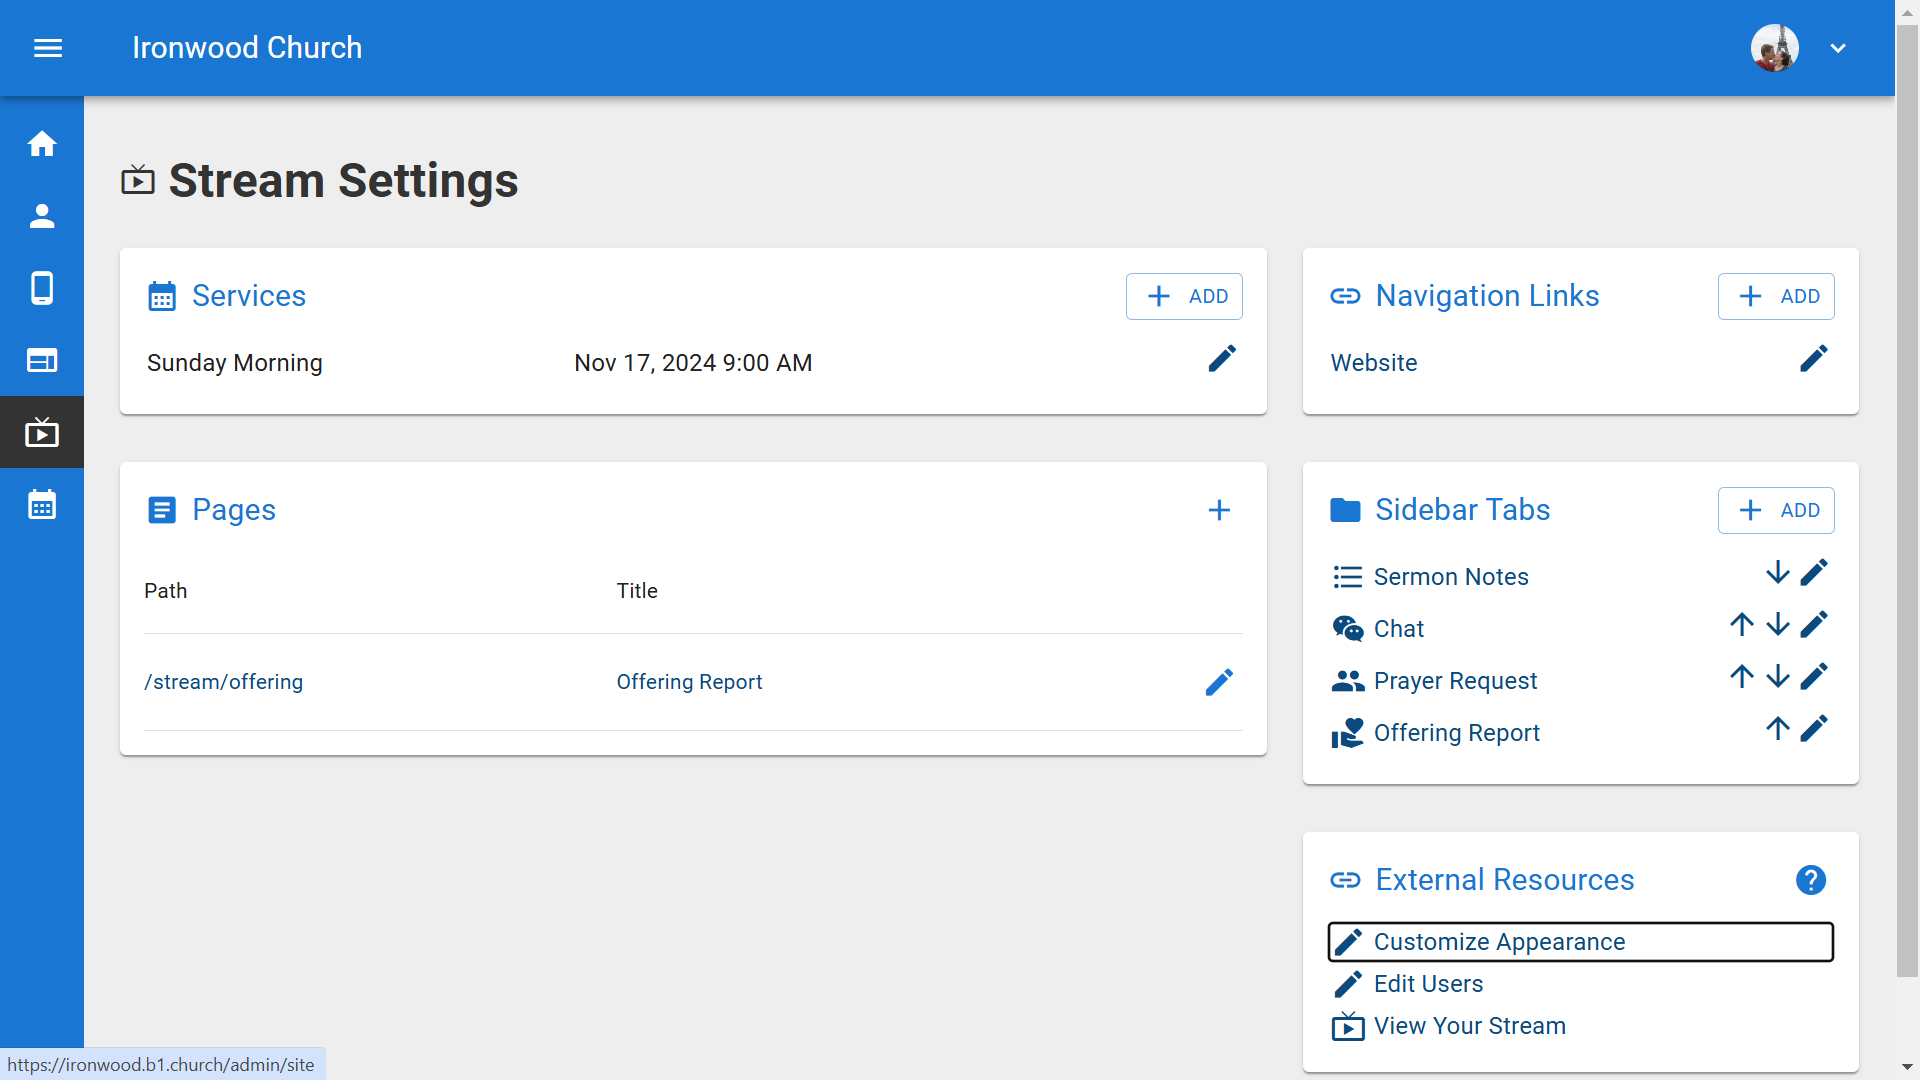
3.On the Live Stream Times page, click the "Settings" button to configure your streaming page options.▼
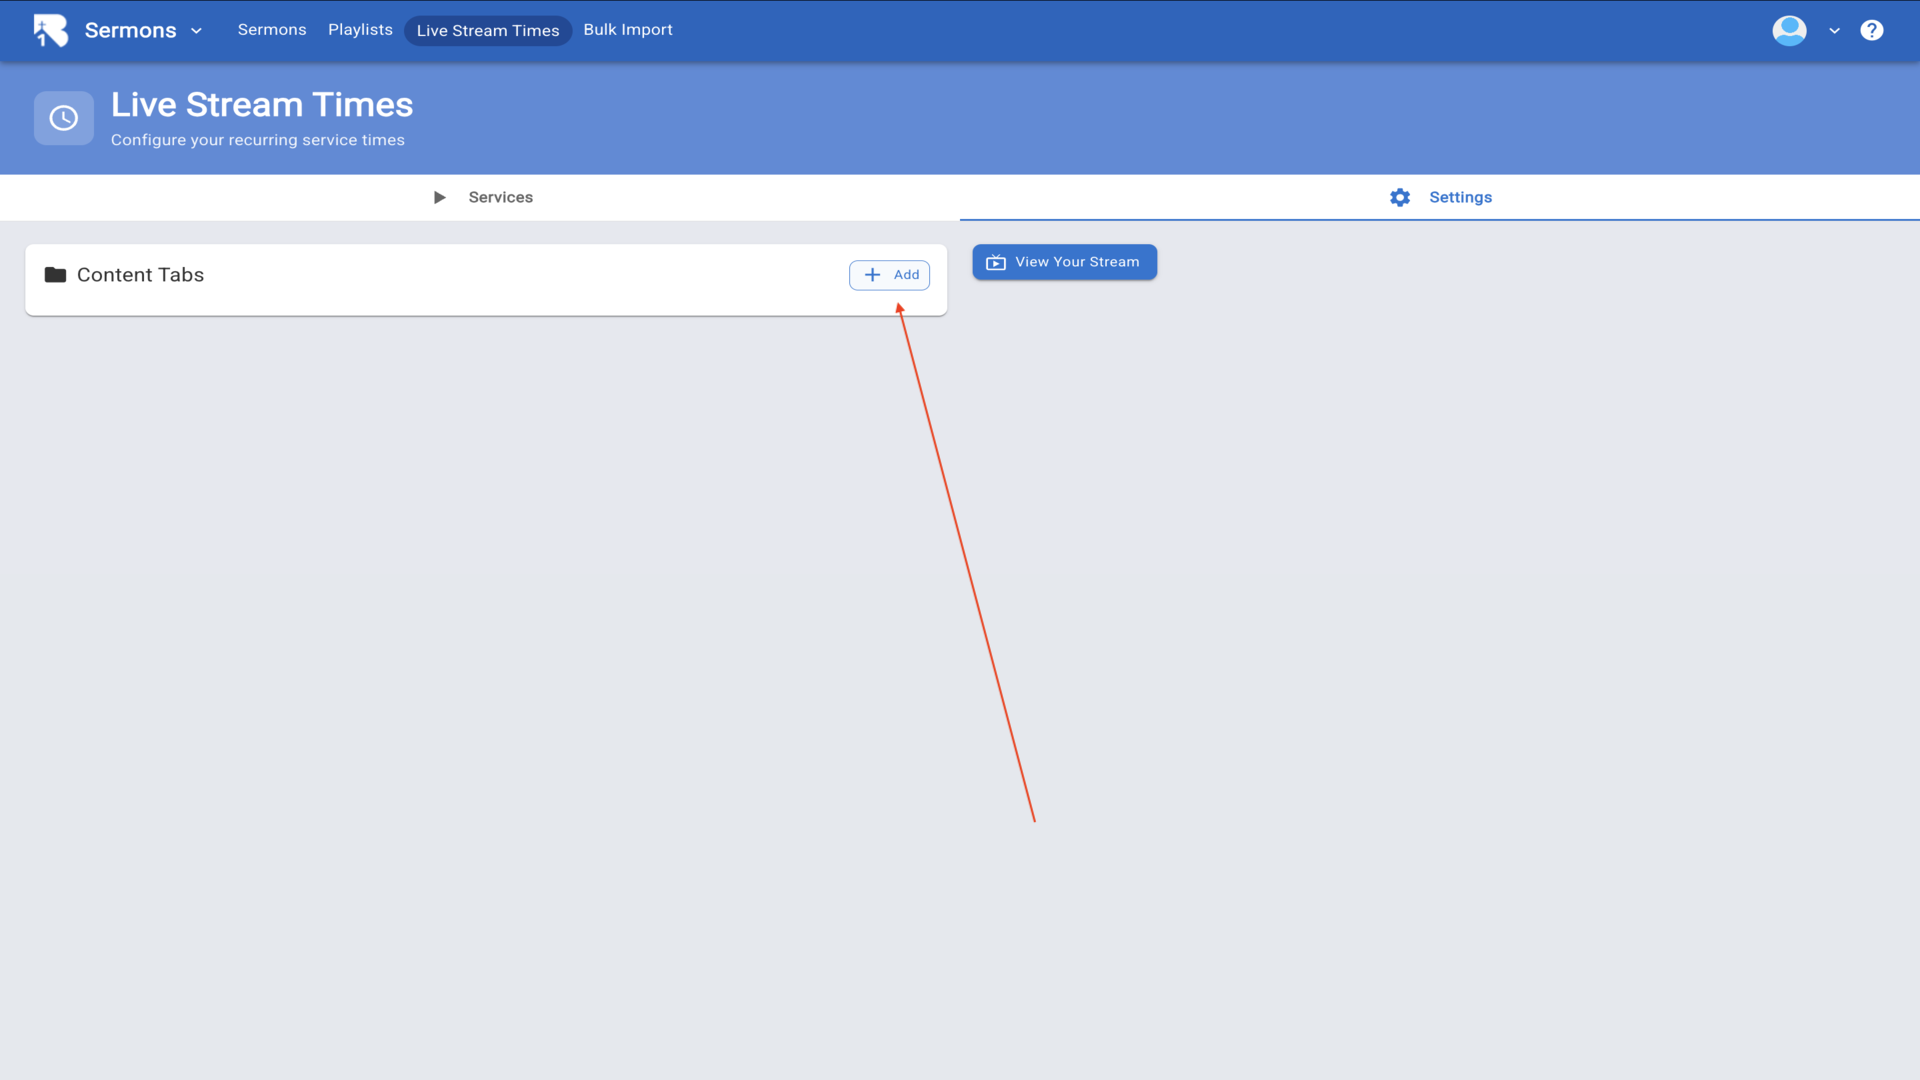
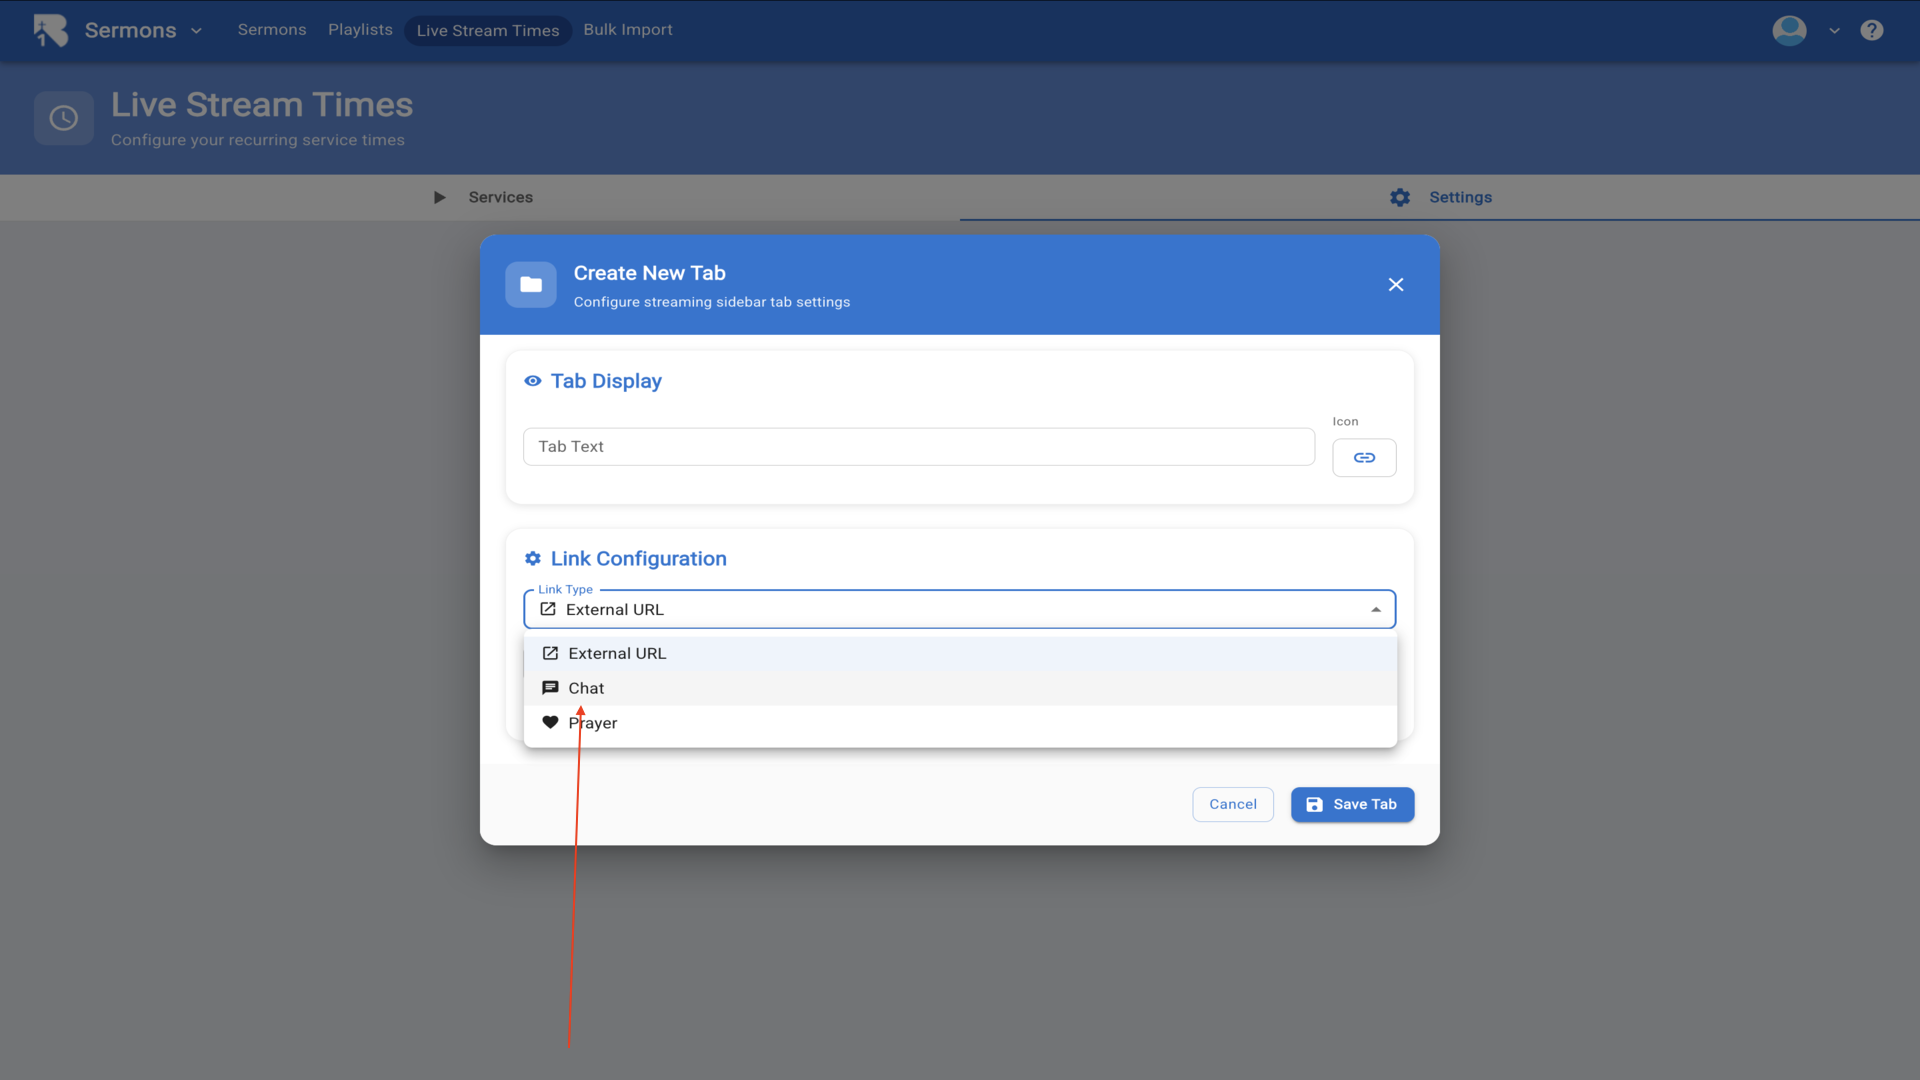
4.In the Settings page, click the add button to add tabs to your livestream.▼
5.You can add a tab using any external URL or add one of the pre-designed tabs, chat or prayer. If you add a pre-designed tab just give it a name in the tab Text box and the setup is complete.▼
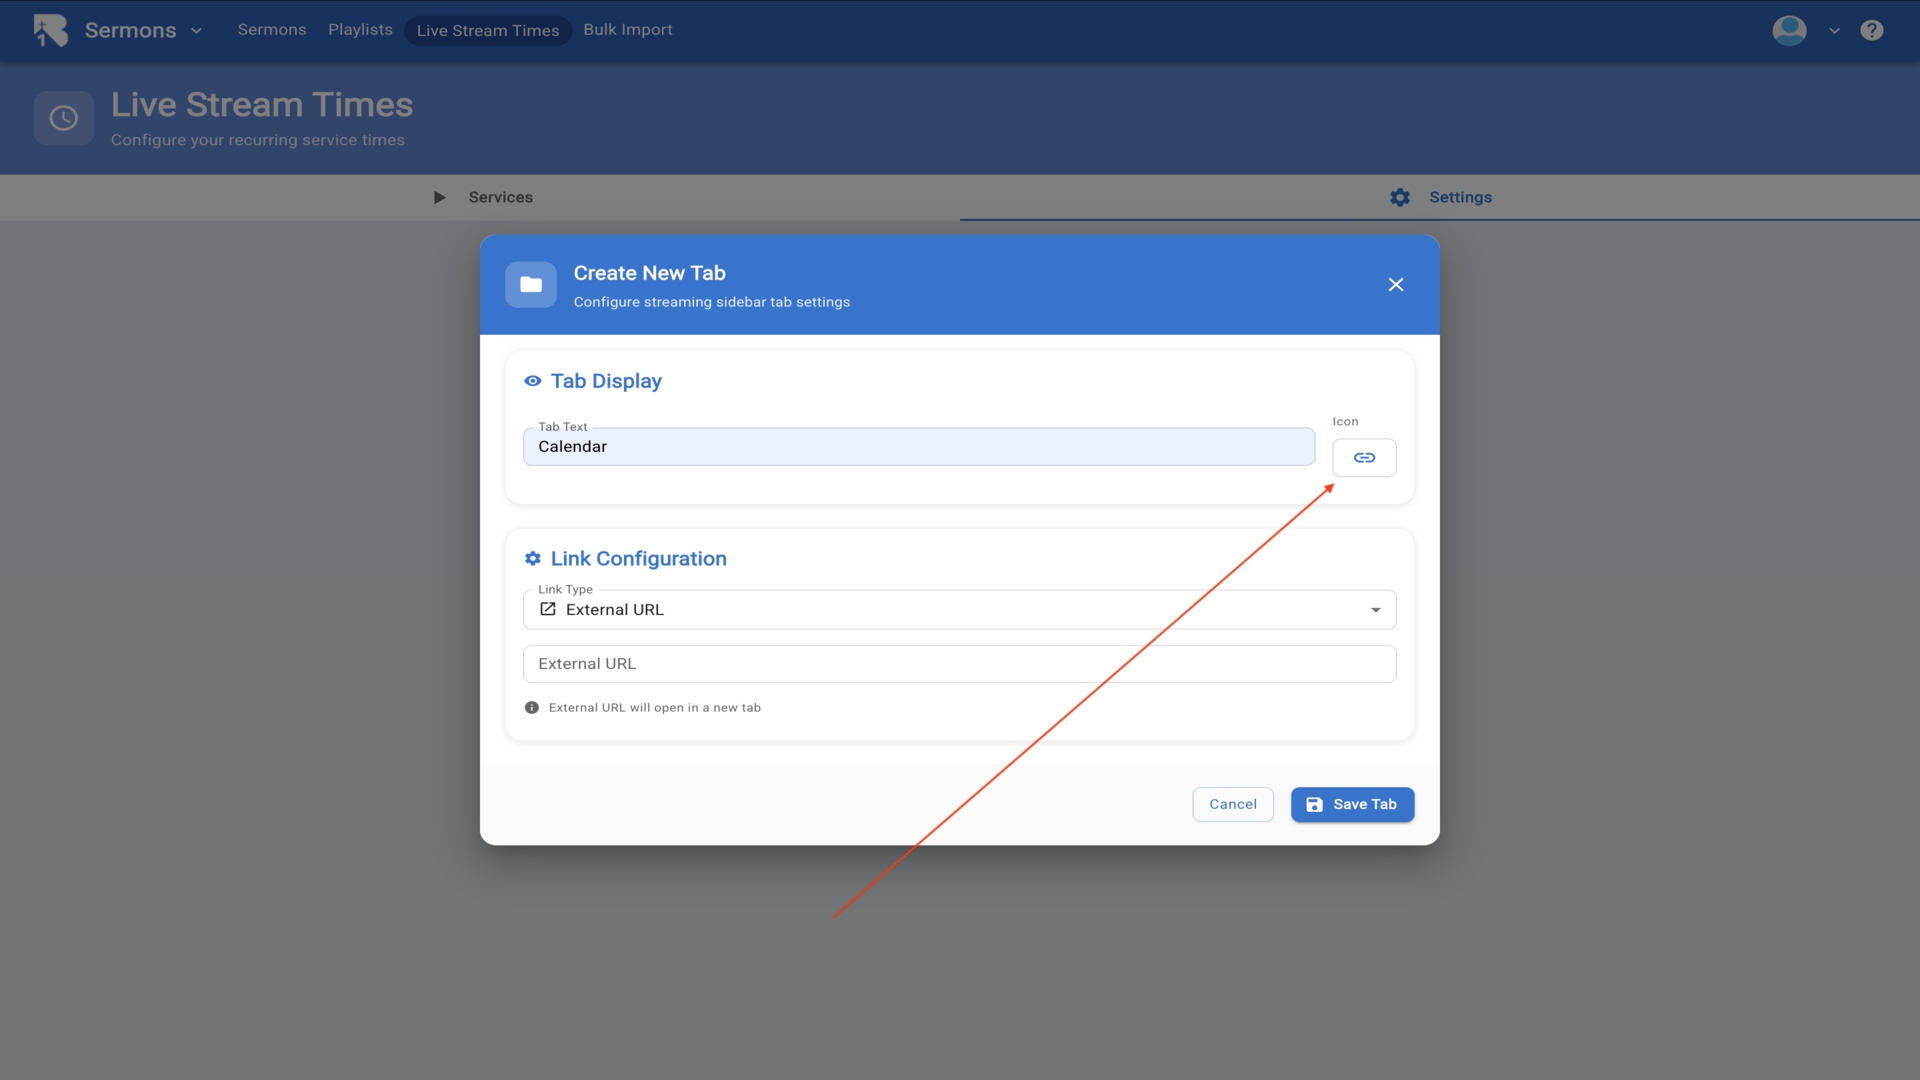
6.To add a linked tab, give the tab a name and click the icon button to change the icon for the tab.▼
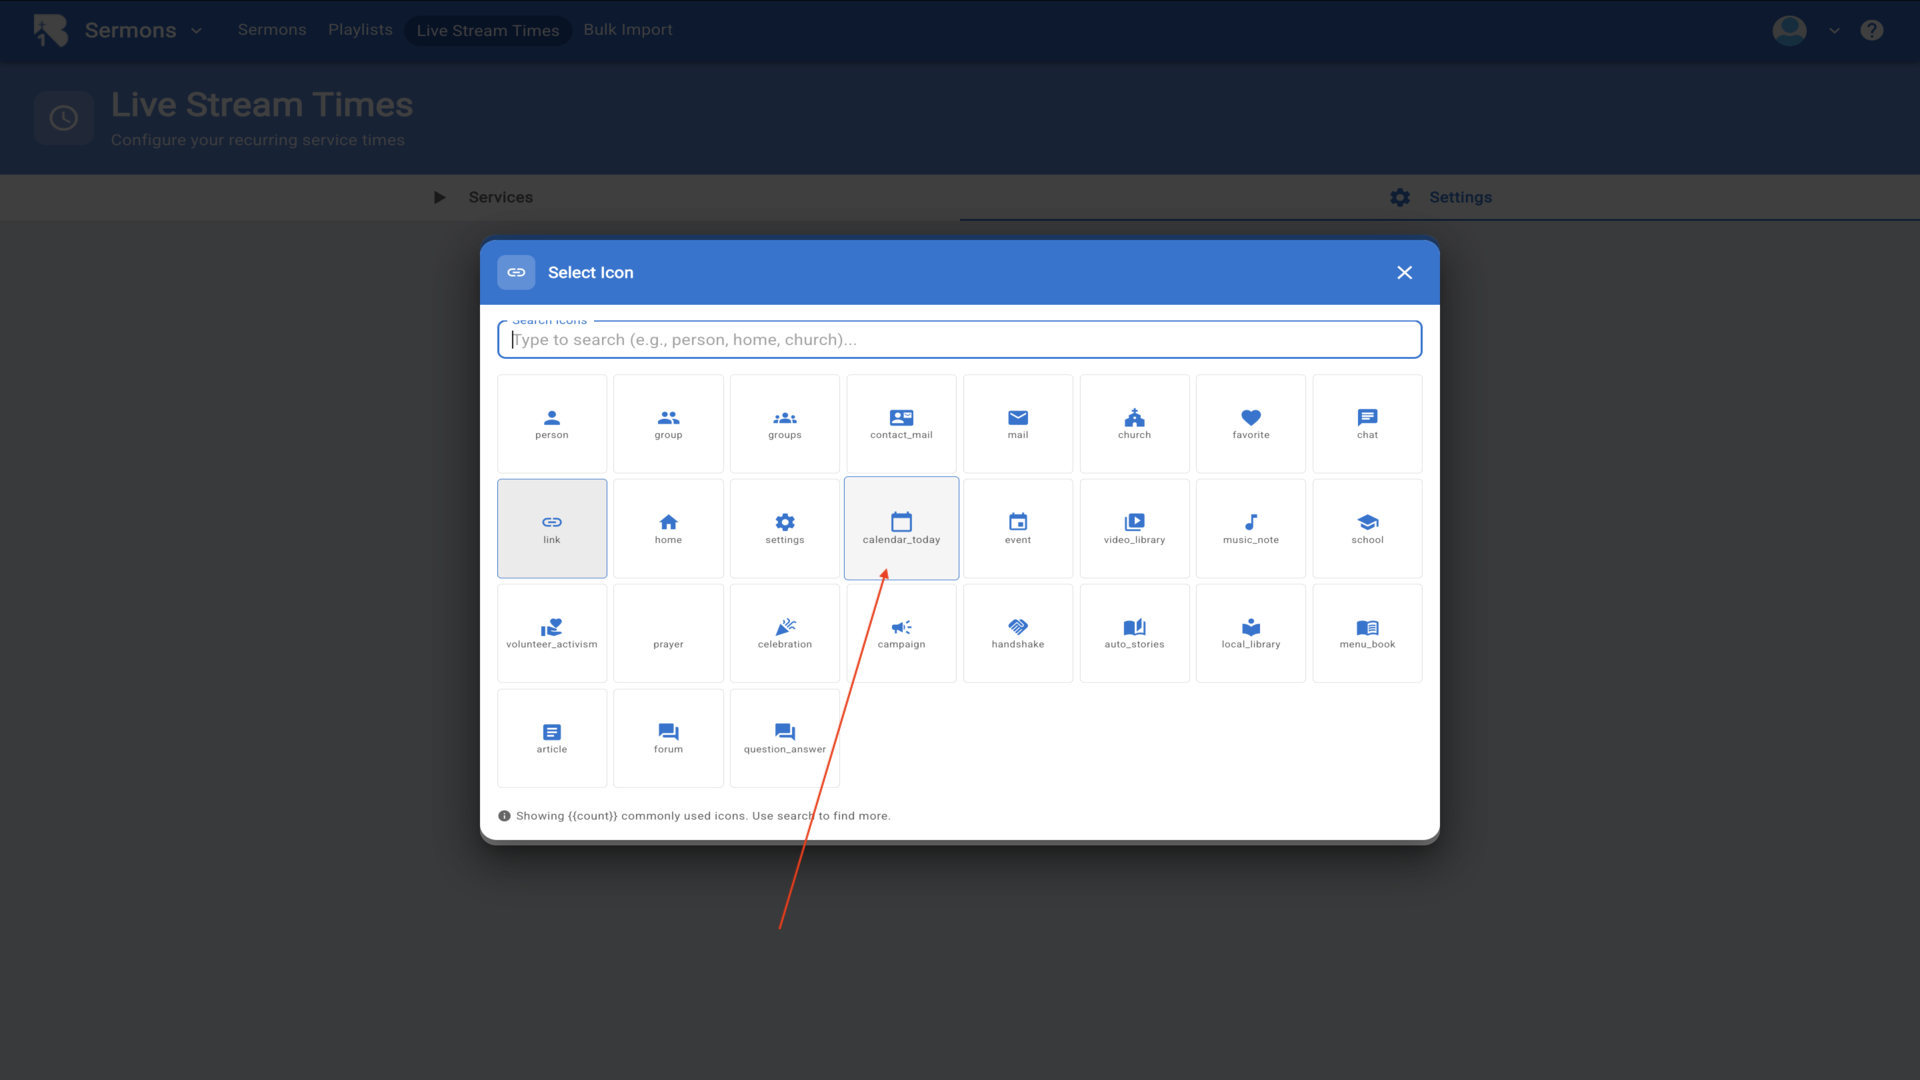
7.Choose from any of the icons listed or search for more icons.▼
8.Now enter the URL for the tab you just created. In this case, it is the church calendar for First Ironwood Church.▼
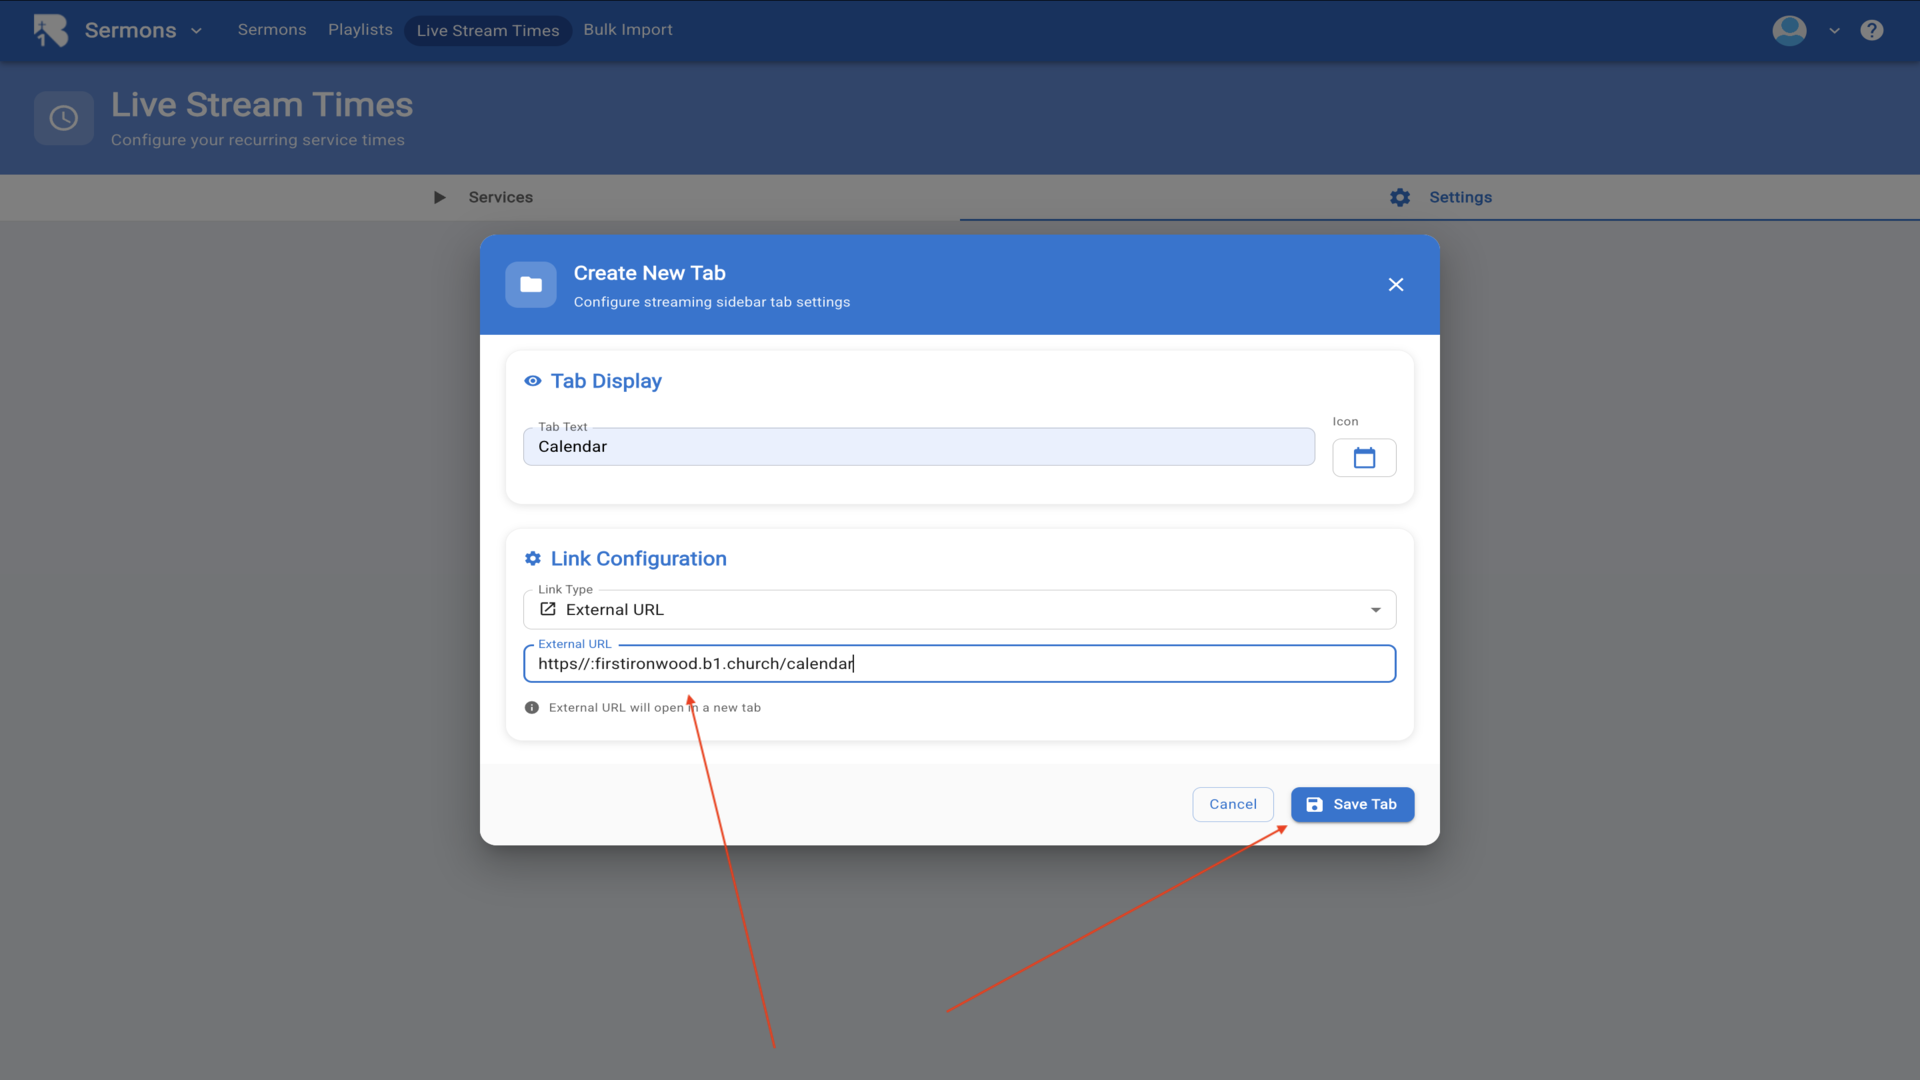
9.Your streaming settings now show all configured navigation links. These will appear on your live streaming page for viewers to access additional resources and interactive features.▼
Steps
1.To set your color scheme and logo for your live stream page, start from the B1 dashboard and click on Website in the left sidebar.▼
2.This opens the Website Pages view where you manage all your pages.▼
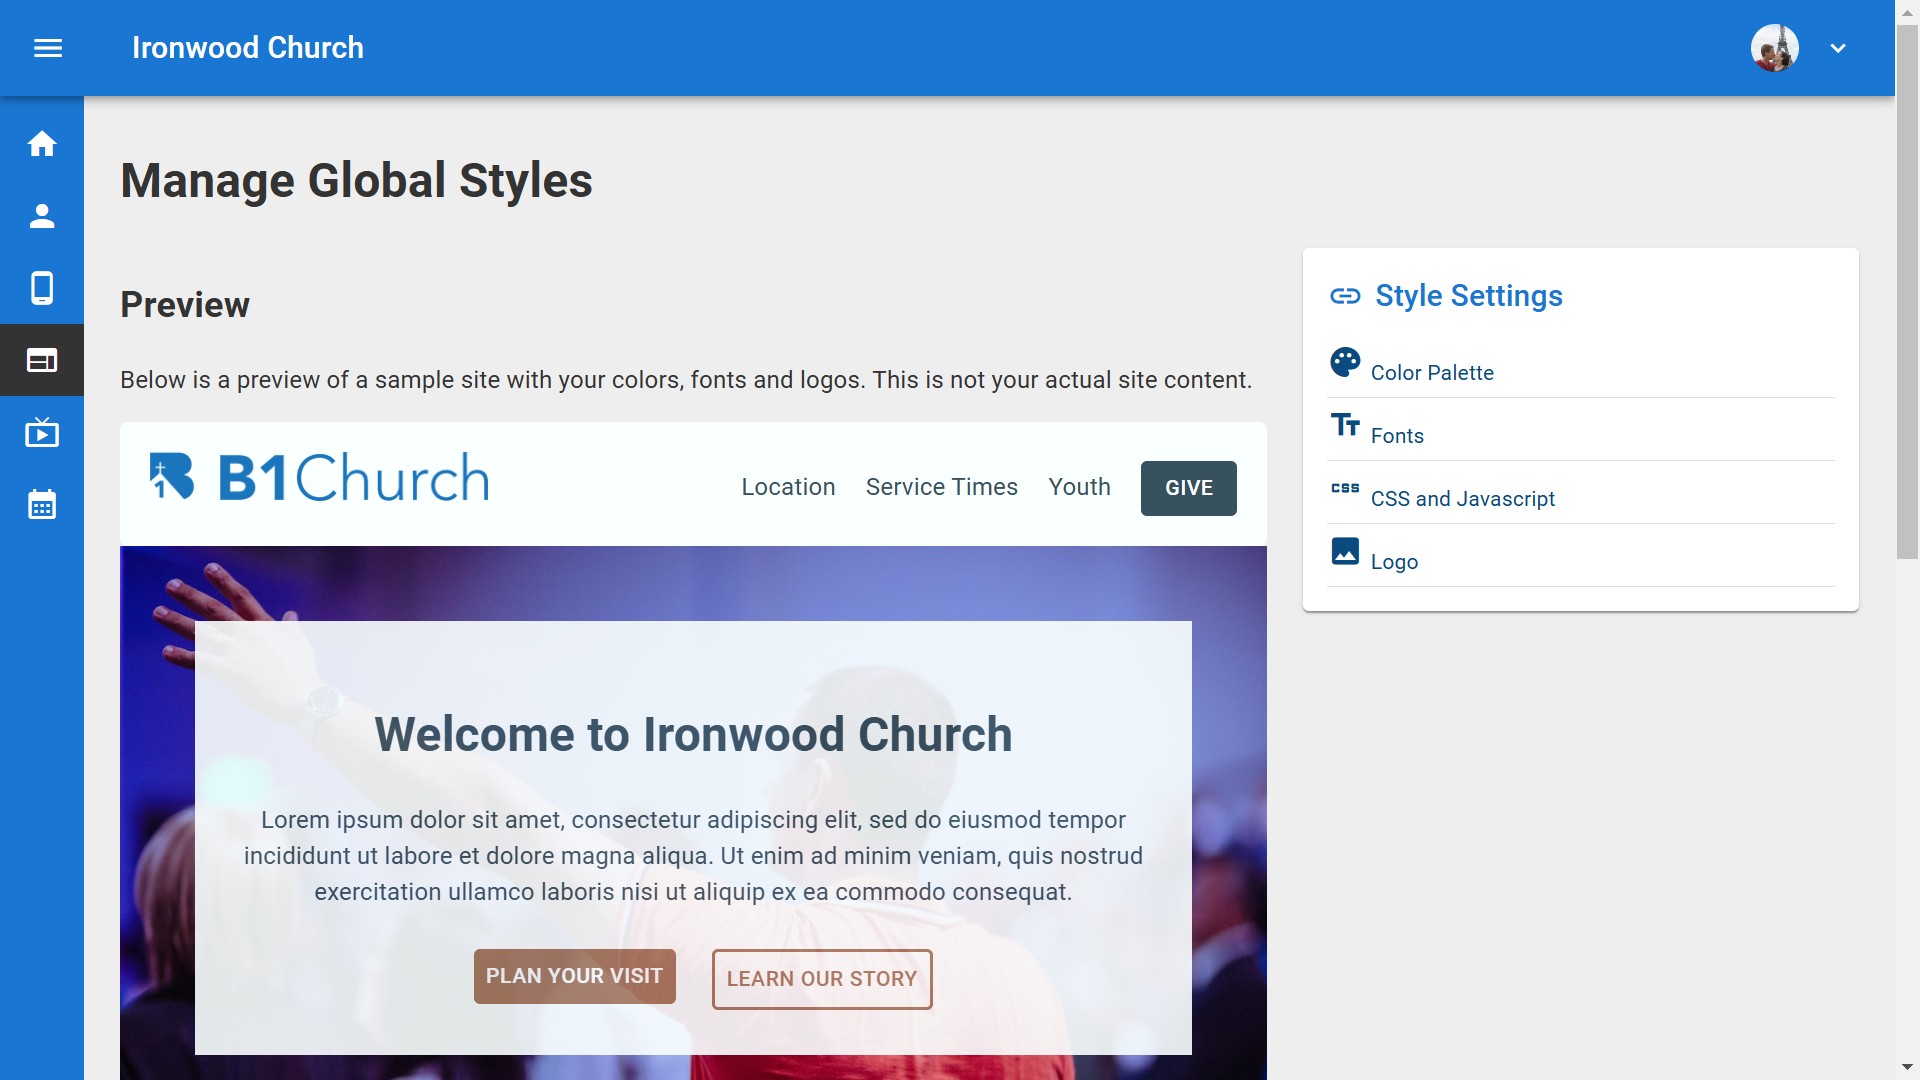
3.Click the Appearance tab at the top to access the global appearance settings.▼
4.The Site Styles page loads, showing a preview of your website with your current colors and logos. On the right side you'll see Style Settings options. Click Color Palette to customize your colors.▼
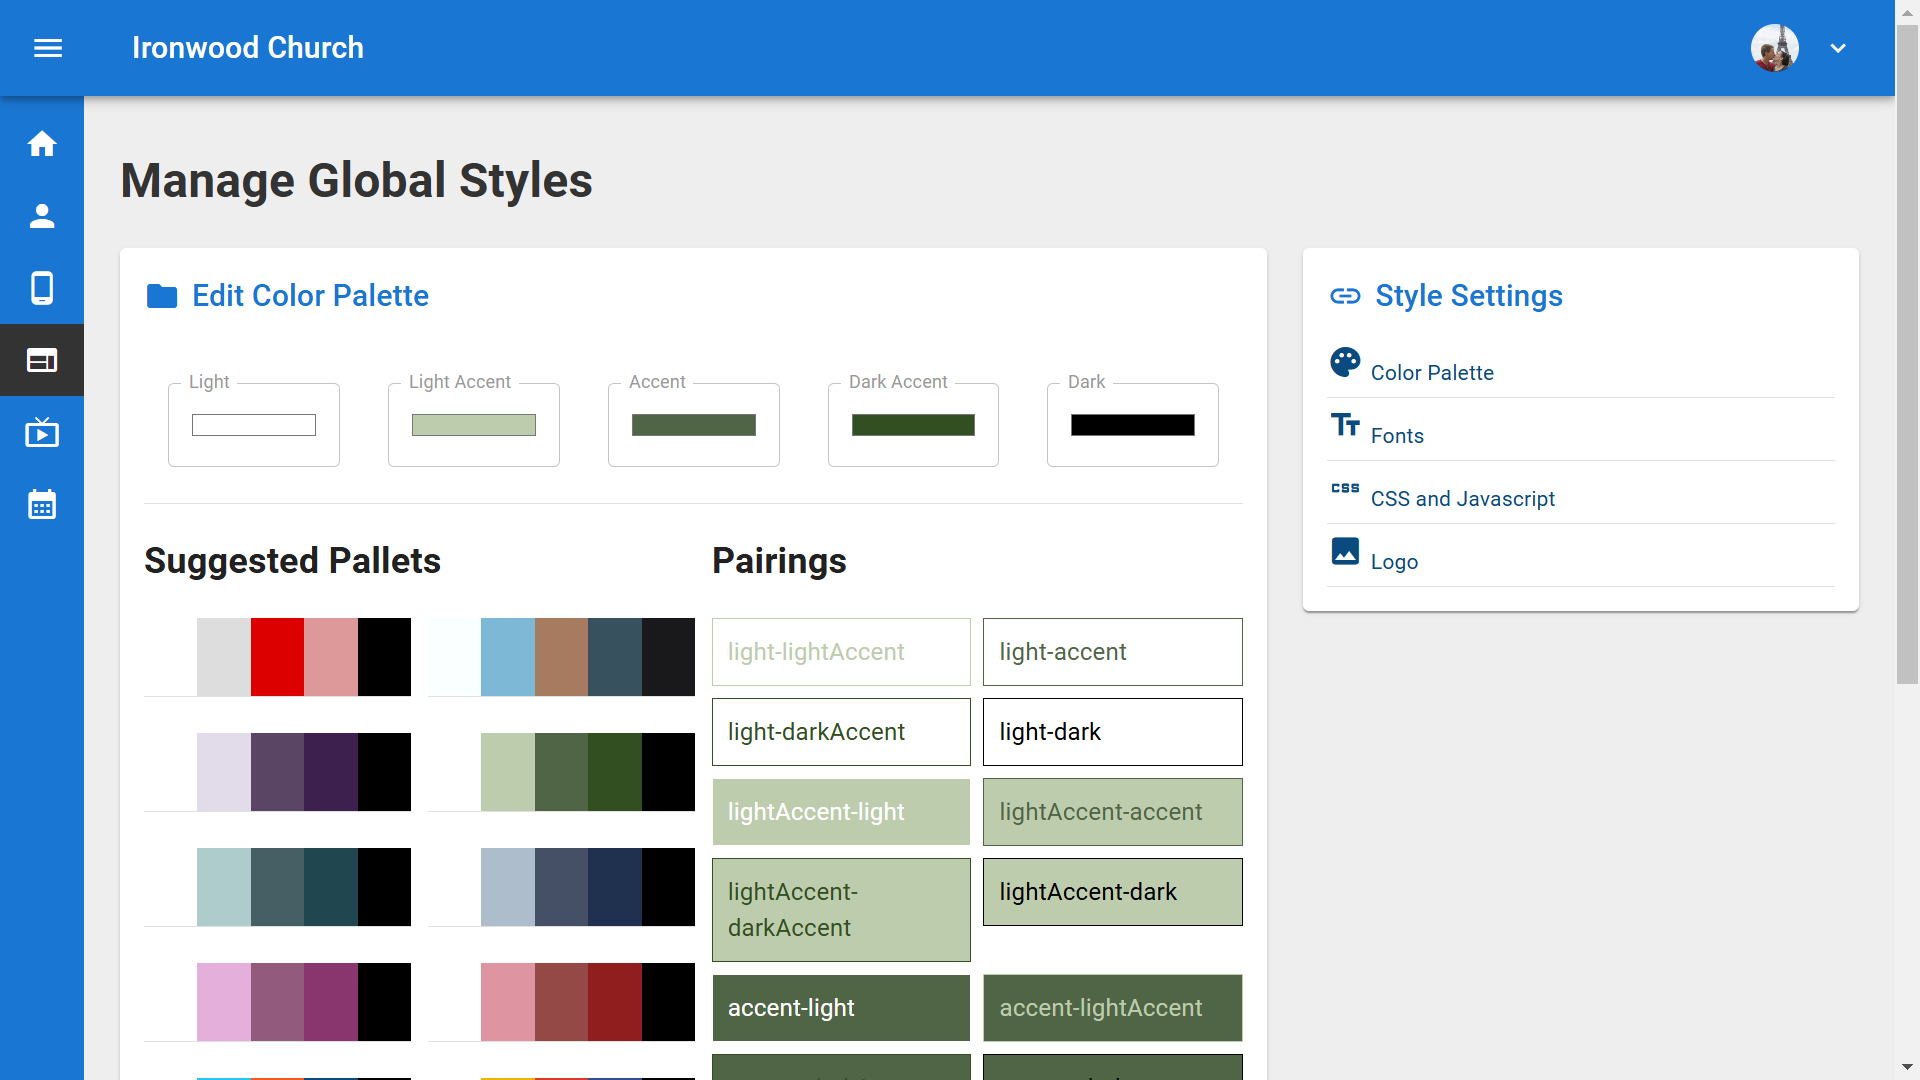
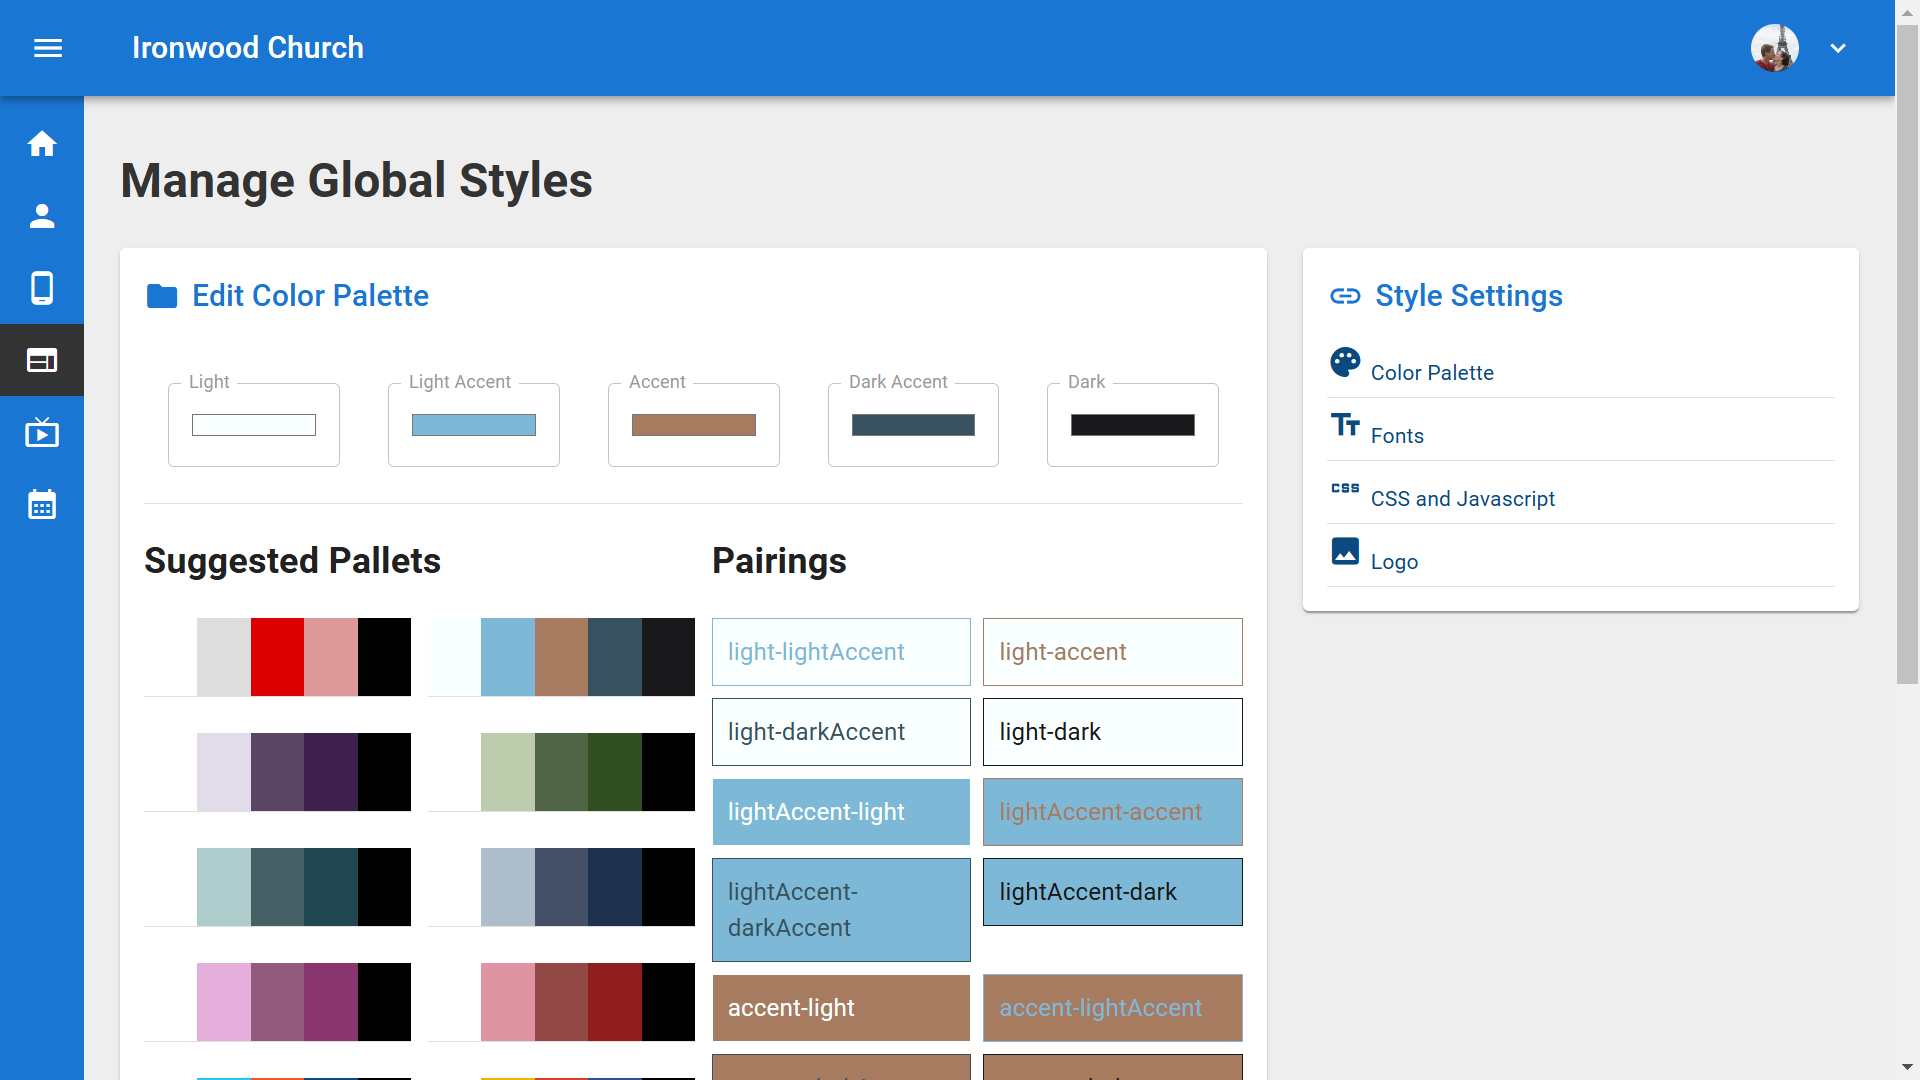
5.The Color Palette dialog opens, showing Base Colors at the top for light, accent, and dark shades, and Semantic Colors below. The stream uses the light accent color with dark text for the header, and the dark accent color with light text for the sidebar.▼
6.Click on any color box to change it. A color picker appears where you can drag the selector to choose your desired color. Your choice updates the preview instantly.▼

7.You can also use the Suggested Palettes section. Click any palette to instantly apply a pre-designed color scheme. The Color Combinations Preview shows how your selected colors will look together. Be sure to click Save when you're done.▼
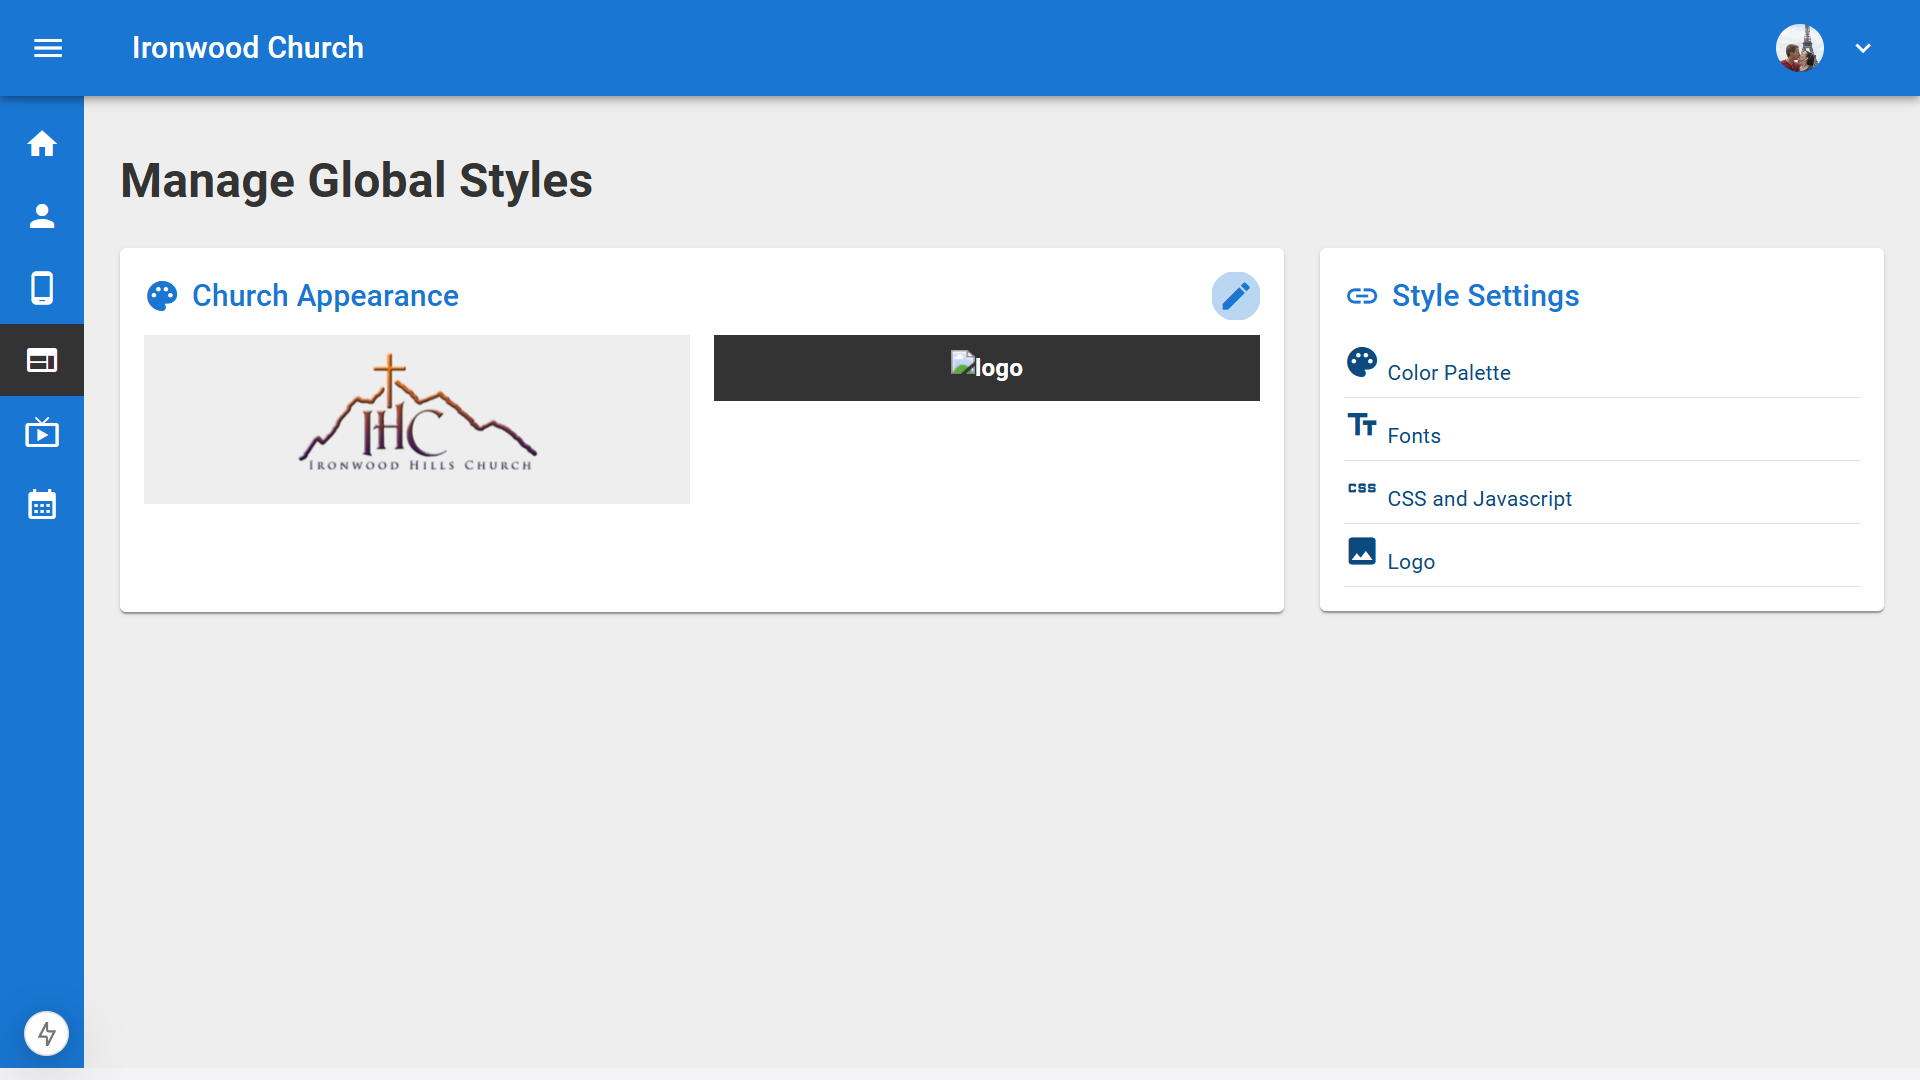
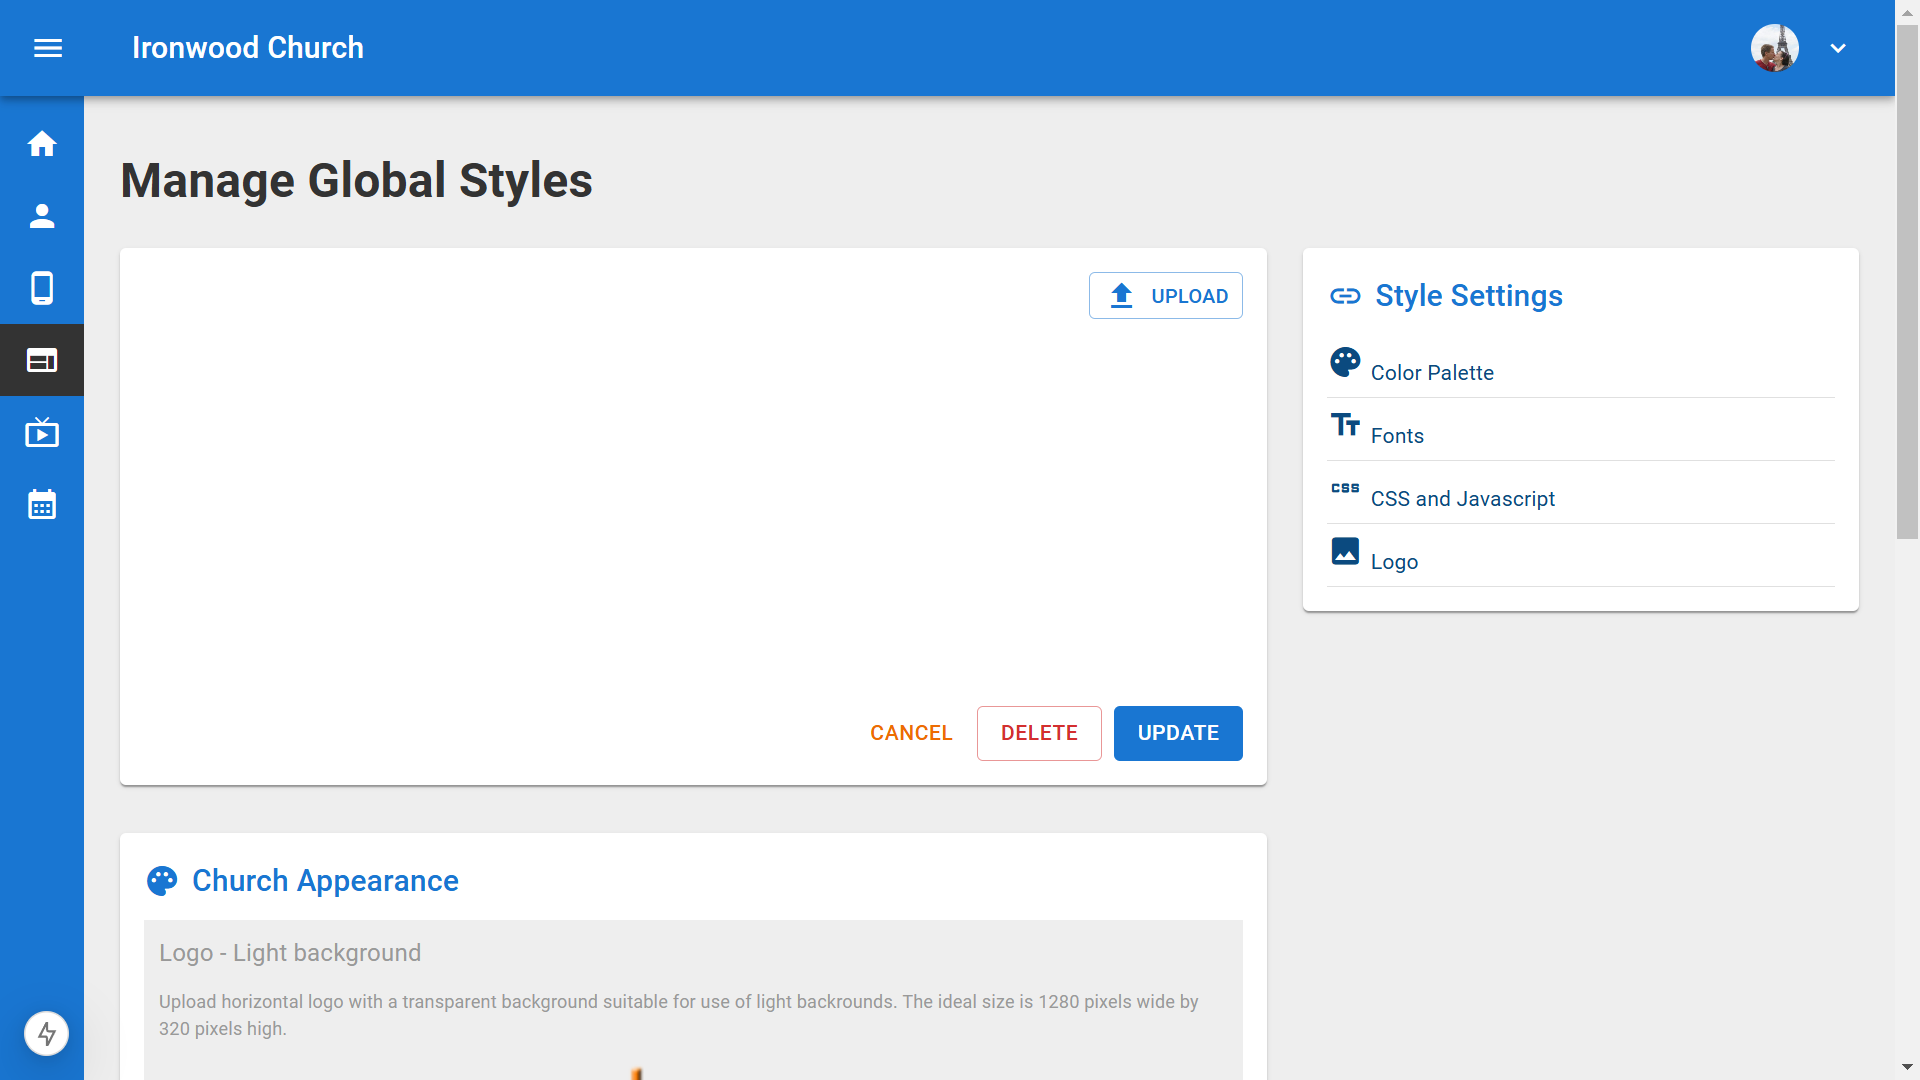
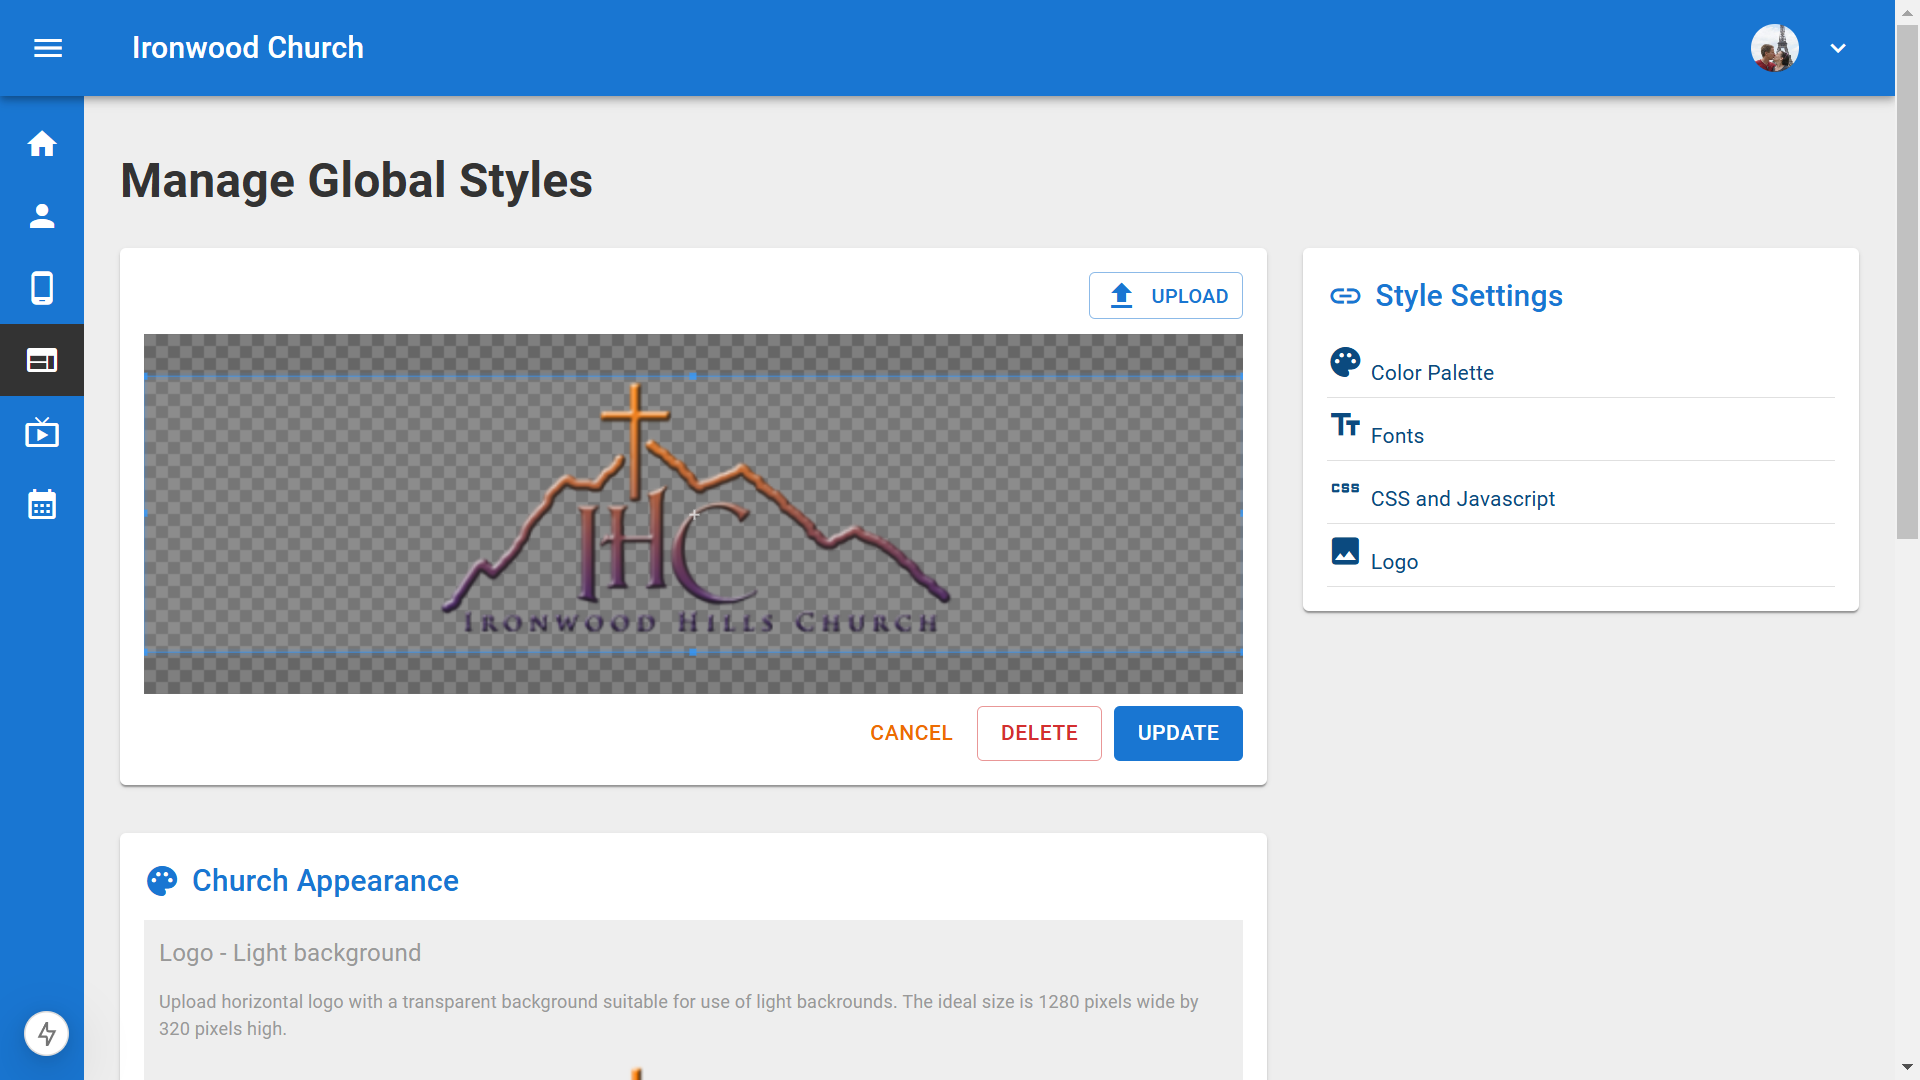
8.To set your logo, click Logo in the Style Settings sidebar. You'll see sections for Main Logos with Light Background Logo and Dark Background Logo, as well as SEO and Browser Assets.▼
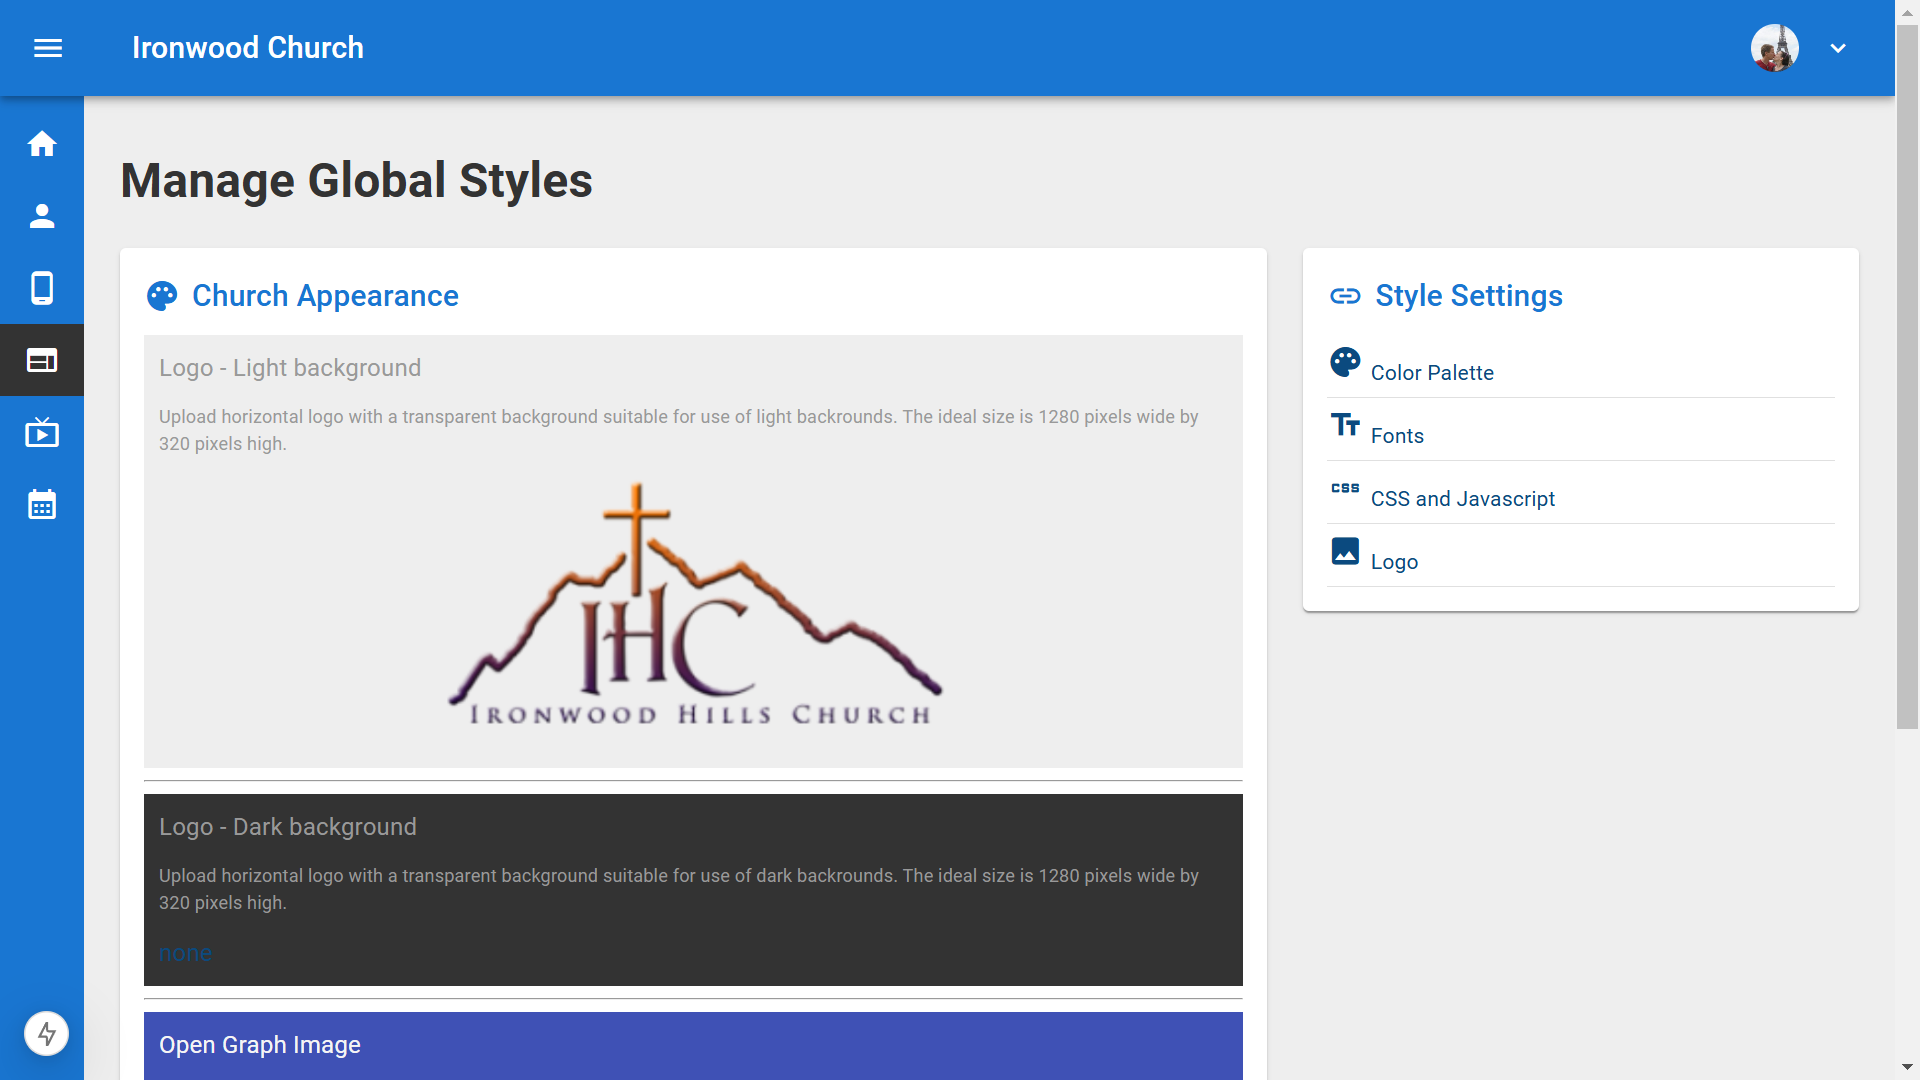
9.For streaming, you'll need to set the Light Background Logo. Click Edit Light Background Logo, then upload your logo file. You'll want to select an image with a transparent background and a 4 to 1 aspect ratio. Use the cropping tool to center your logo and click Update.▼
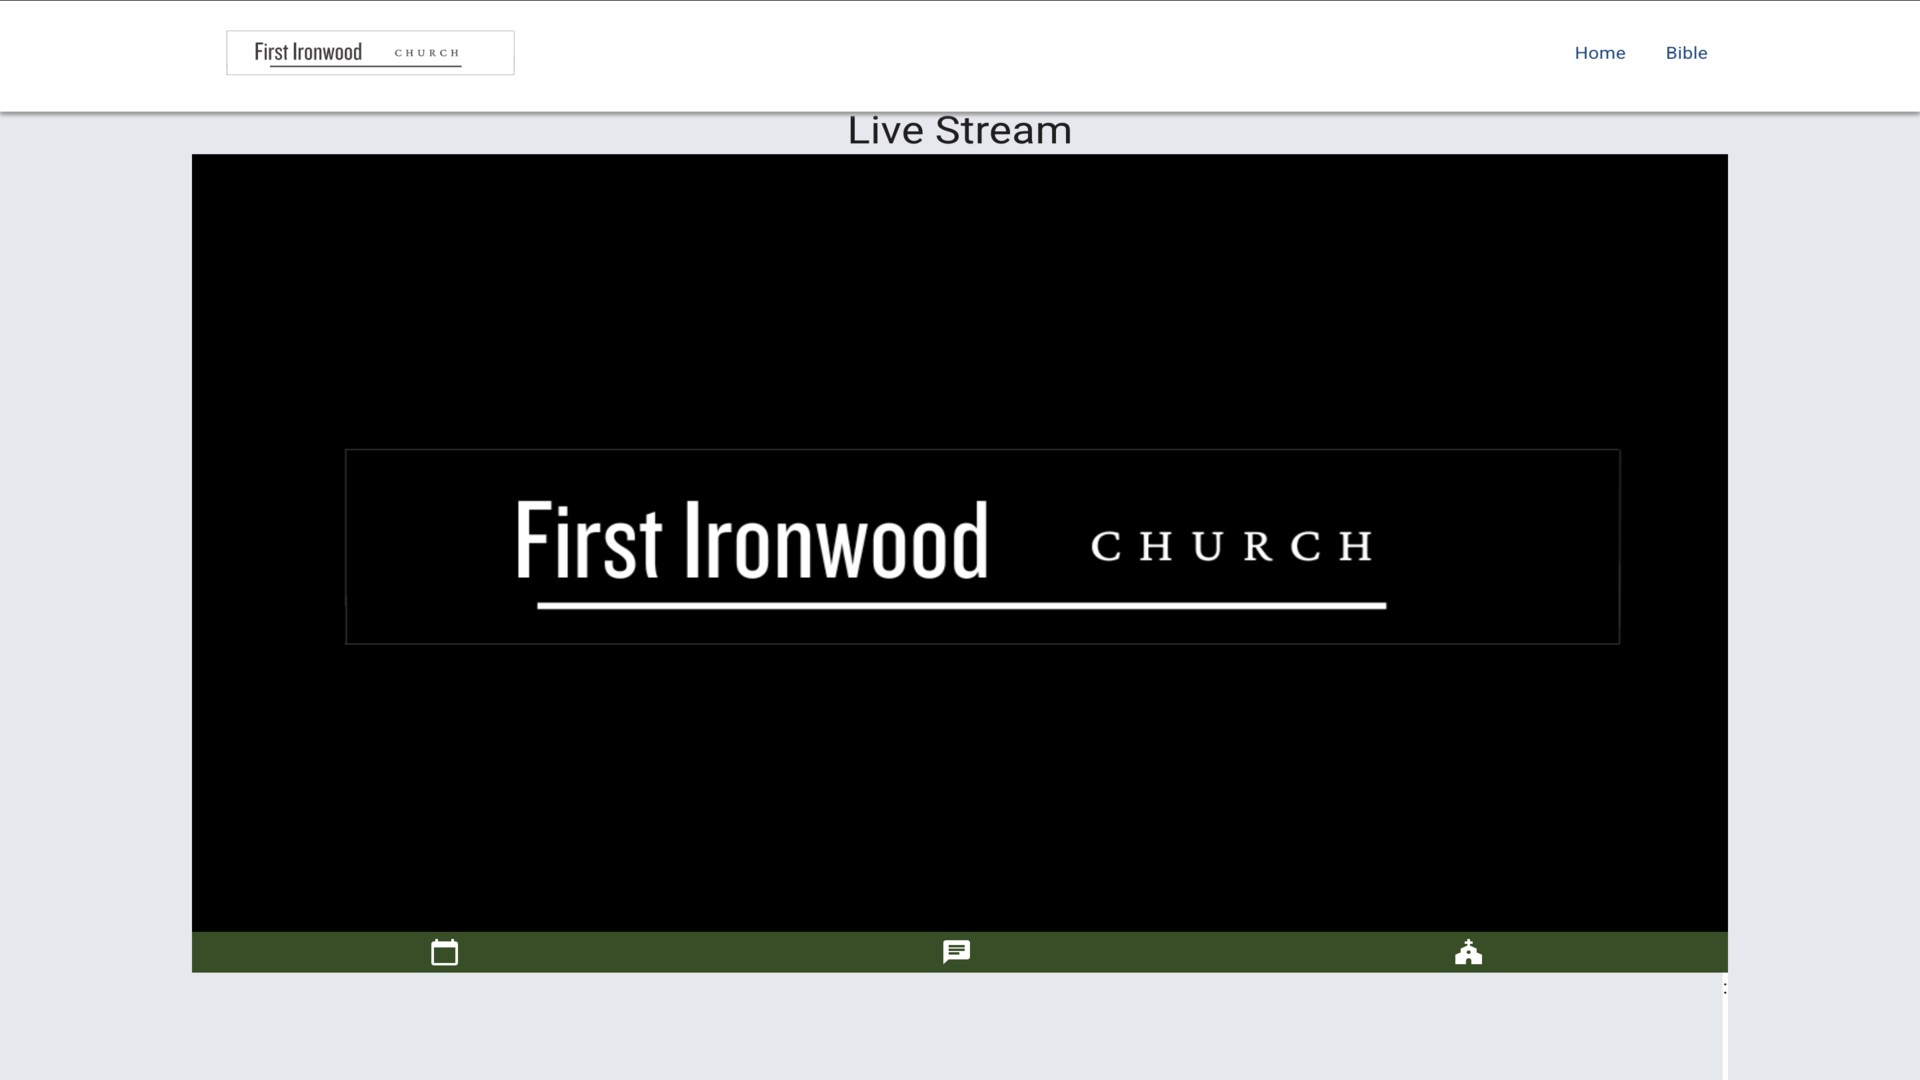
10.Your logo will now appear on your live streaming page.▼
Steps
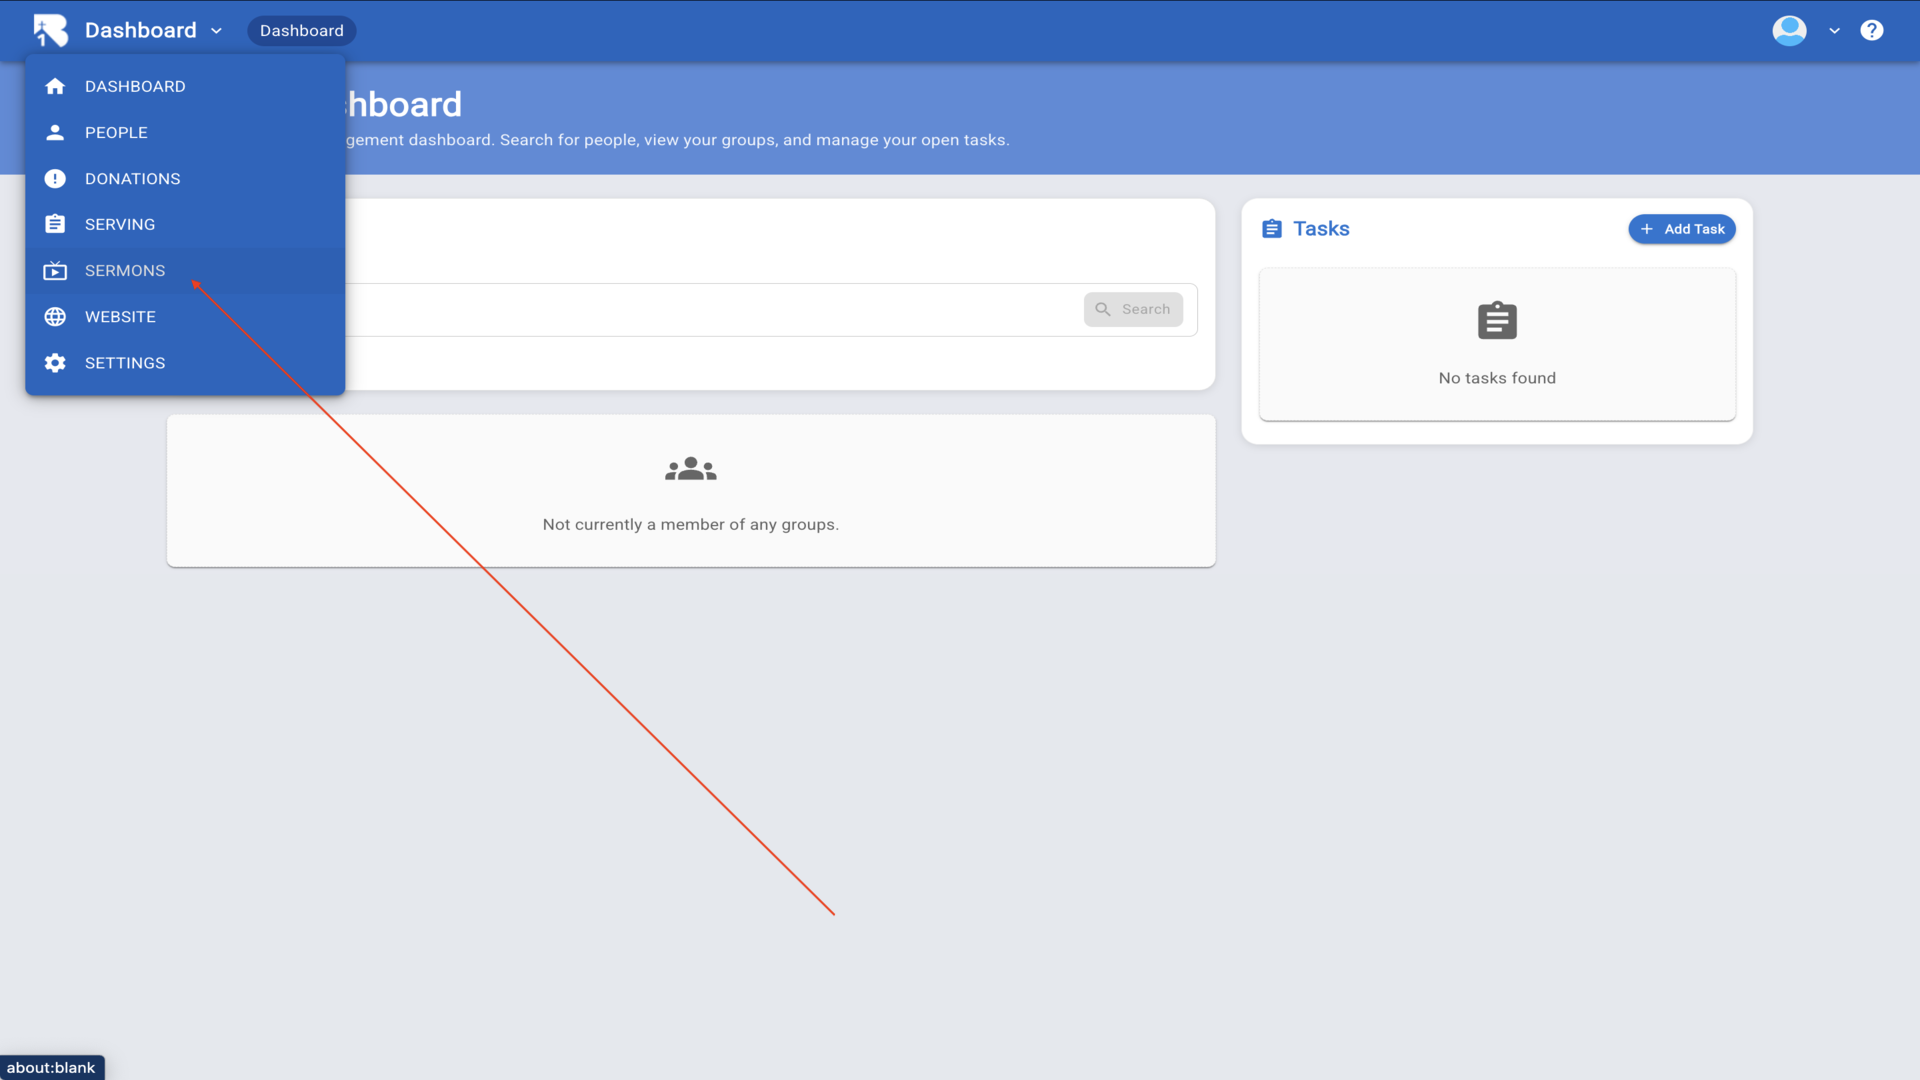
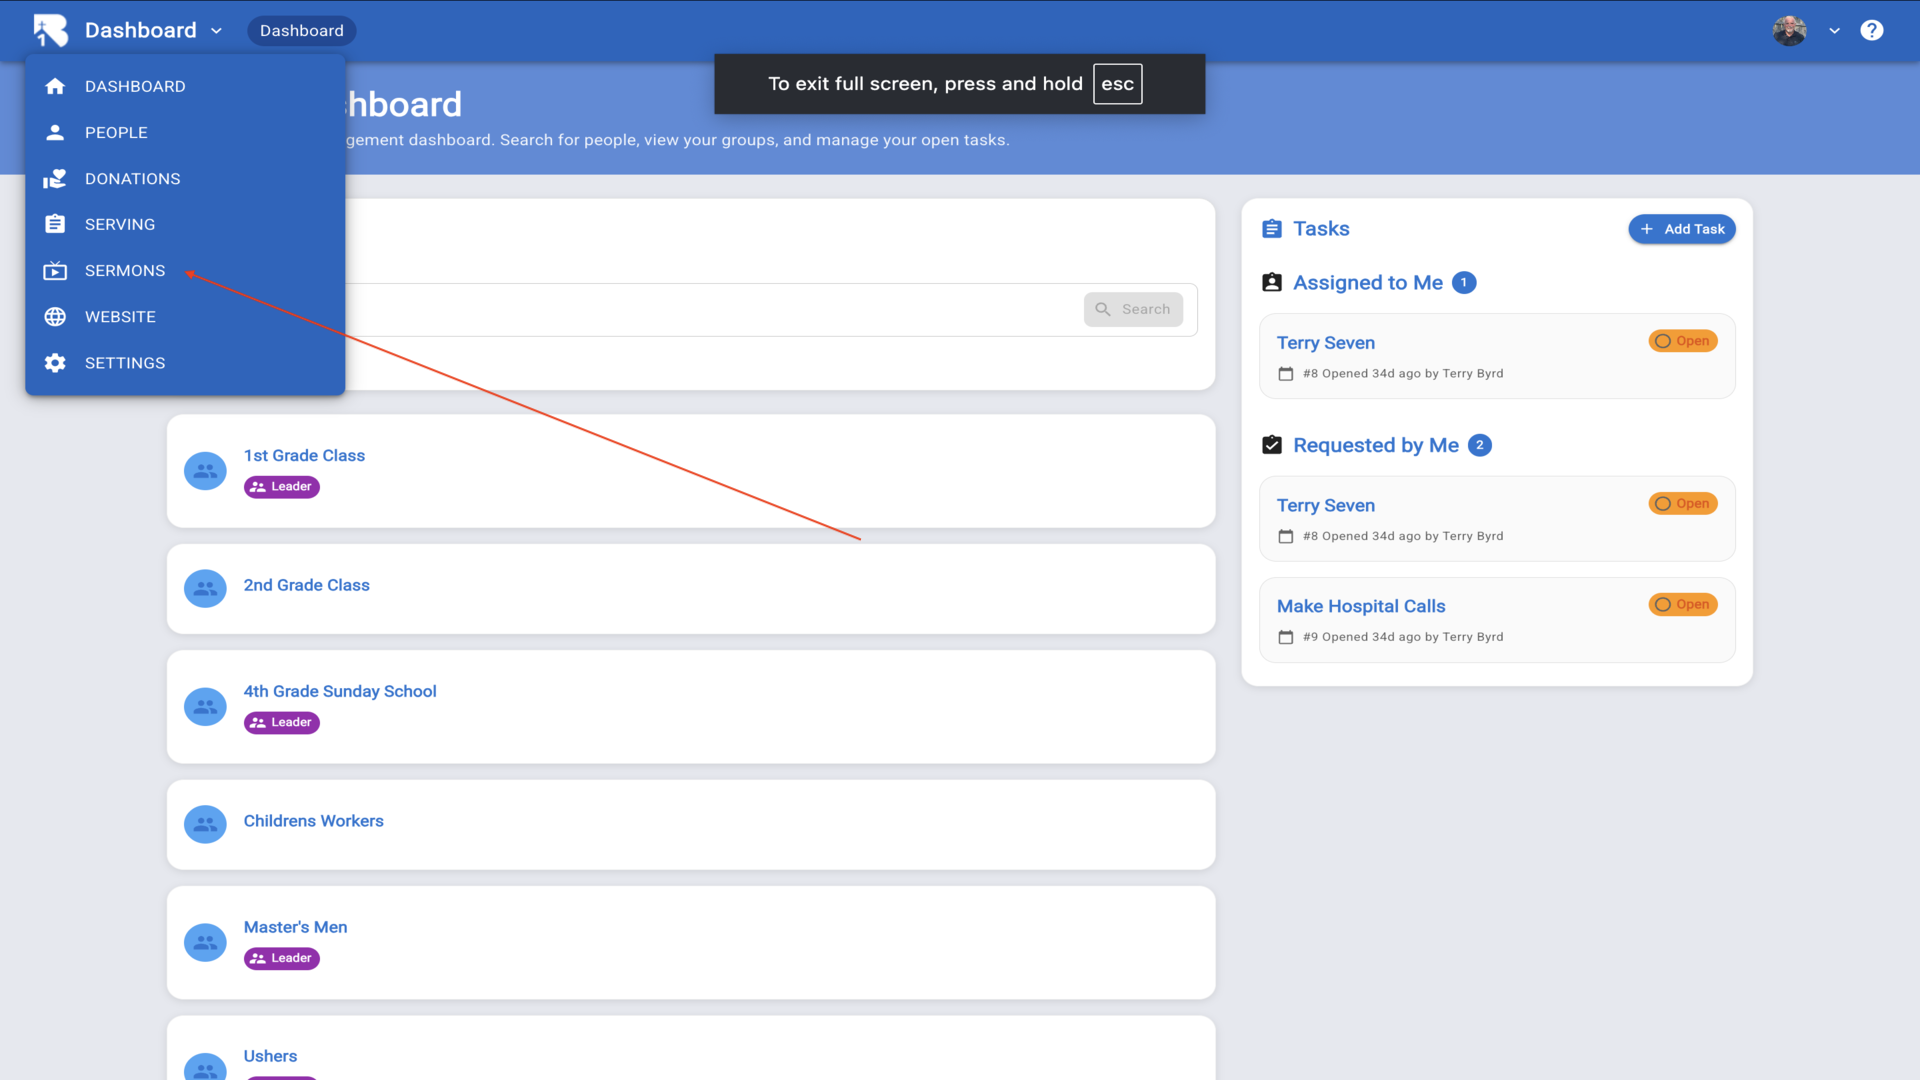
1.To import your existing videos from YouTube or Vimeo, start from the Dashboard and click on Sermons in the left navigation menu.▼
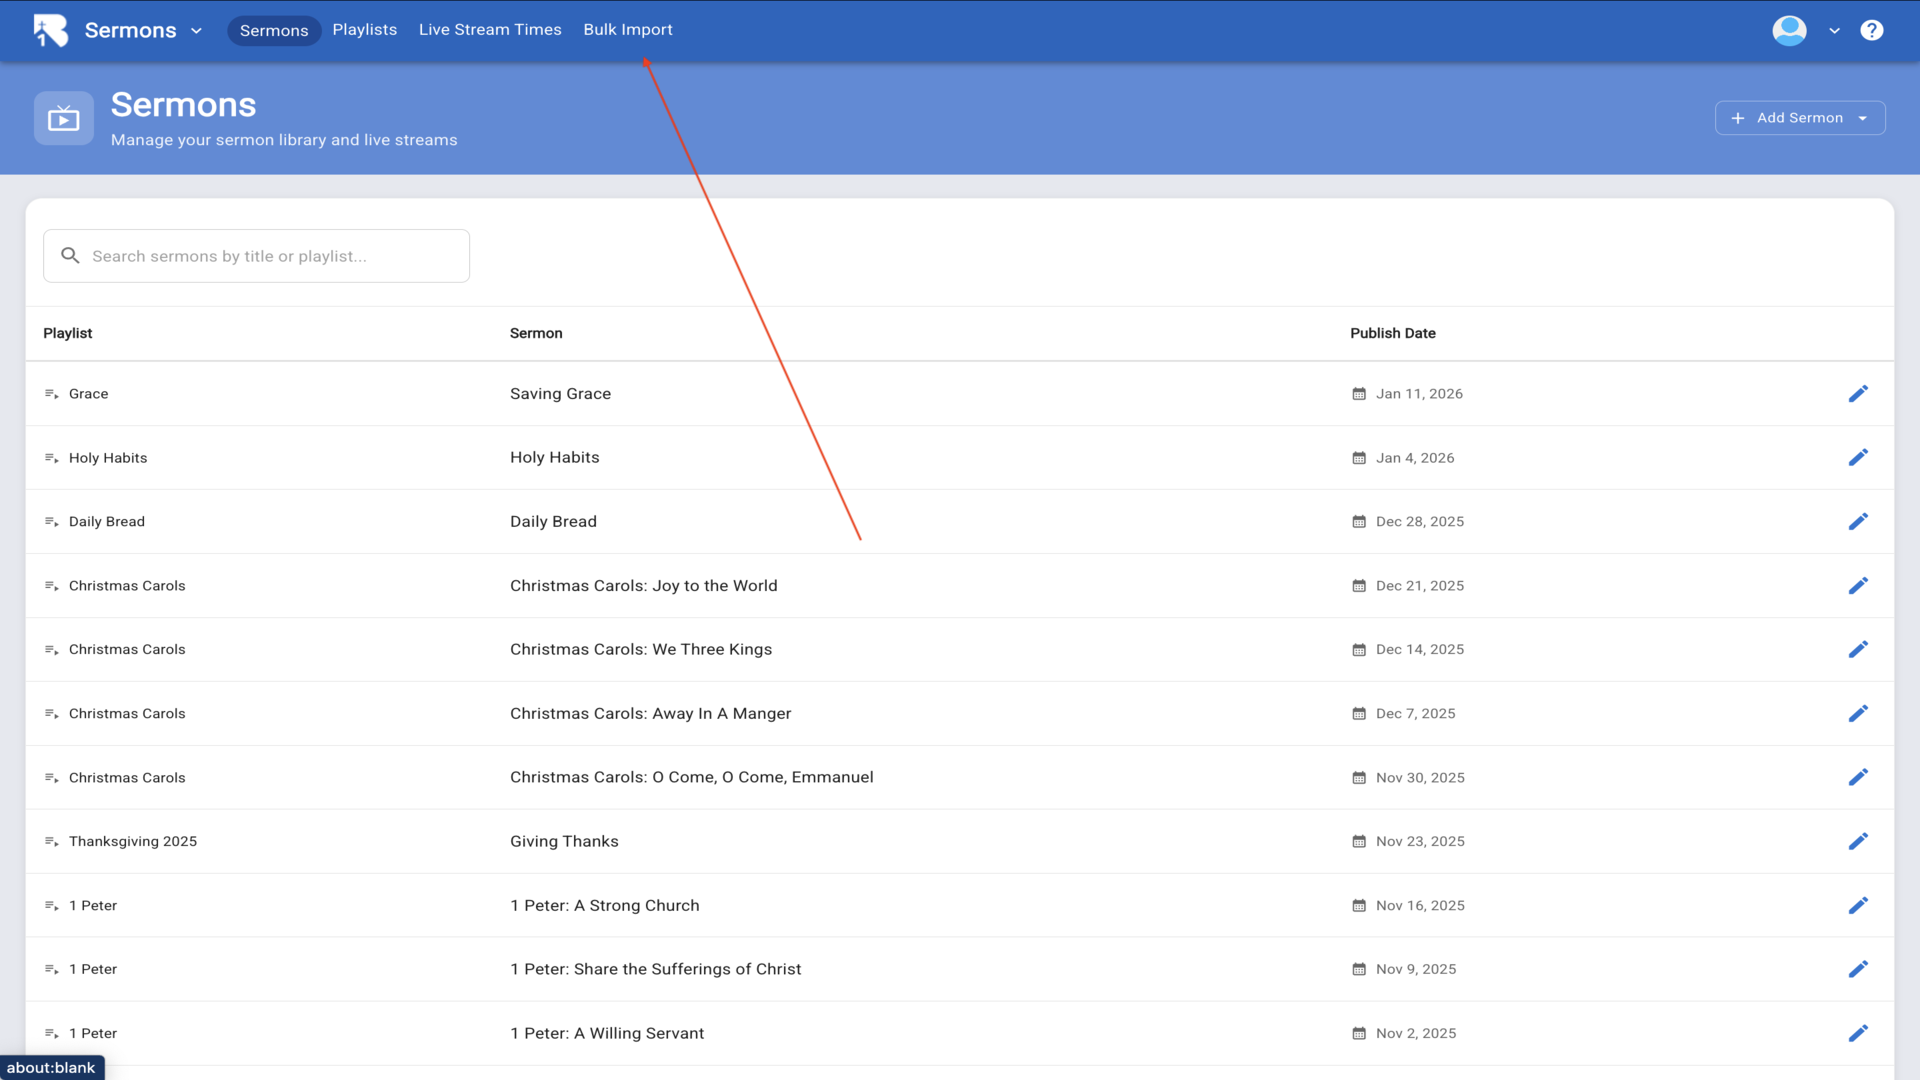
2.From the Sermons page, click on the Bulk Import tab at the top.▼
3.Before importing videos, you'll need to create a playlist to organize them. Click on the Playlists tab.▼
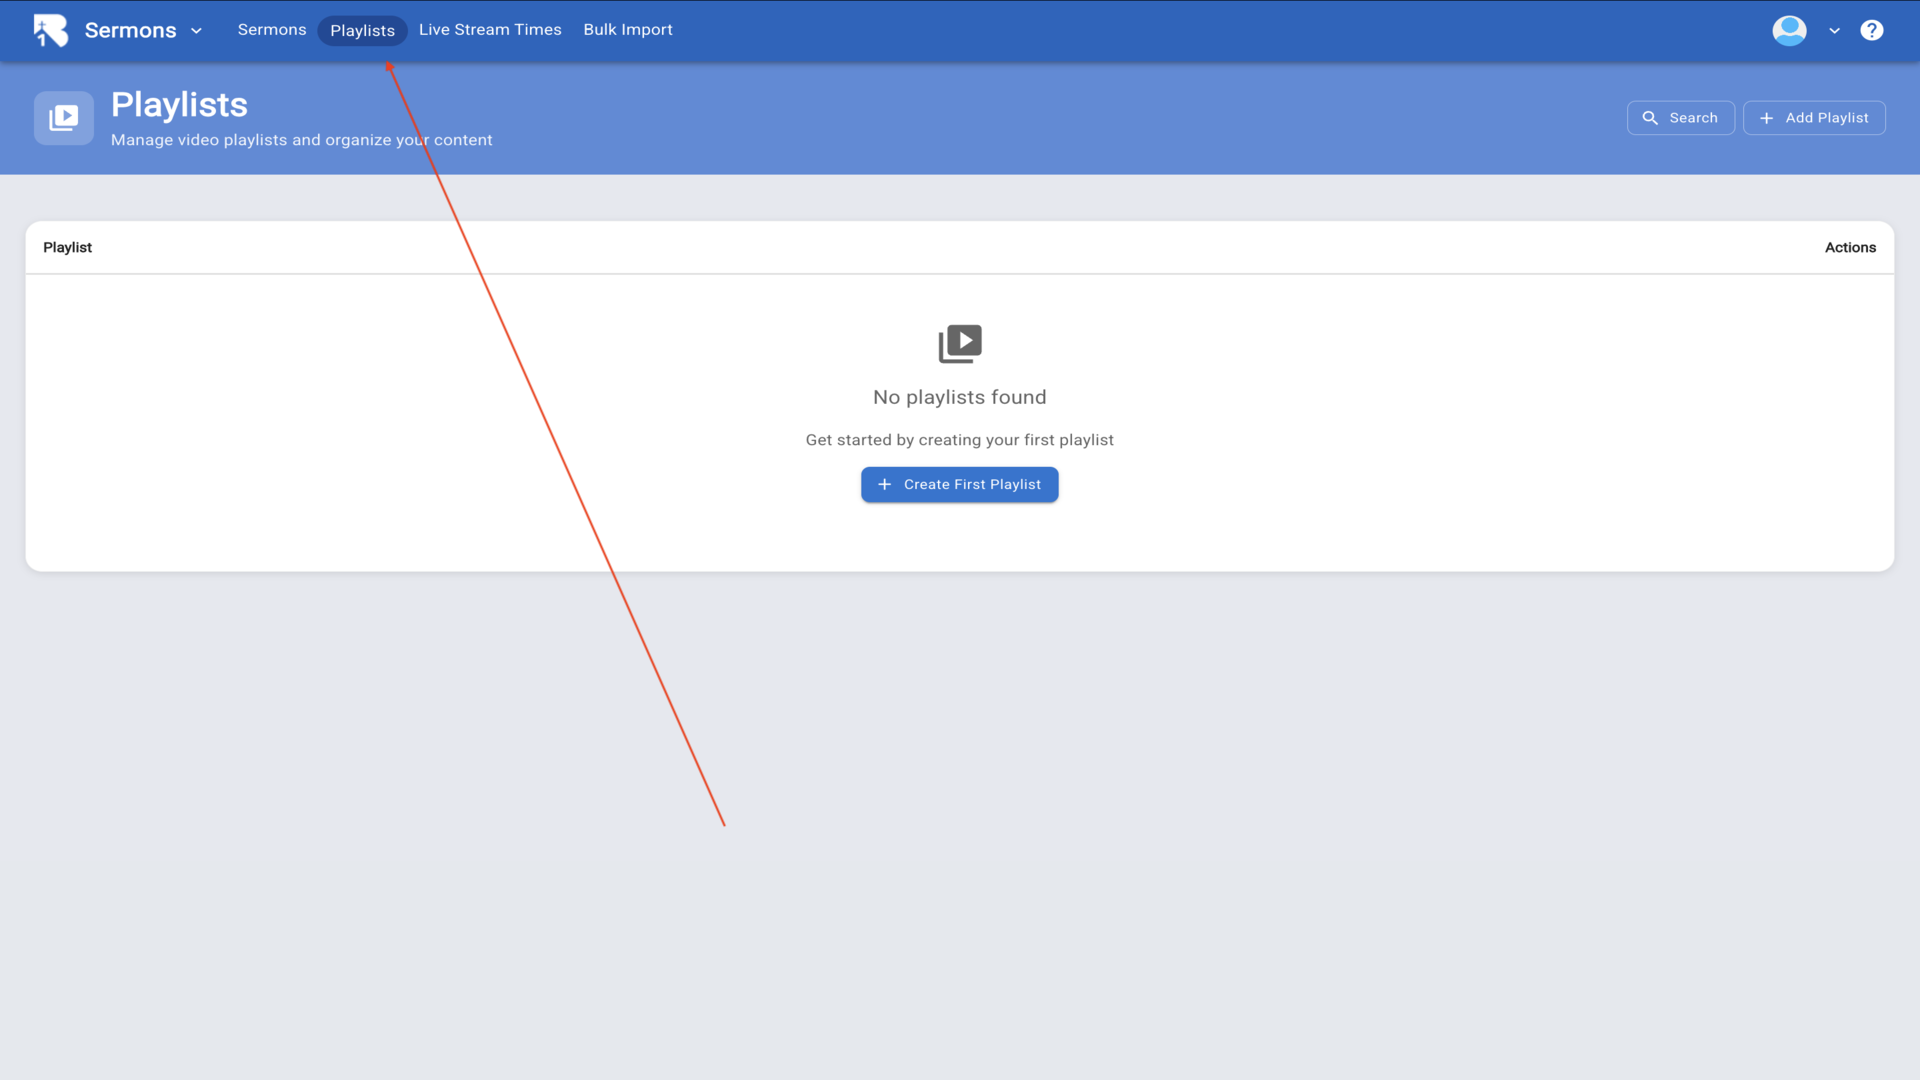
4.If you don't have any playlists yet, click the Create First Playlist button to get started.▼
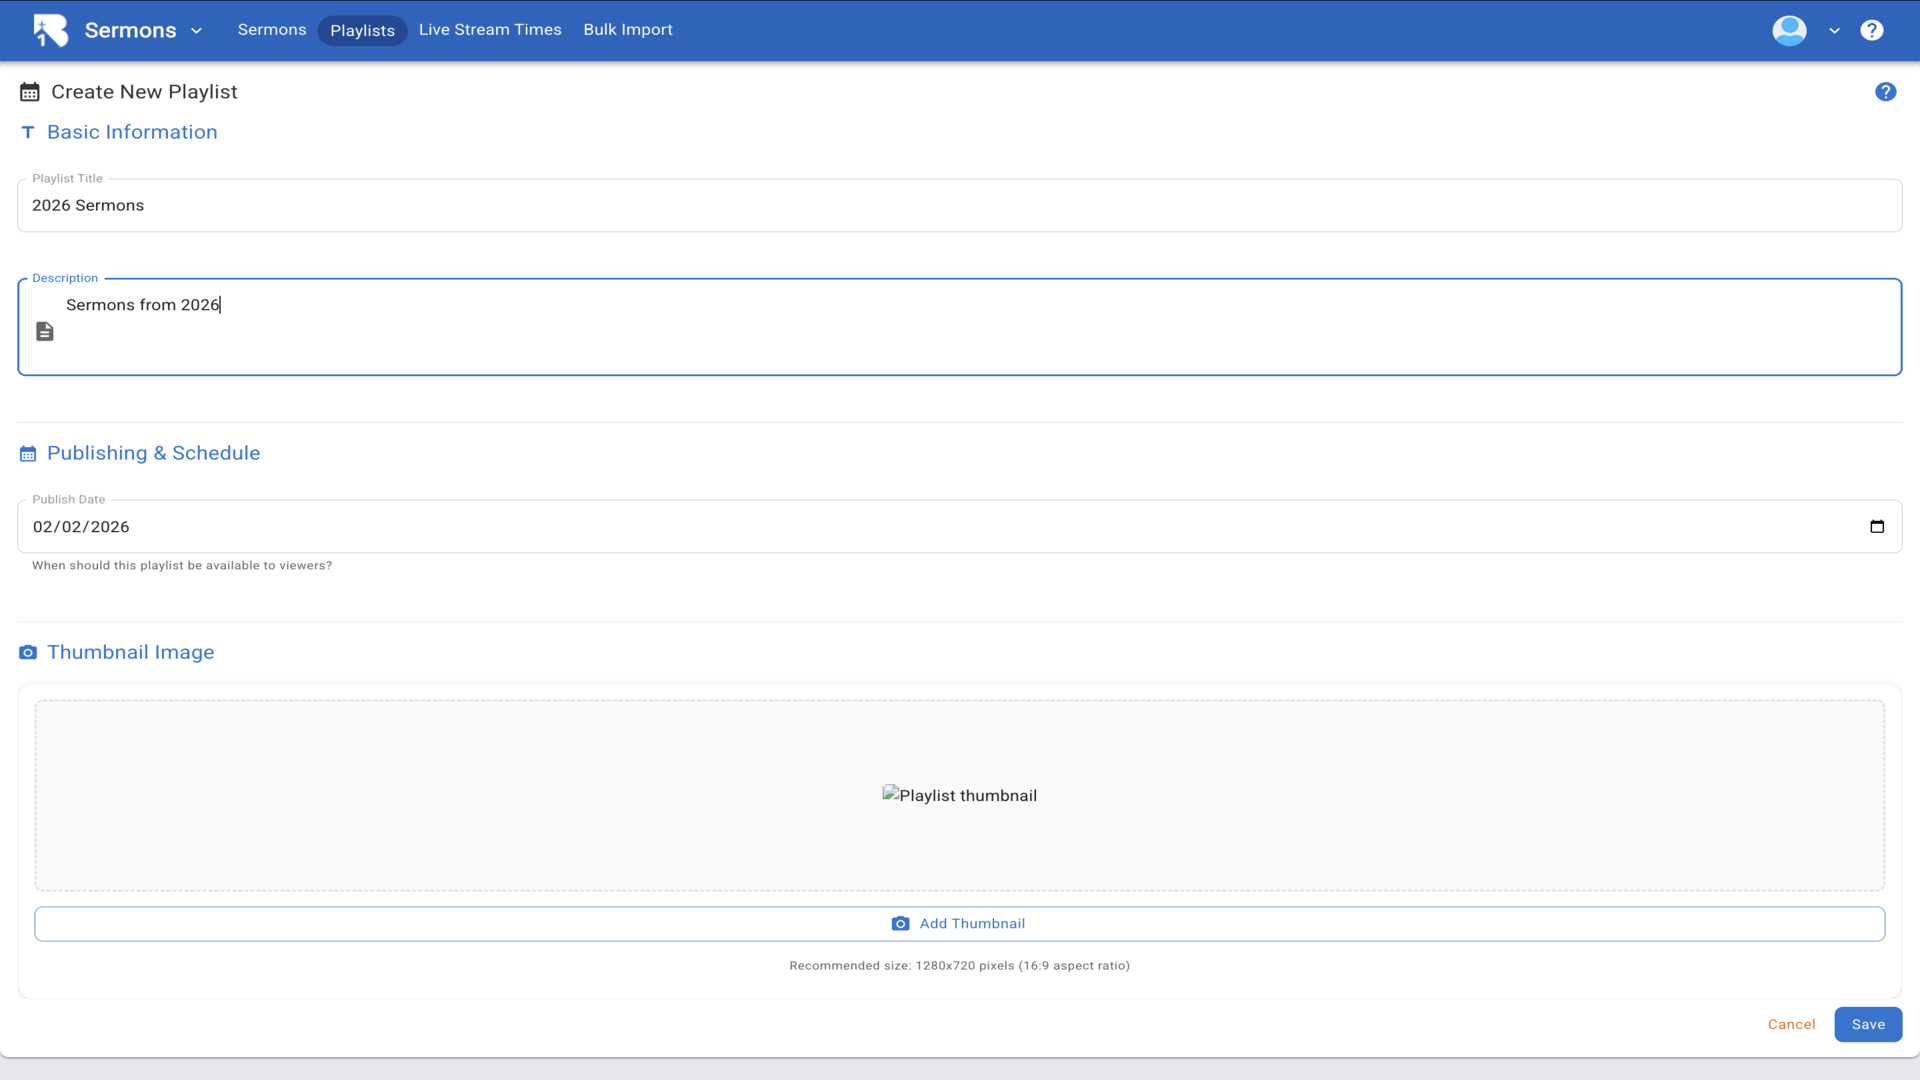
5.Enter a name and description for your playlist, set a publish date, and add a thumbnail image. Then click Save to create your playlist.▼
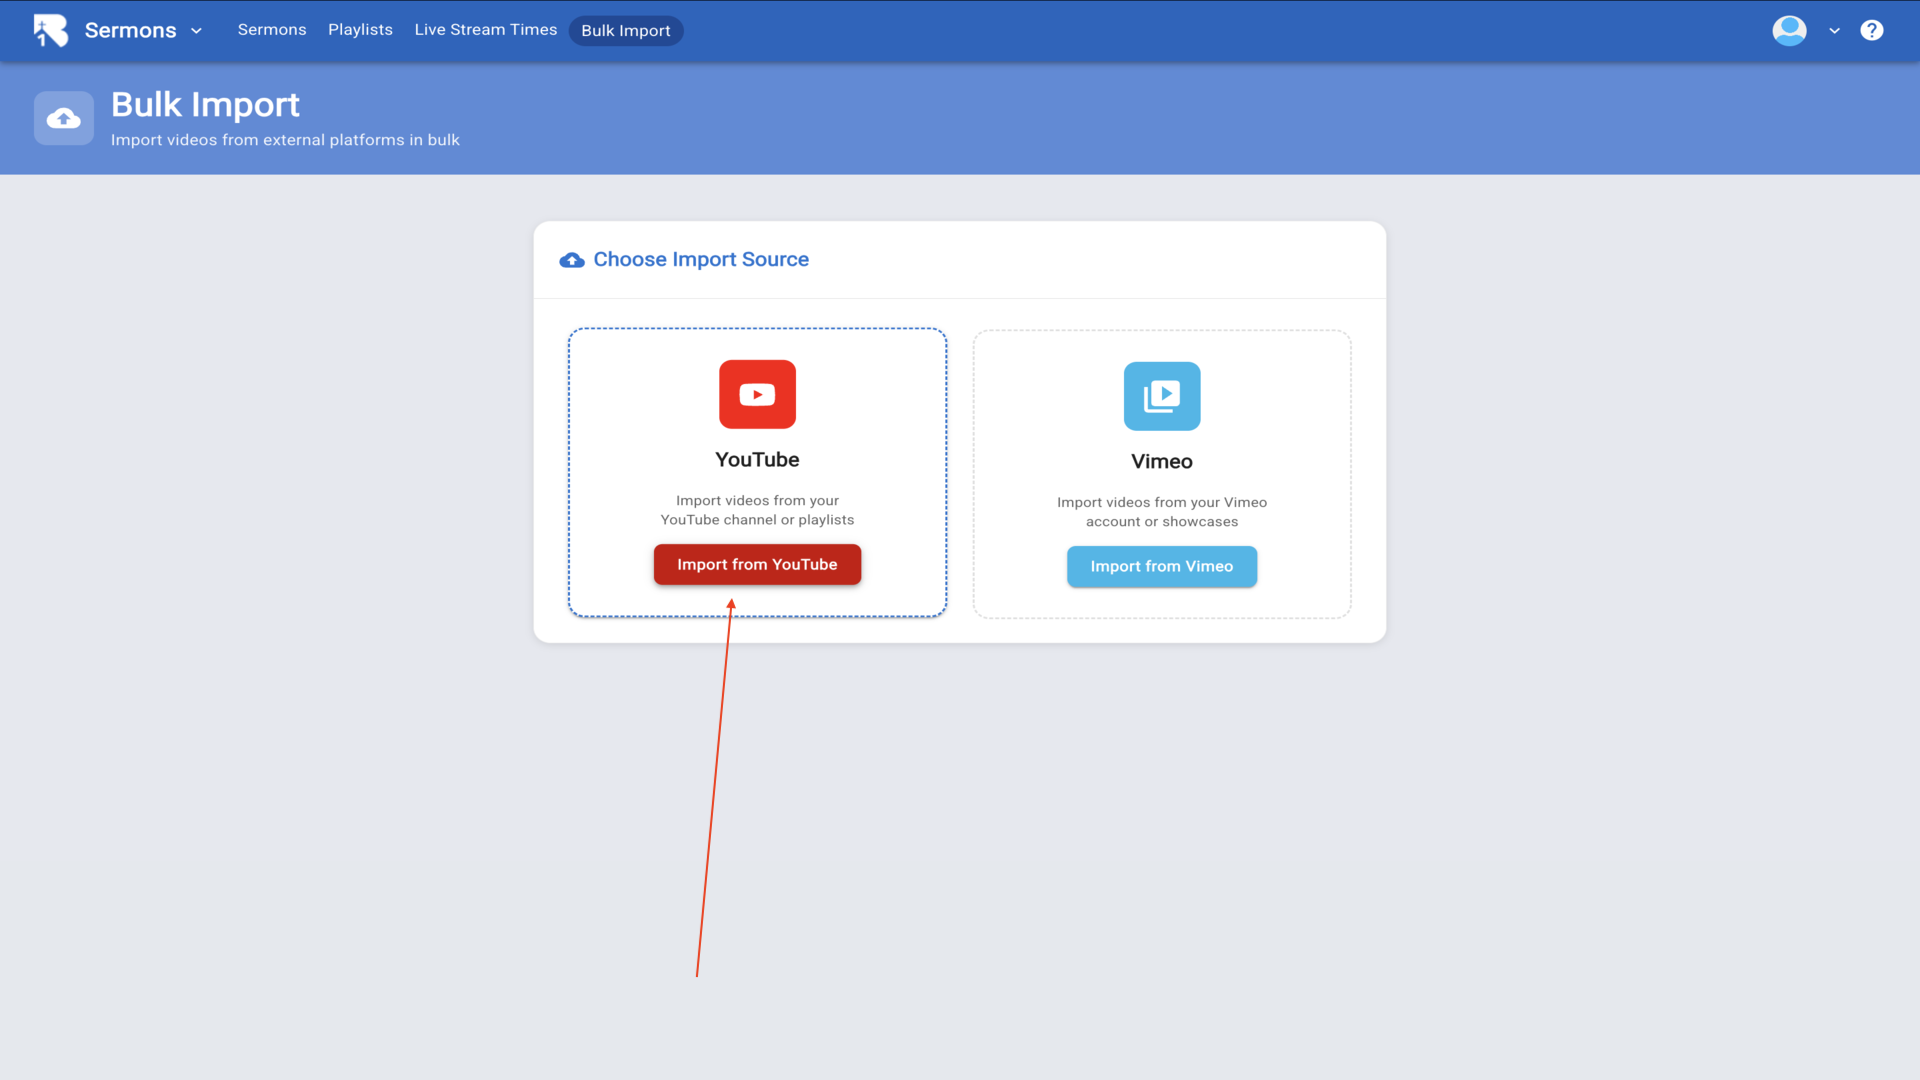
6.Now return to the Bulk Import tab. Click either Import from YouTube or Import from Vimeo depending on where your videos are hosted.▼
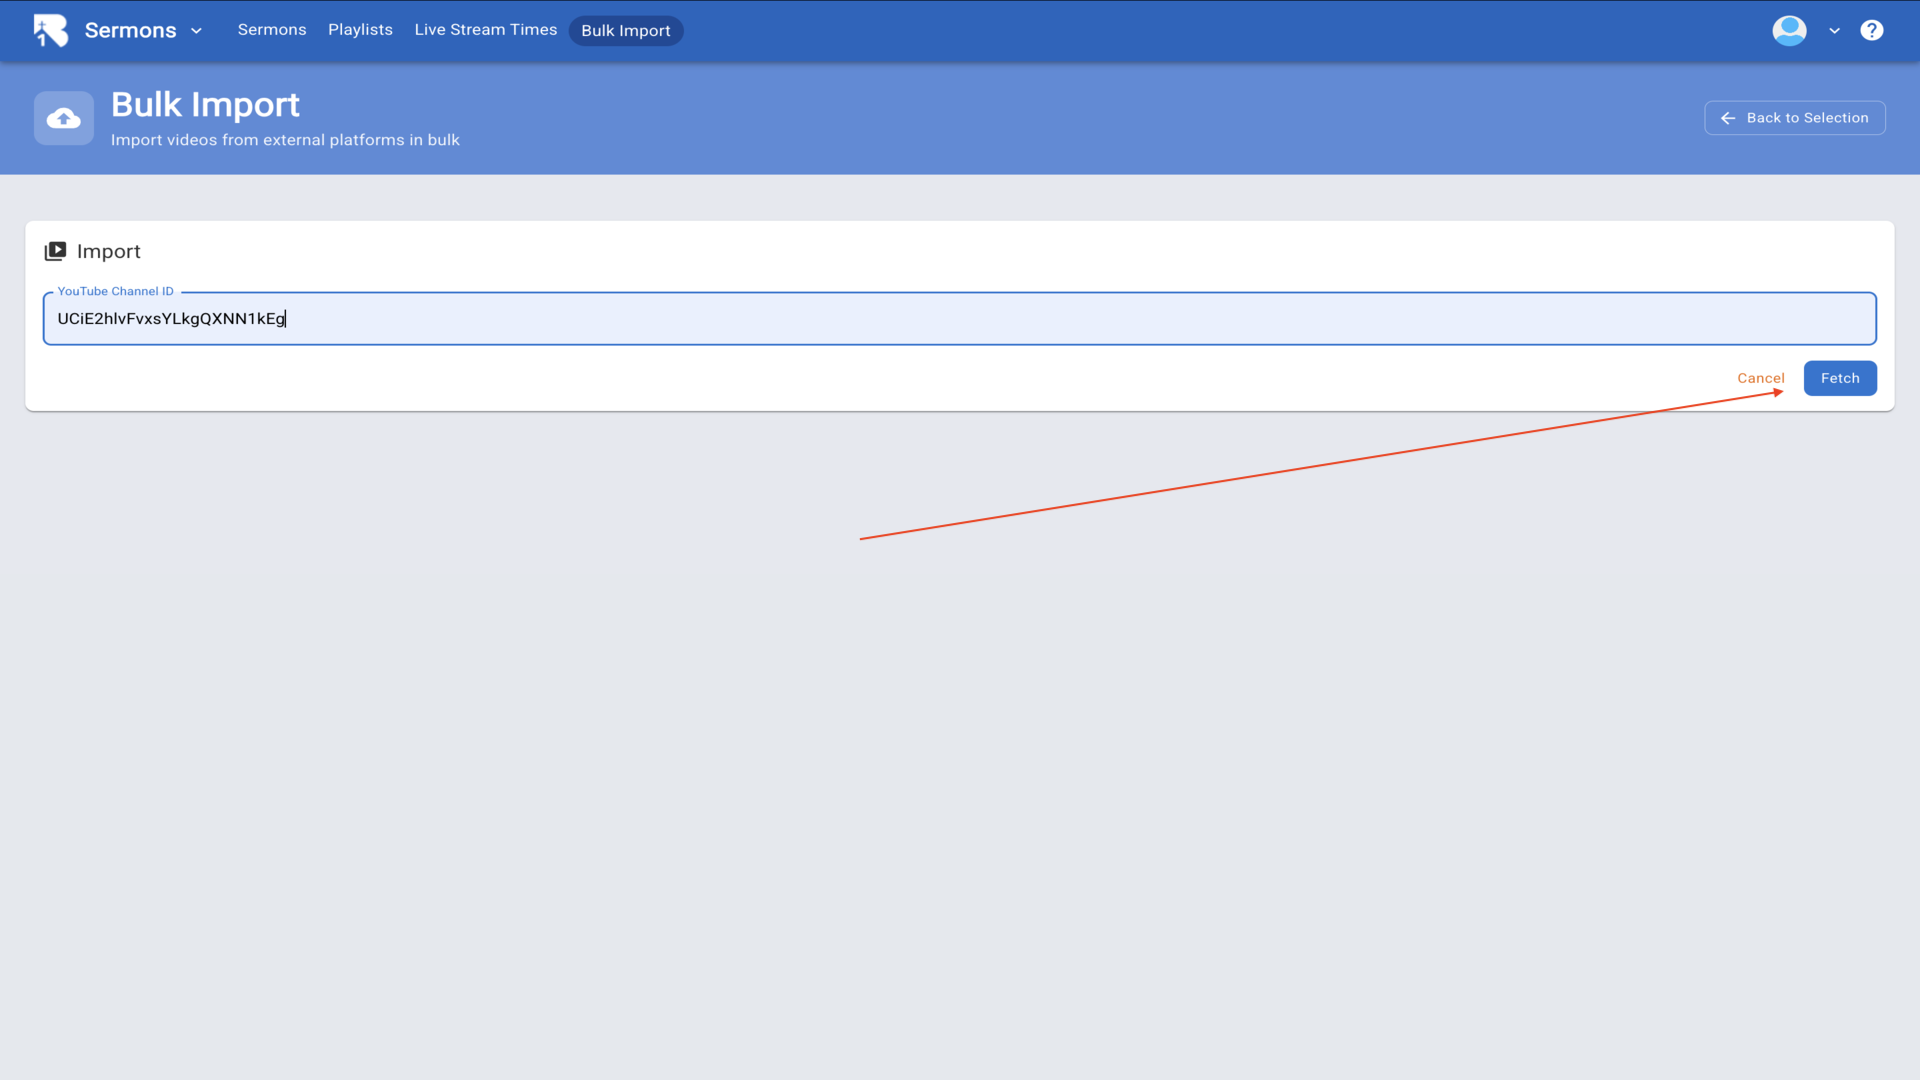
7.Enter your YouTube Channel ID or Vimeo account information in the field provided.▼
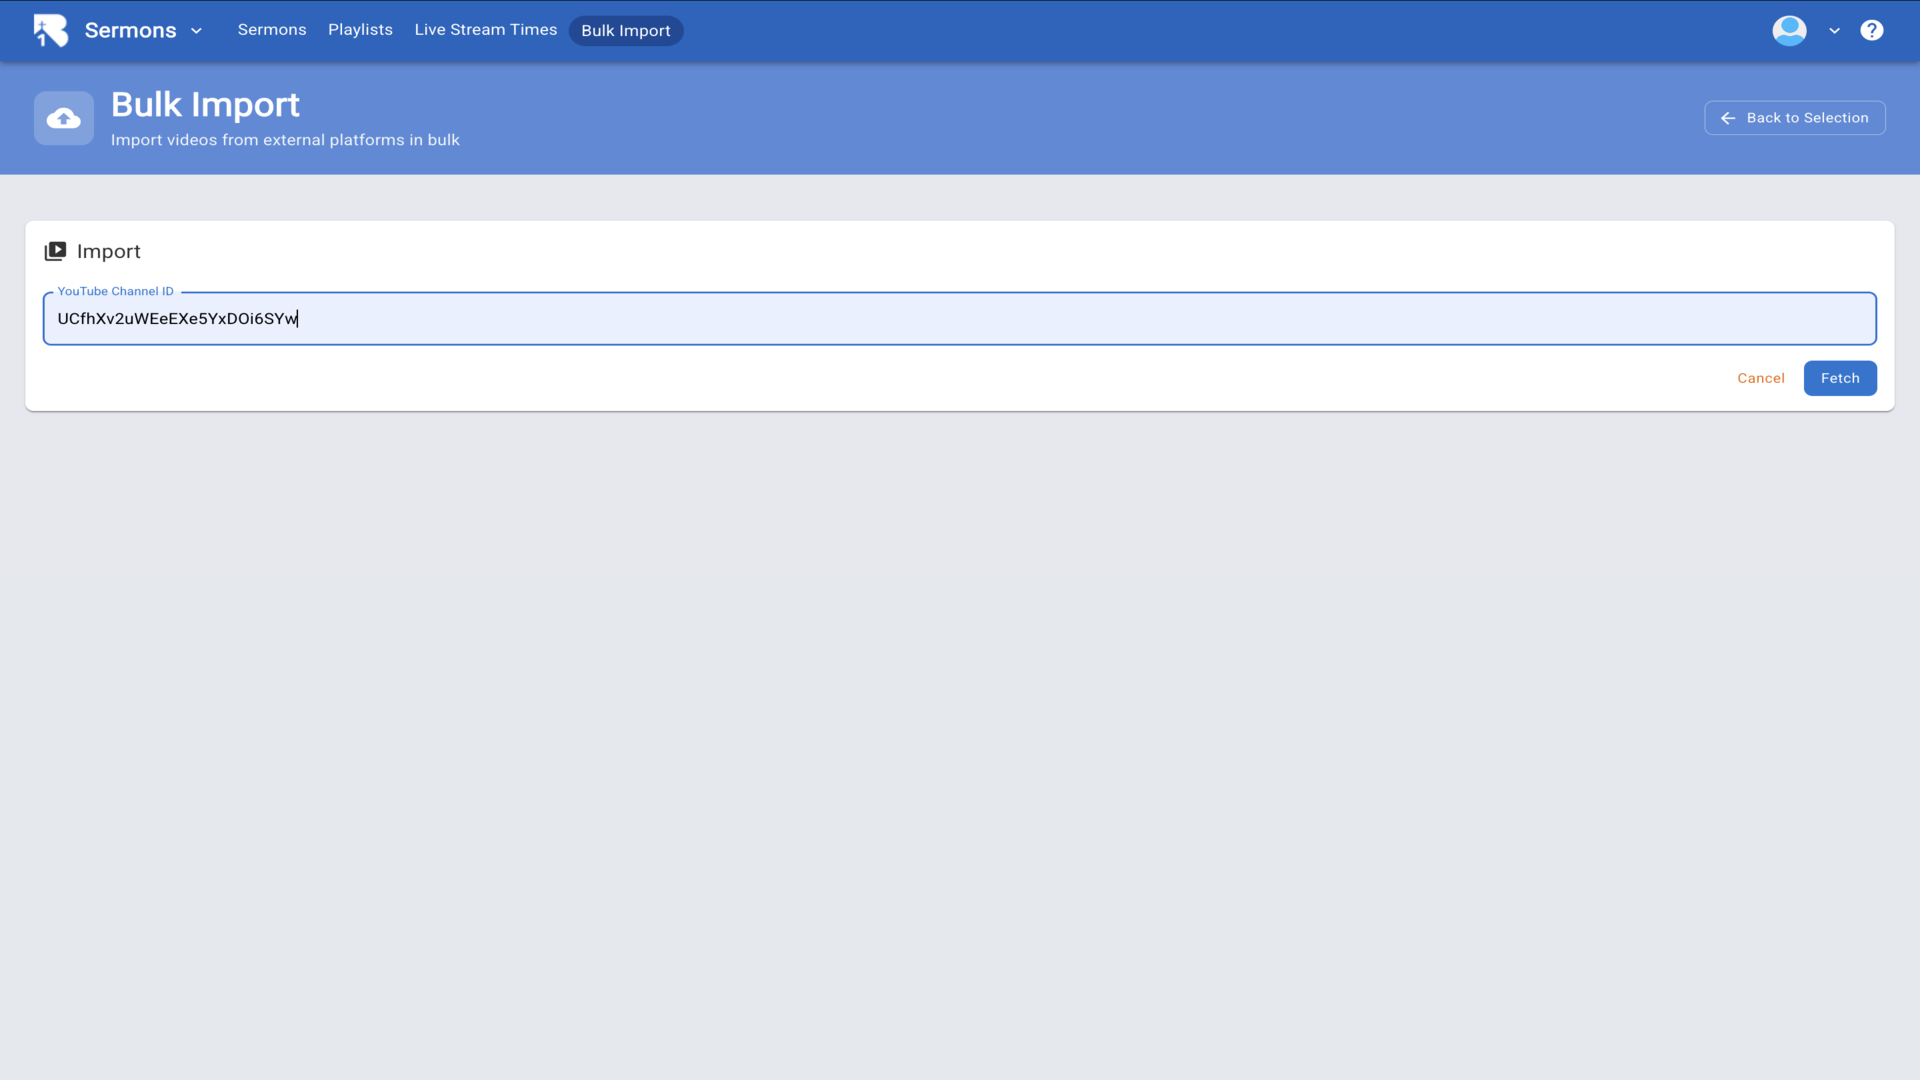
8.Click the Fetch button to retrieve all available videos from your channel.▼
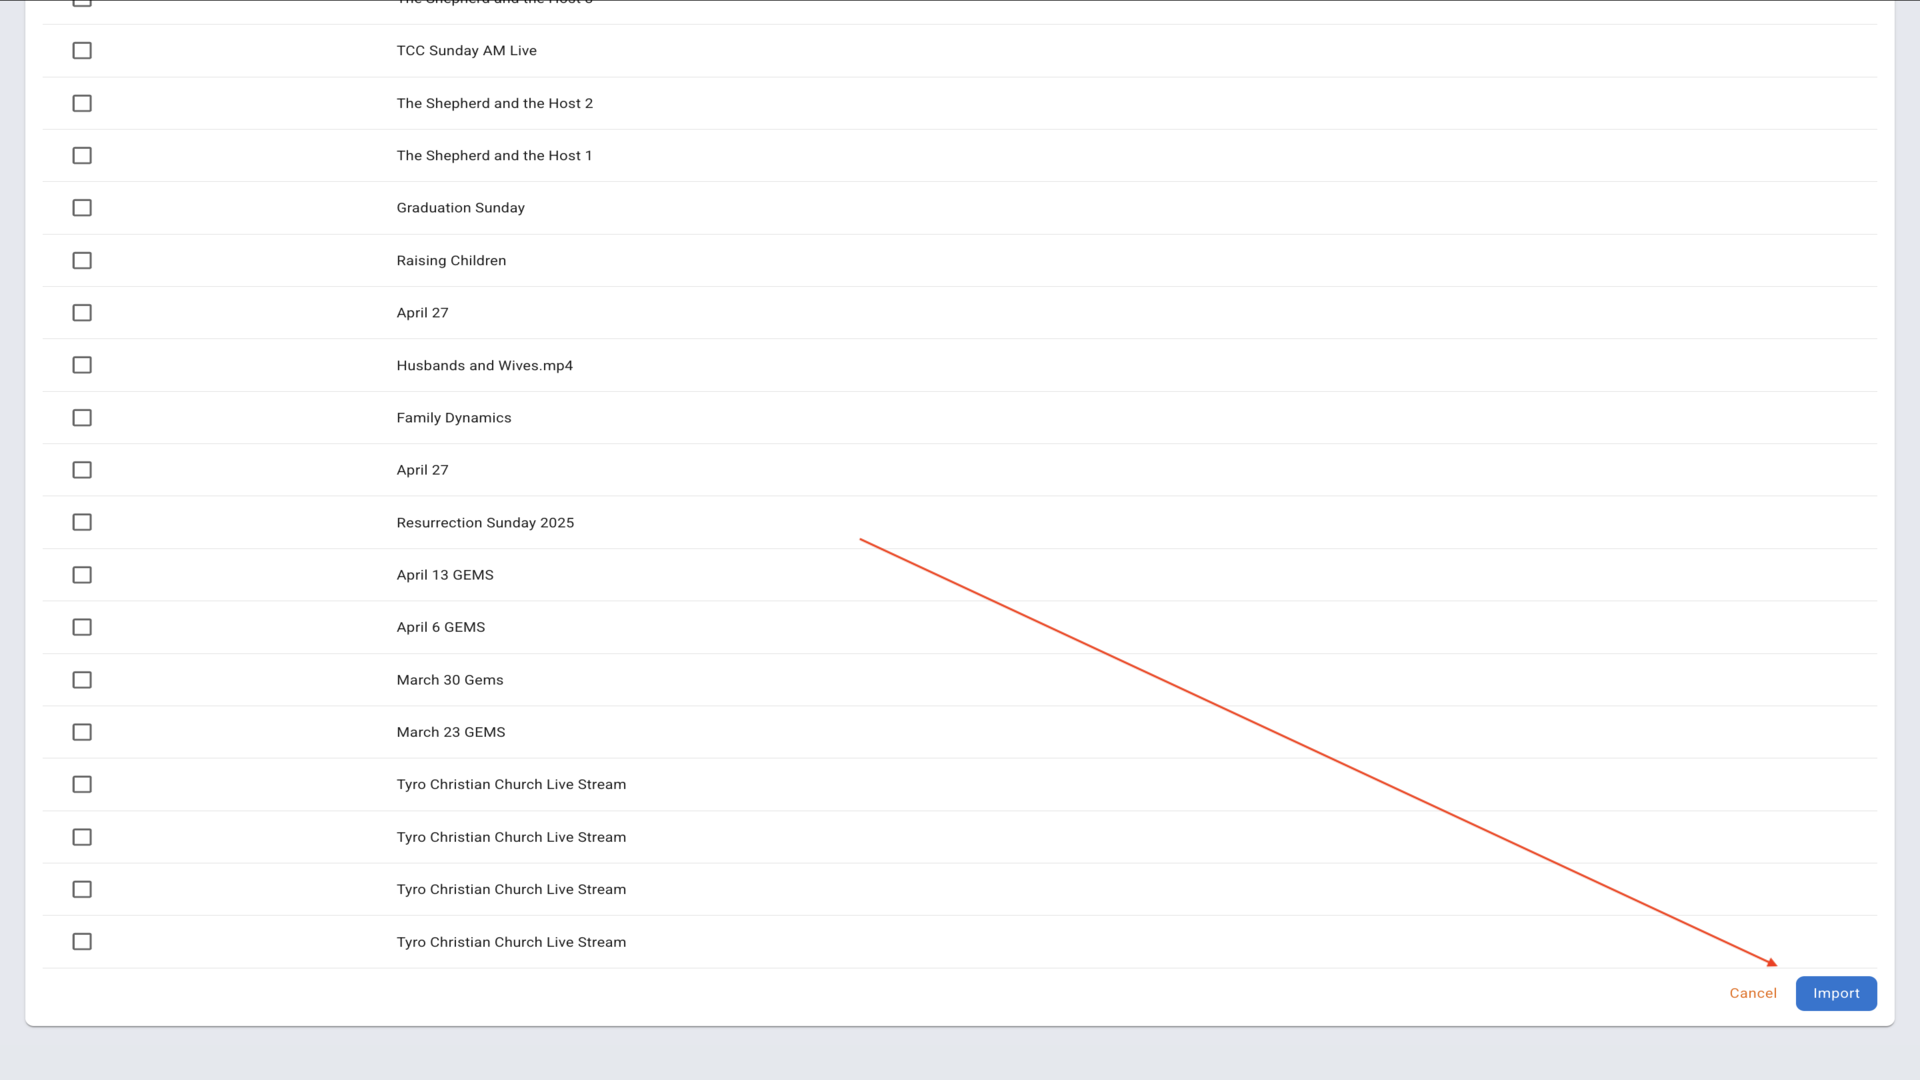
9.After fetching, you'll see a list of all your videos. Check the boxes next to the videos you want to import. You can also enable Auto Import New Videos to automatically add future uploads.▼
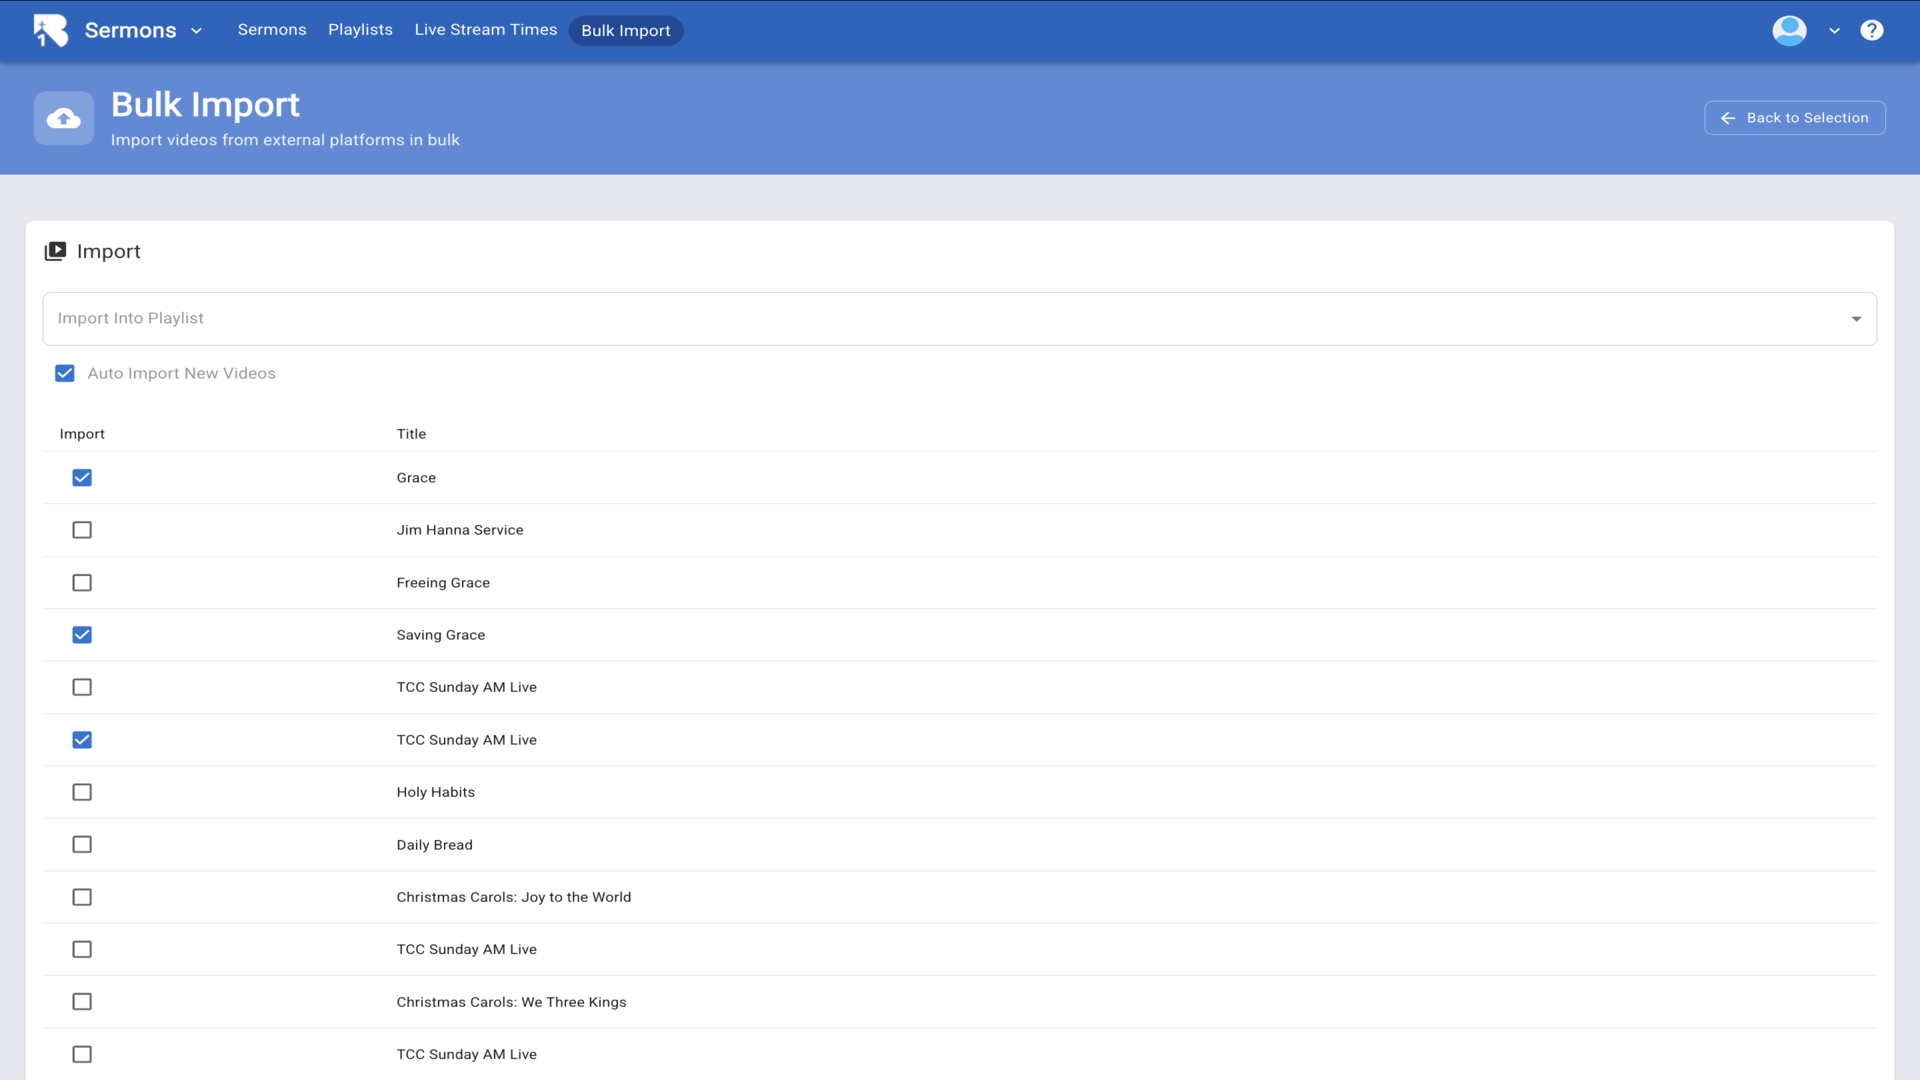
10.Click the Import Into Playlist dropdown to select which playlist these videos should be added to.▼
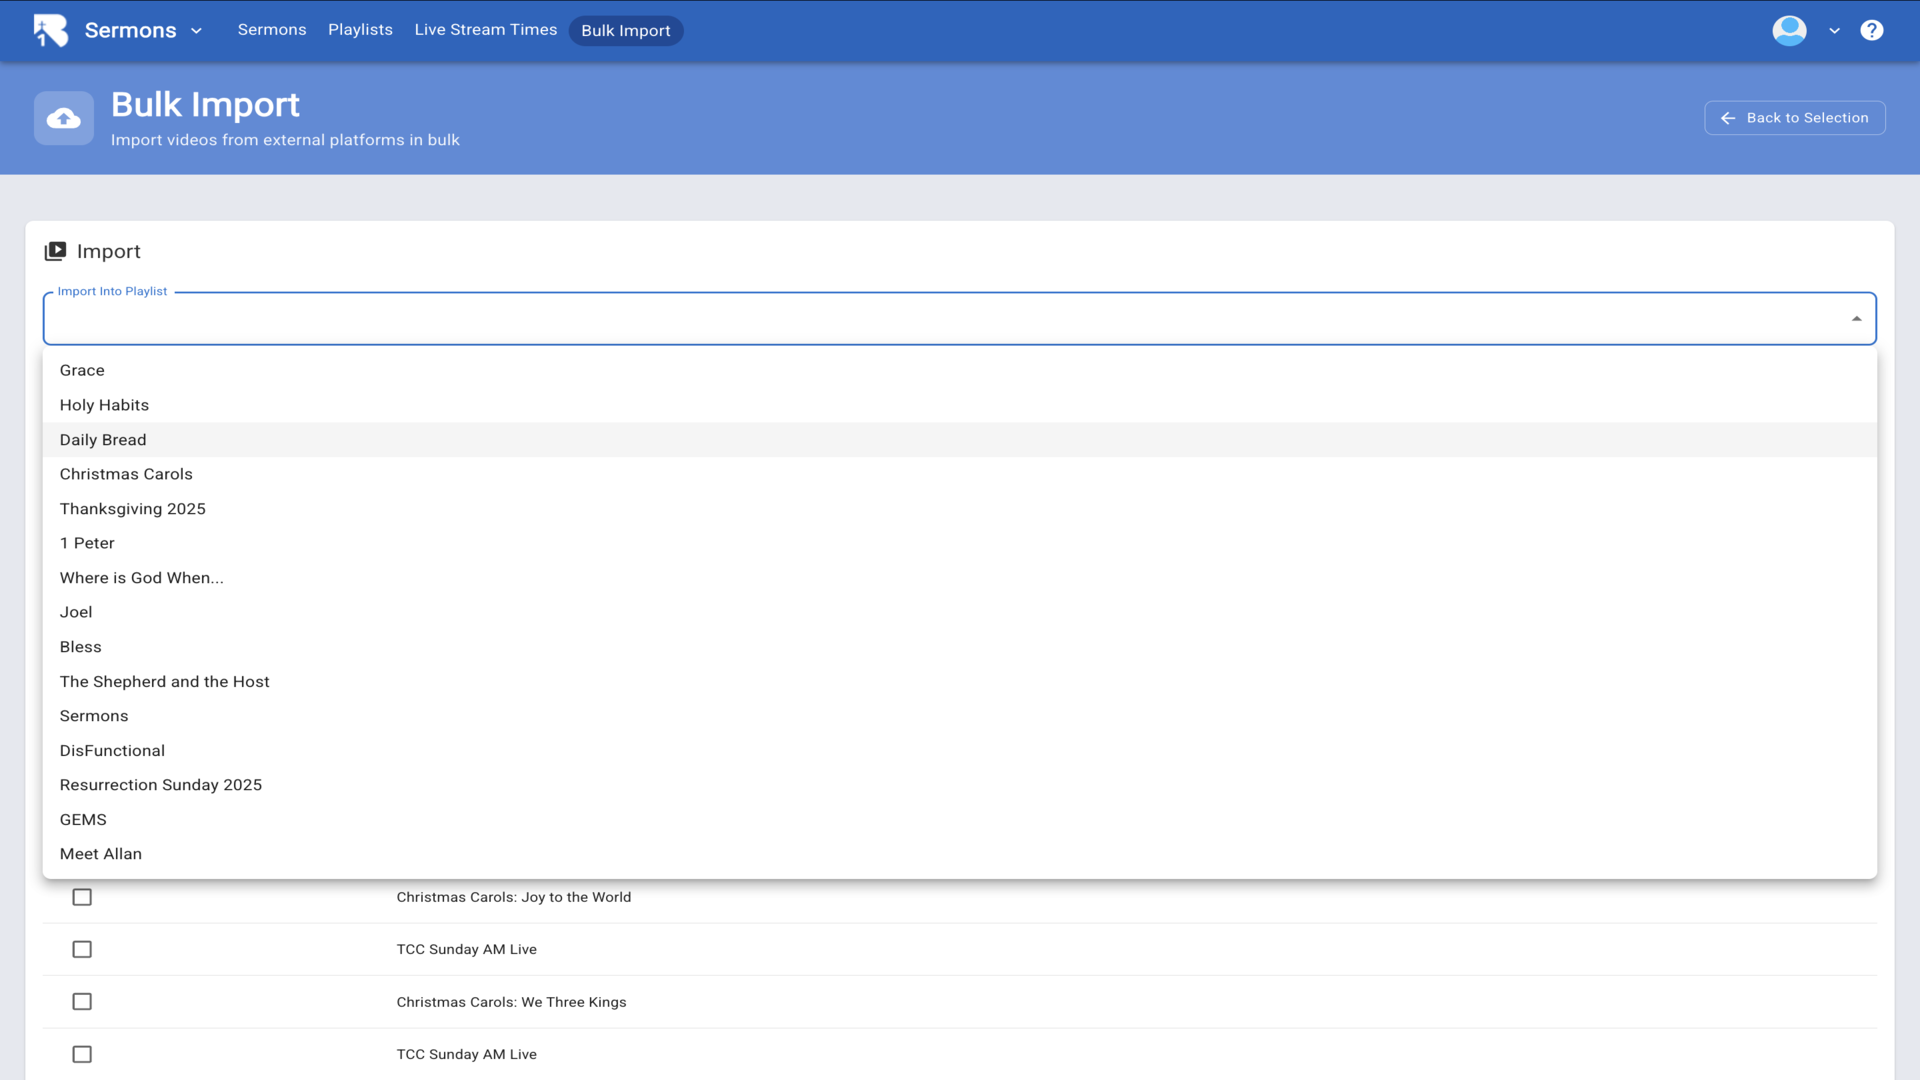
11.After selecting your playlist and videos, click the Import button to complete the bulk import. Your videos will be imported with all their details including titles, descriptions, dates, and thumbnails.▼
Steps
1.To add hosts for your live stream, start from the Dashboard and click on Settings in the left navigation menu.▼

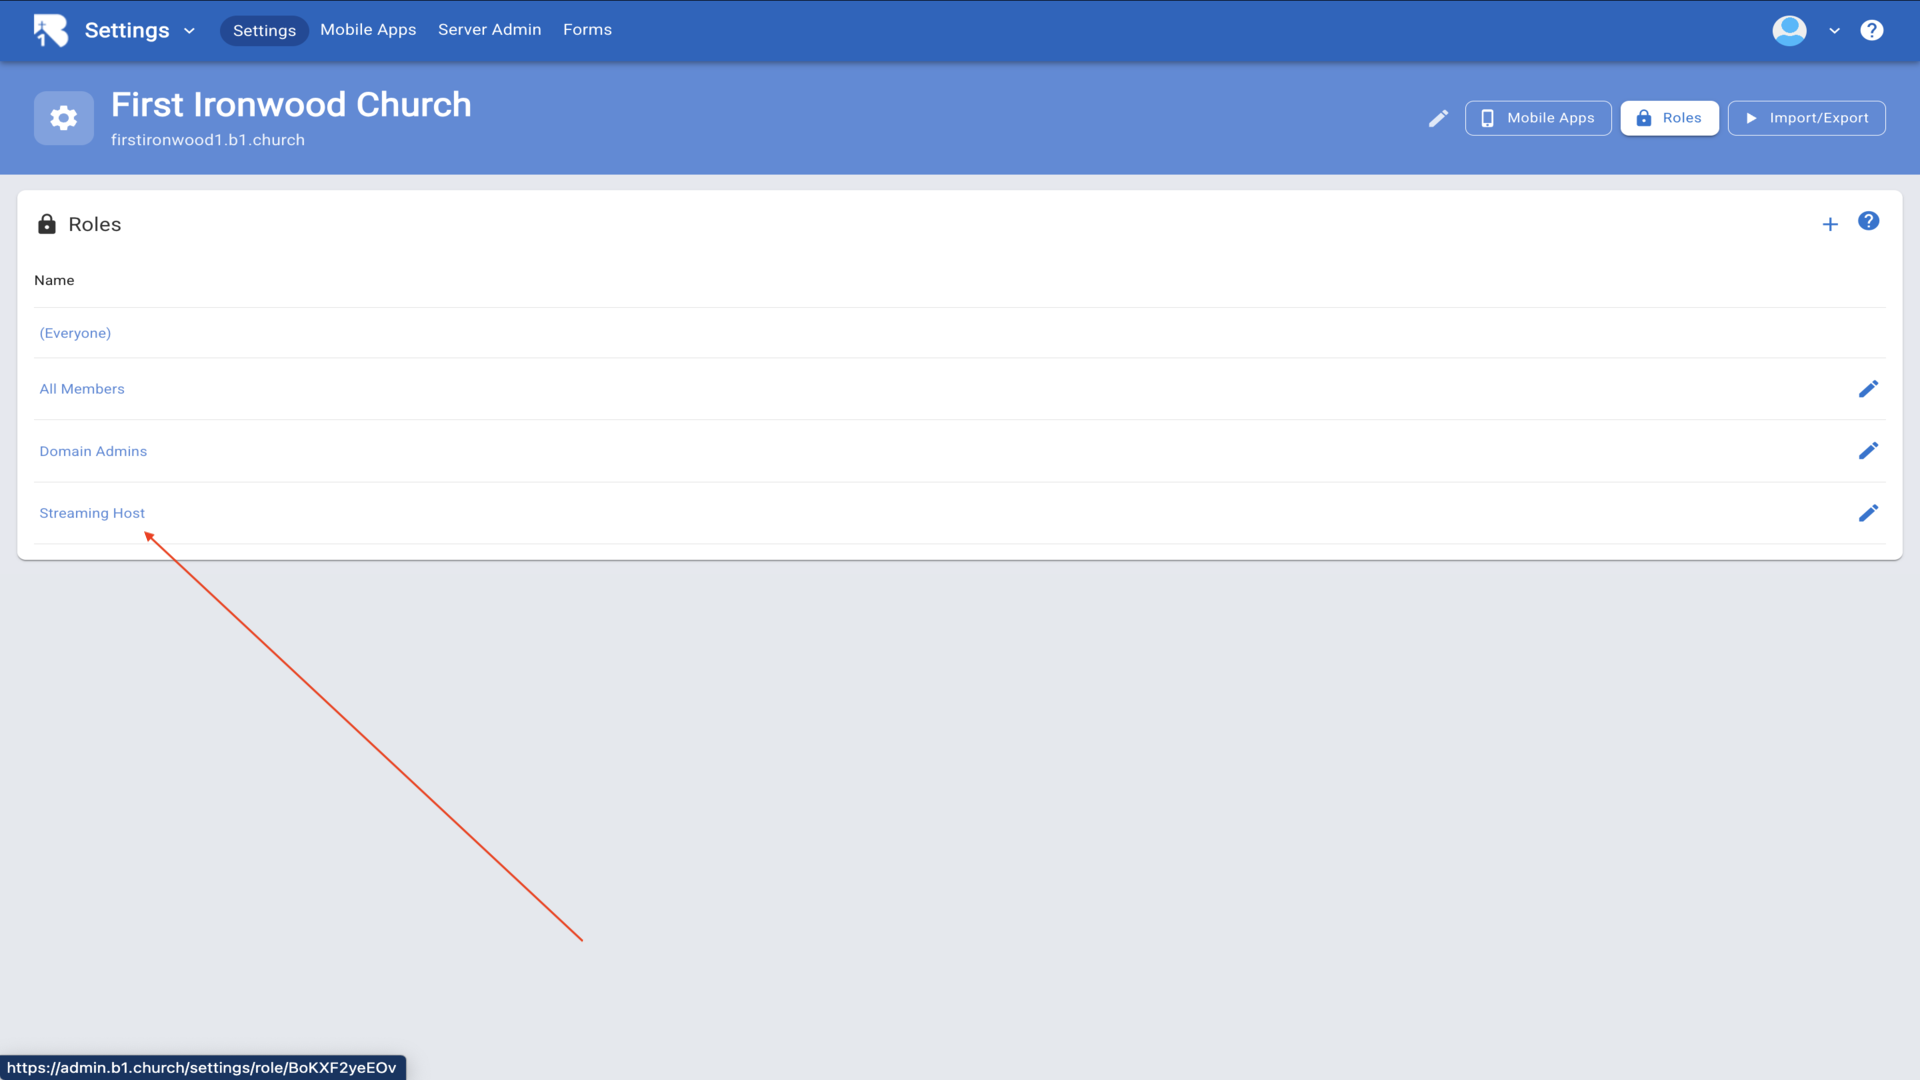
2.From the Settings page, click on the Roles button in the top navigation to access role management.▼
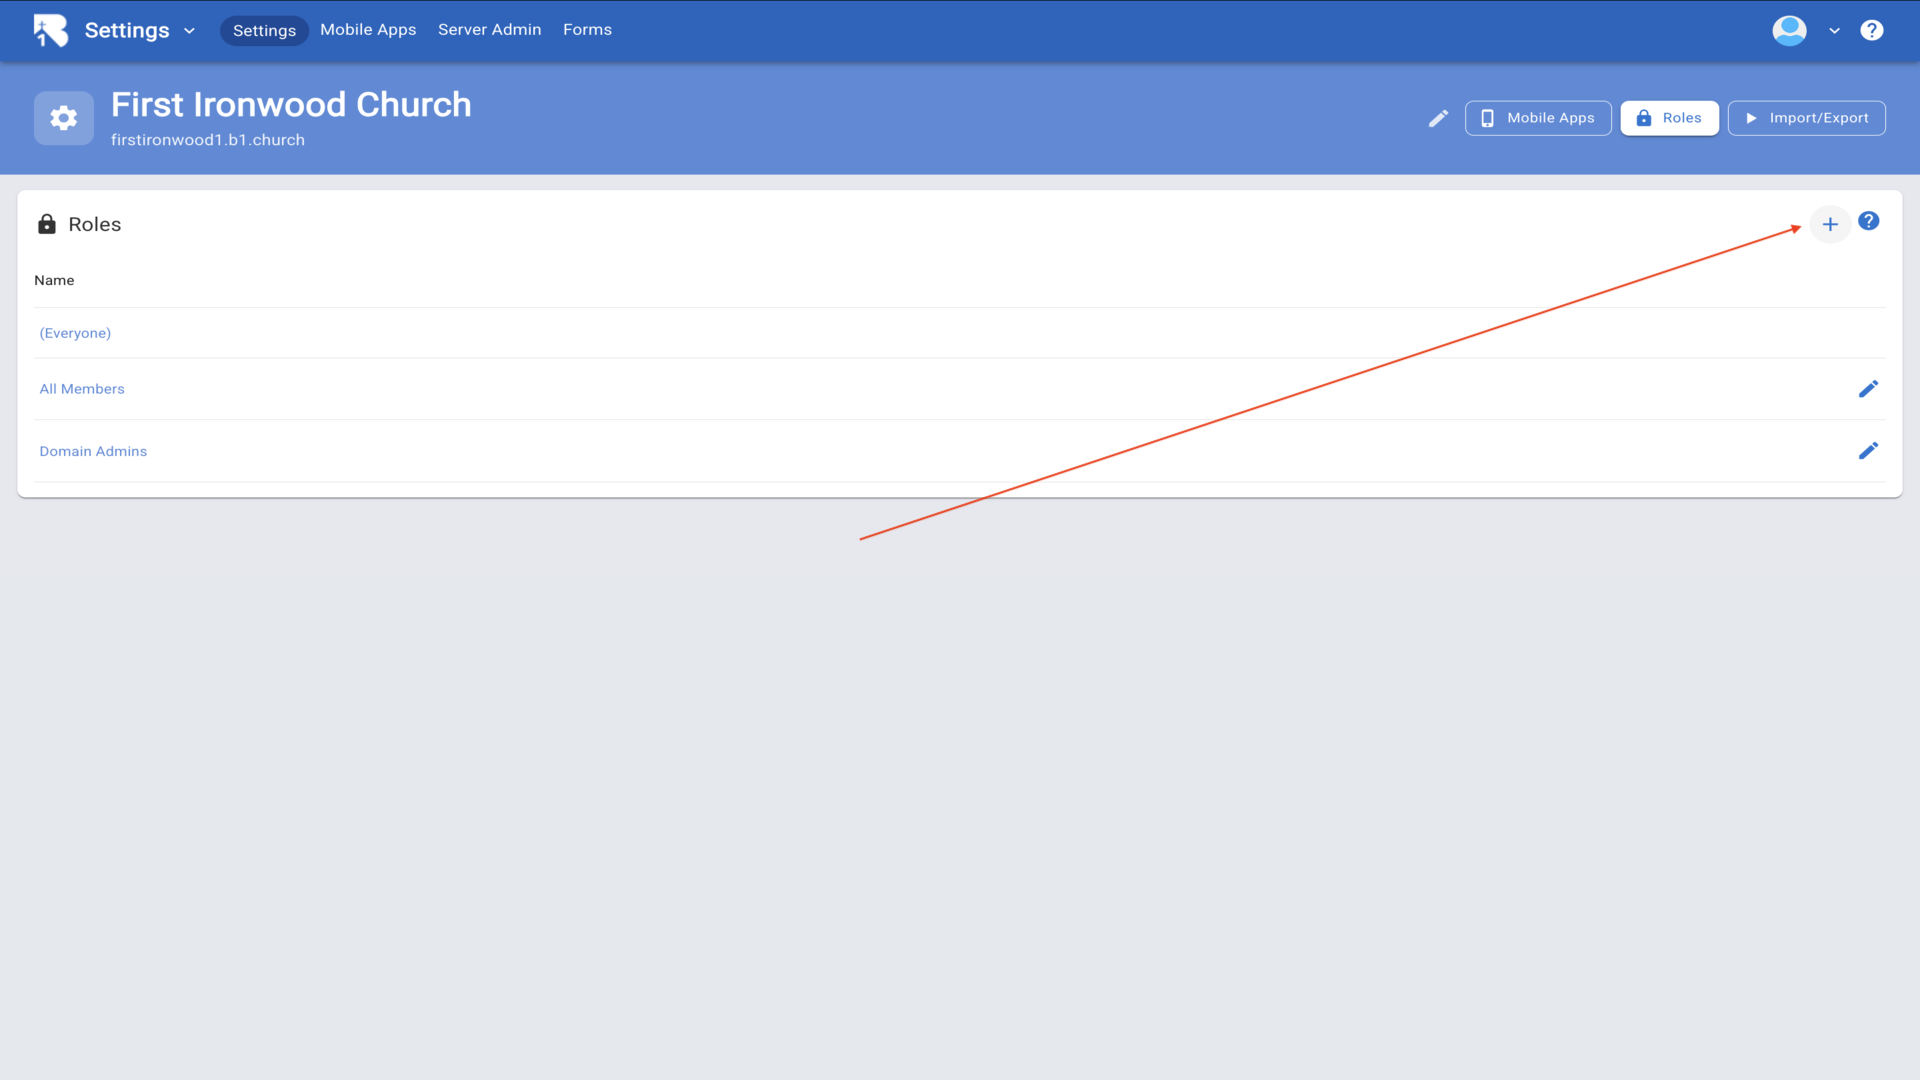
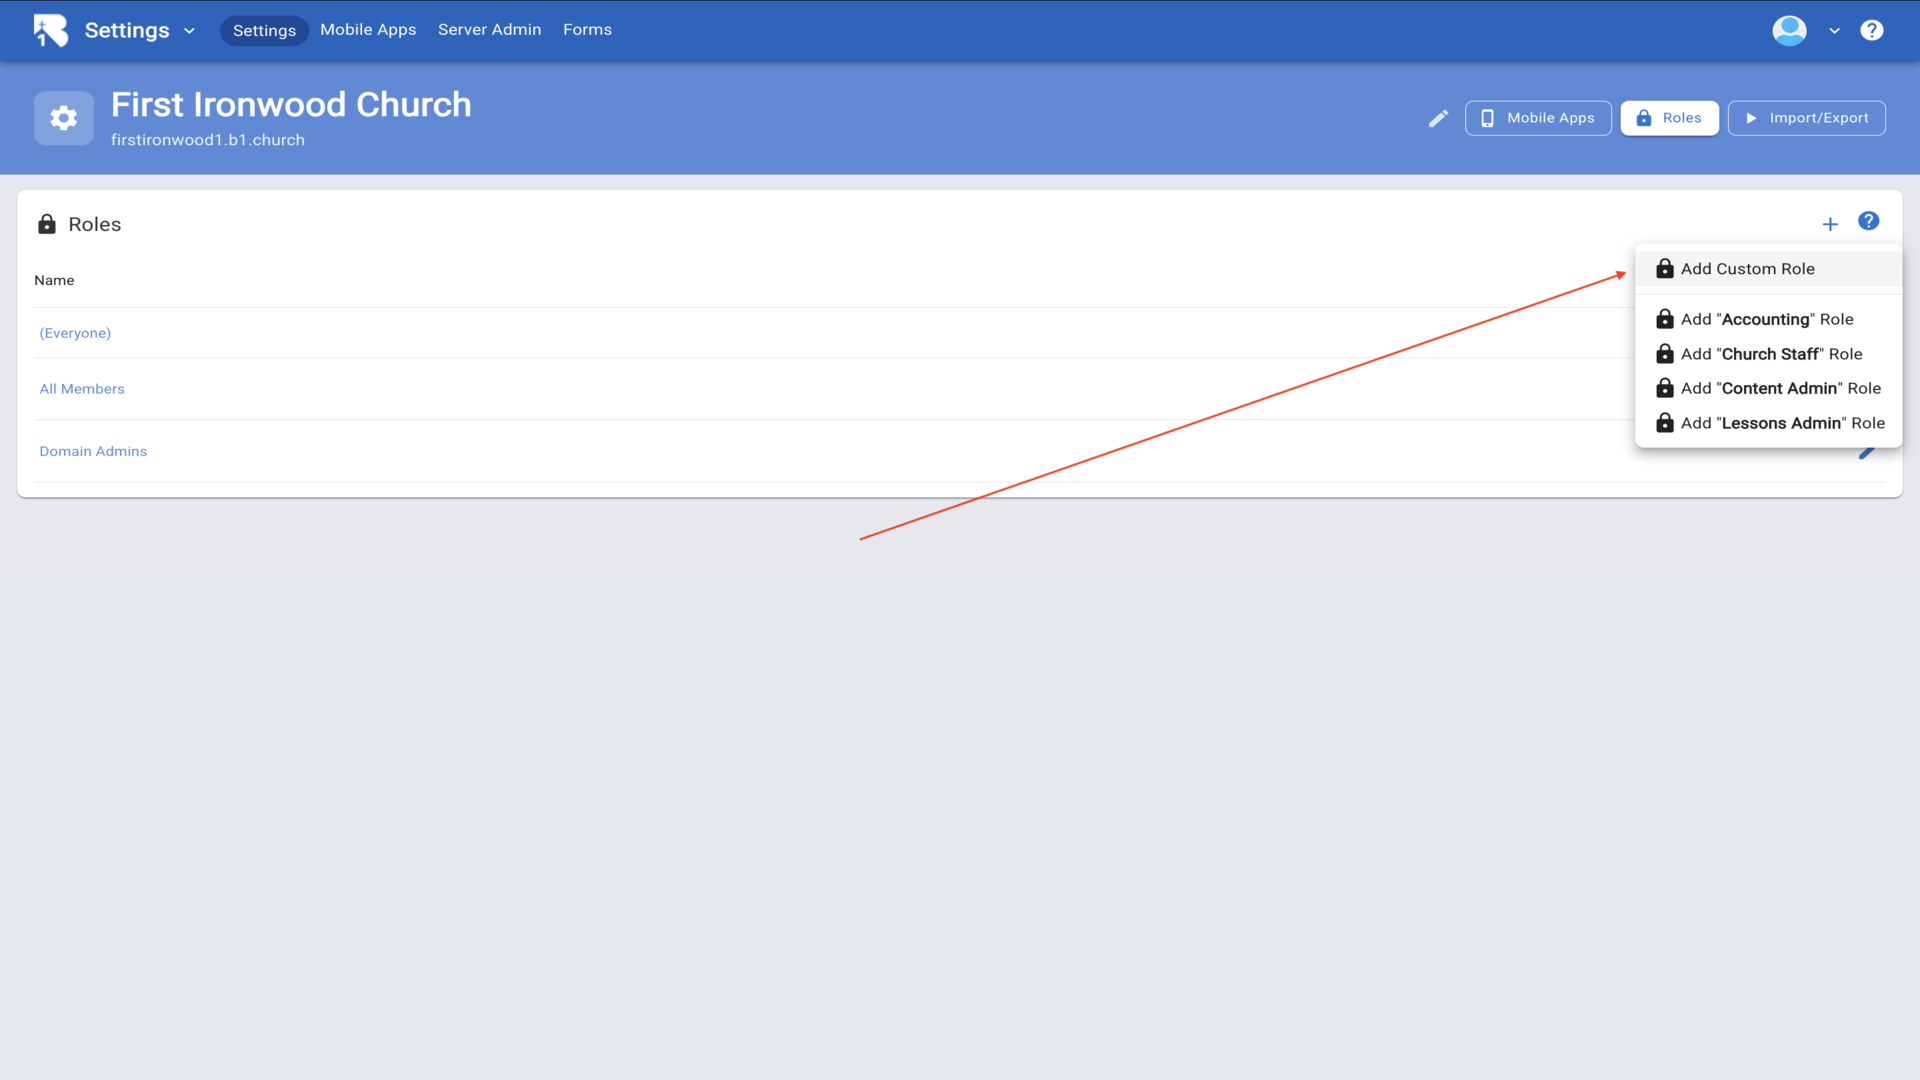
3.On the Roles page, click the plus button in the top right corner and select Add Custom Role from the dropdown menu.▼
4.In the Role Name field, enter Streaming Host and click Save to create the new role.▼
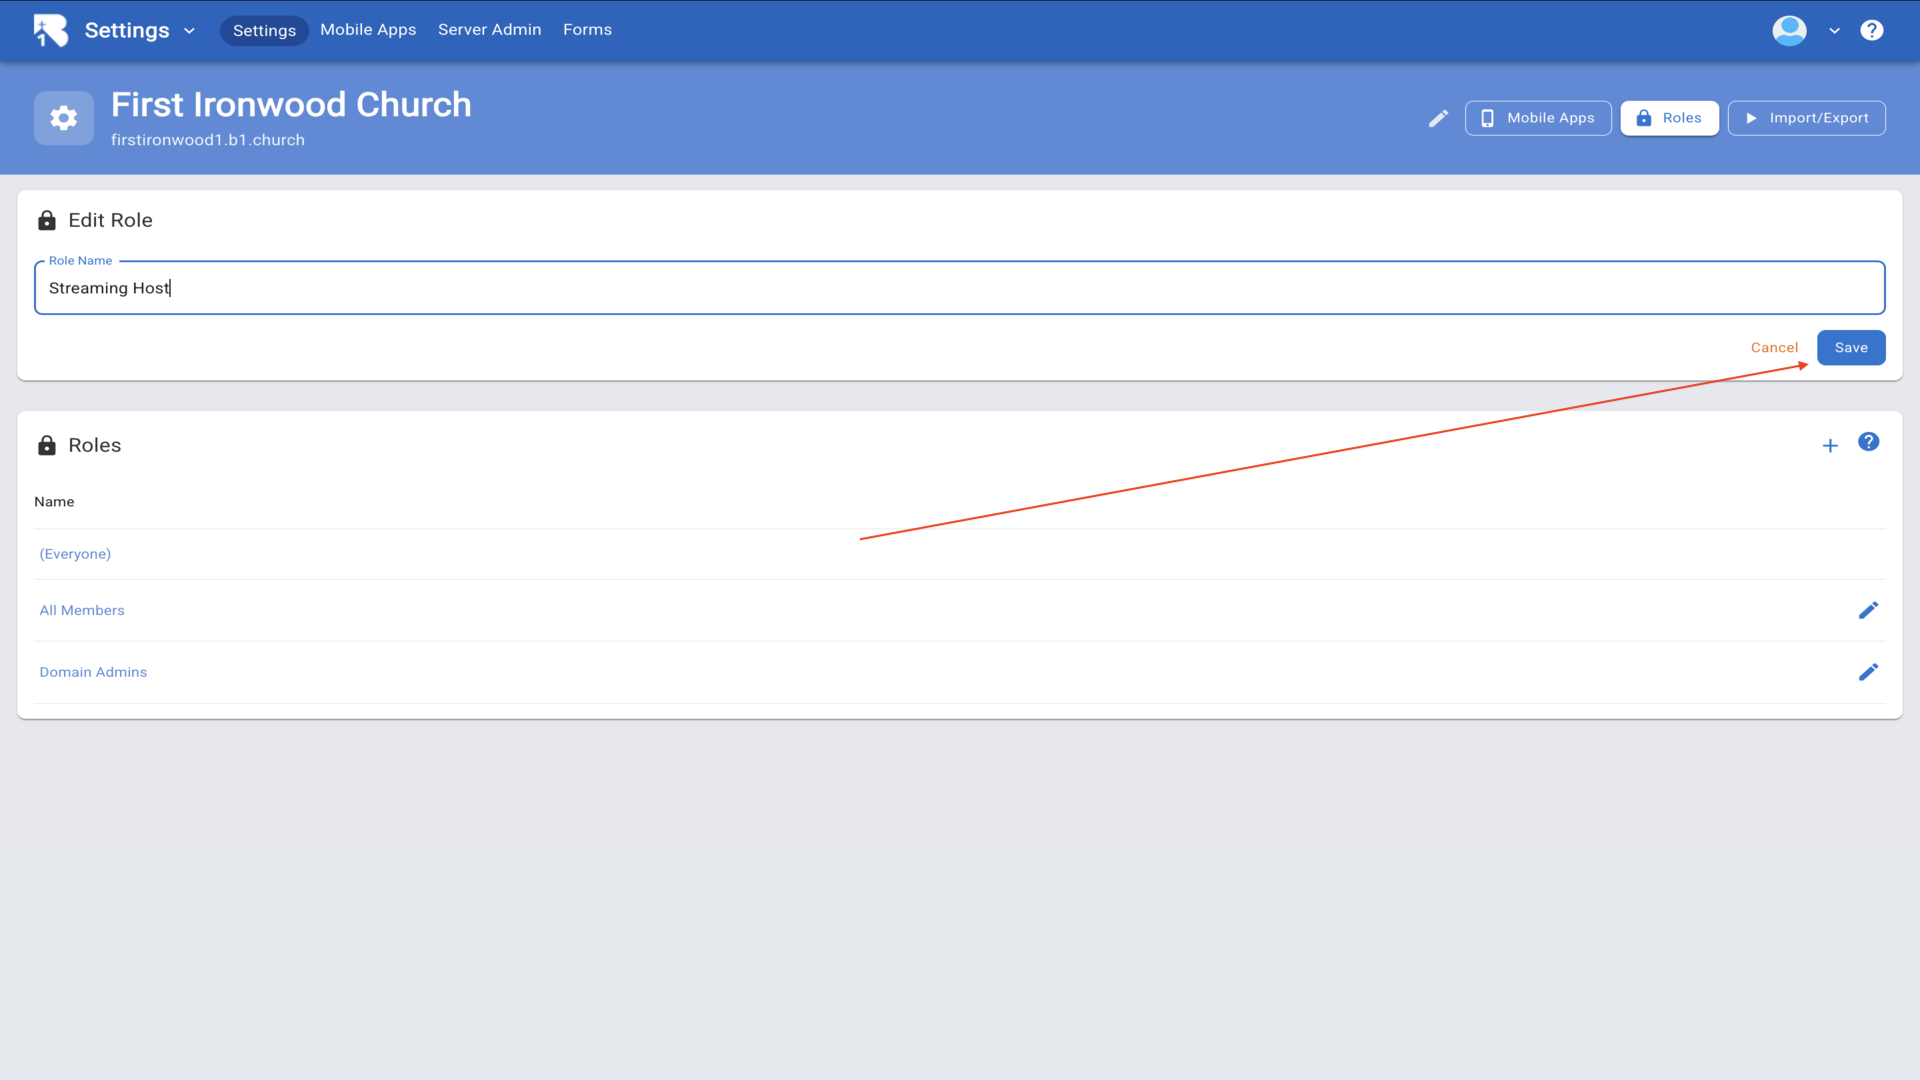
5.Your new Streaming Host role will now appear in the roles list.▼
6.Click on the Streaming Host role to edit it. You'll see the Members section where you can add people to this role.▼
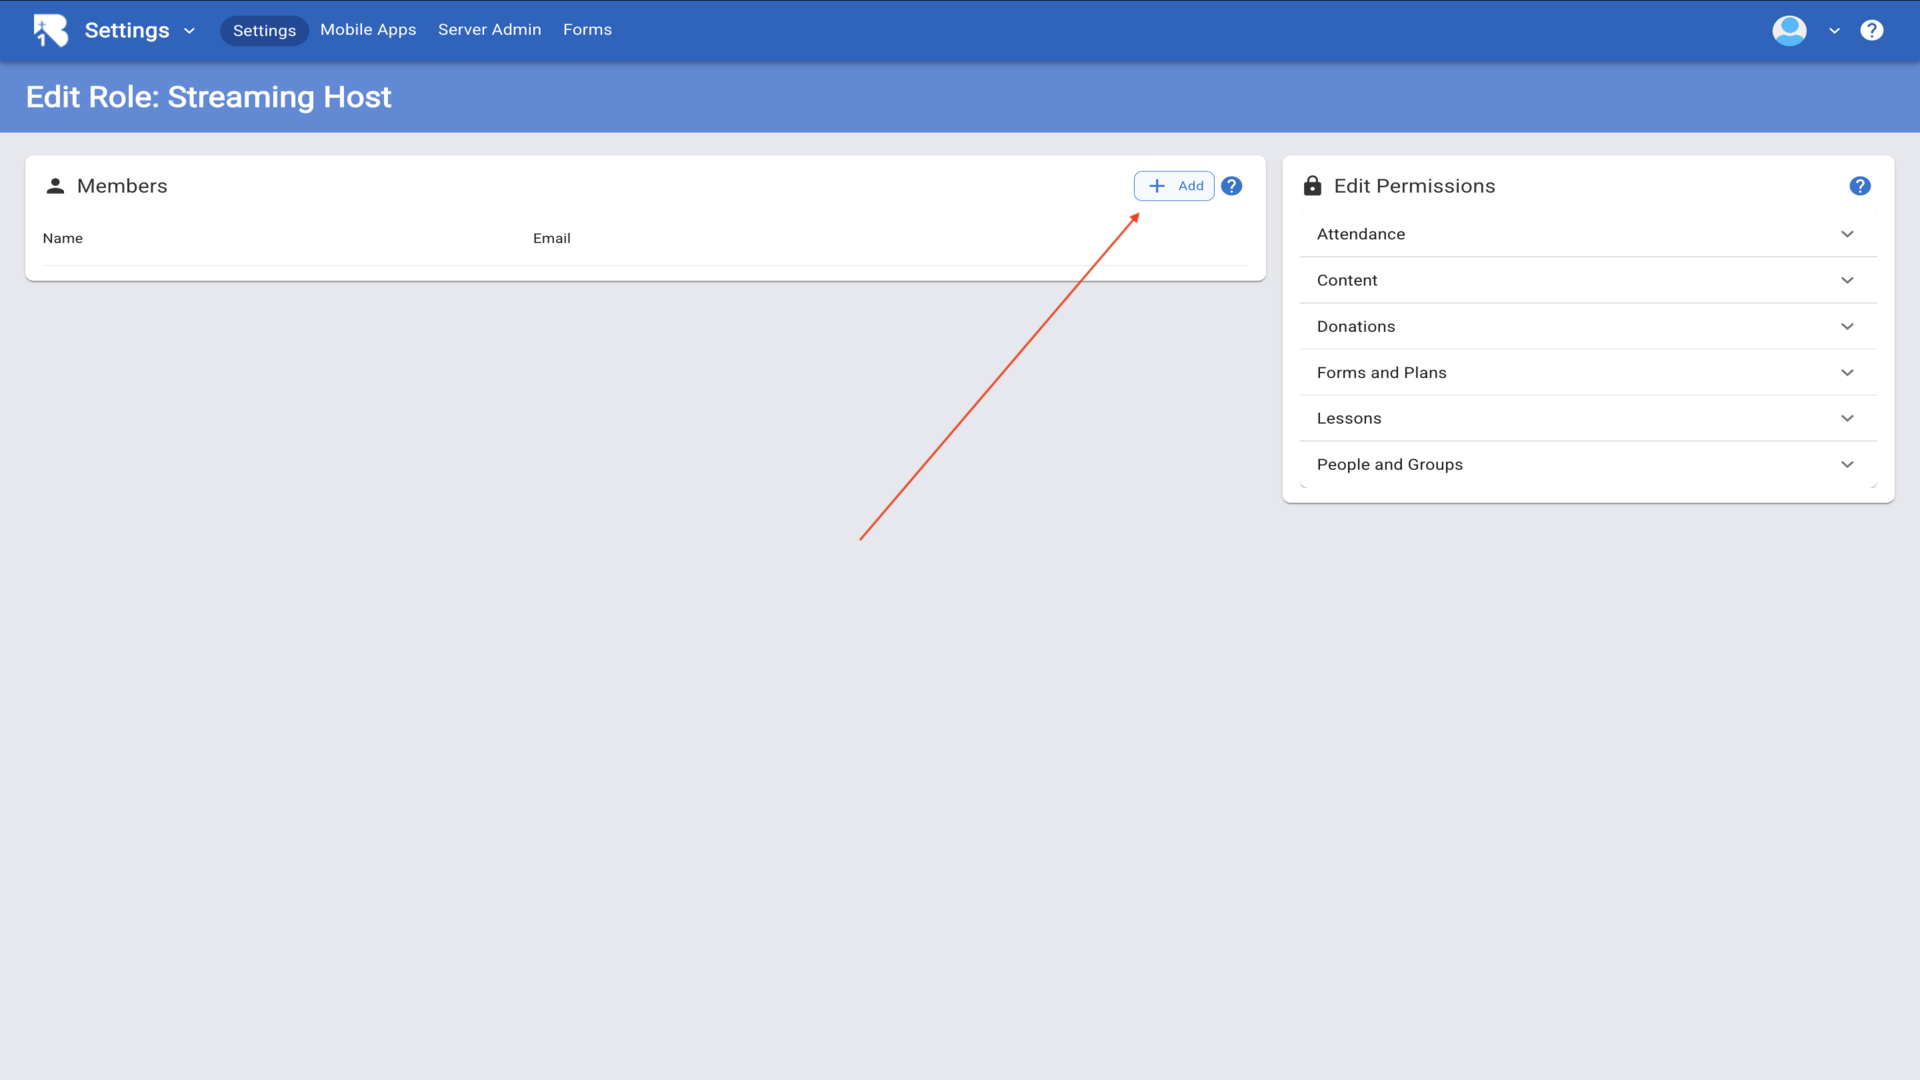
7.Click the Add button in the Members section, search for the person you want to add as a host, and click Select next to their name.▼
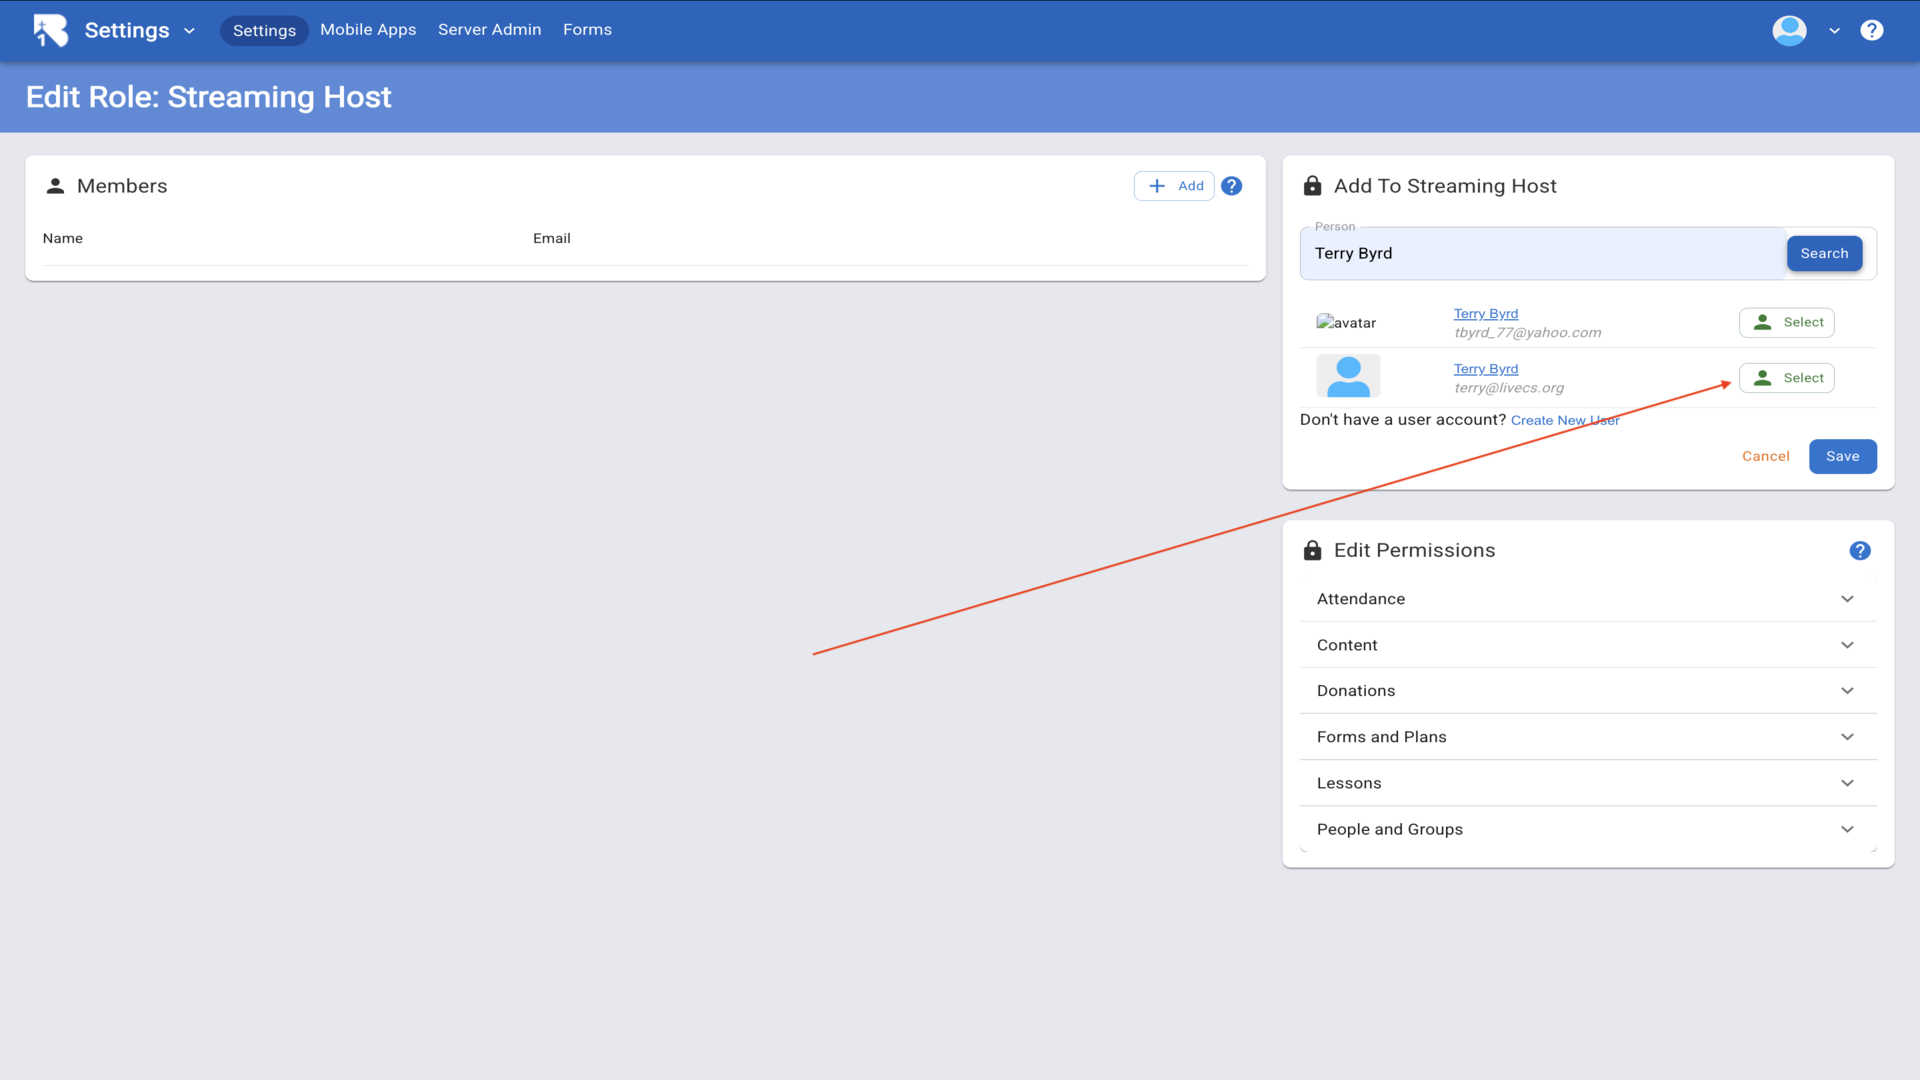
8.The person you selected will now appear in the Members list for this role.▼
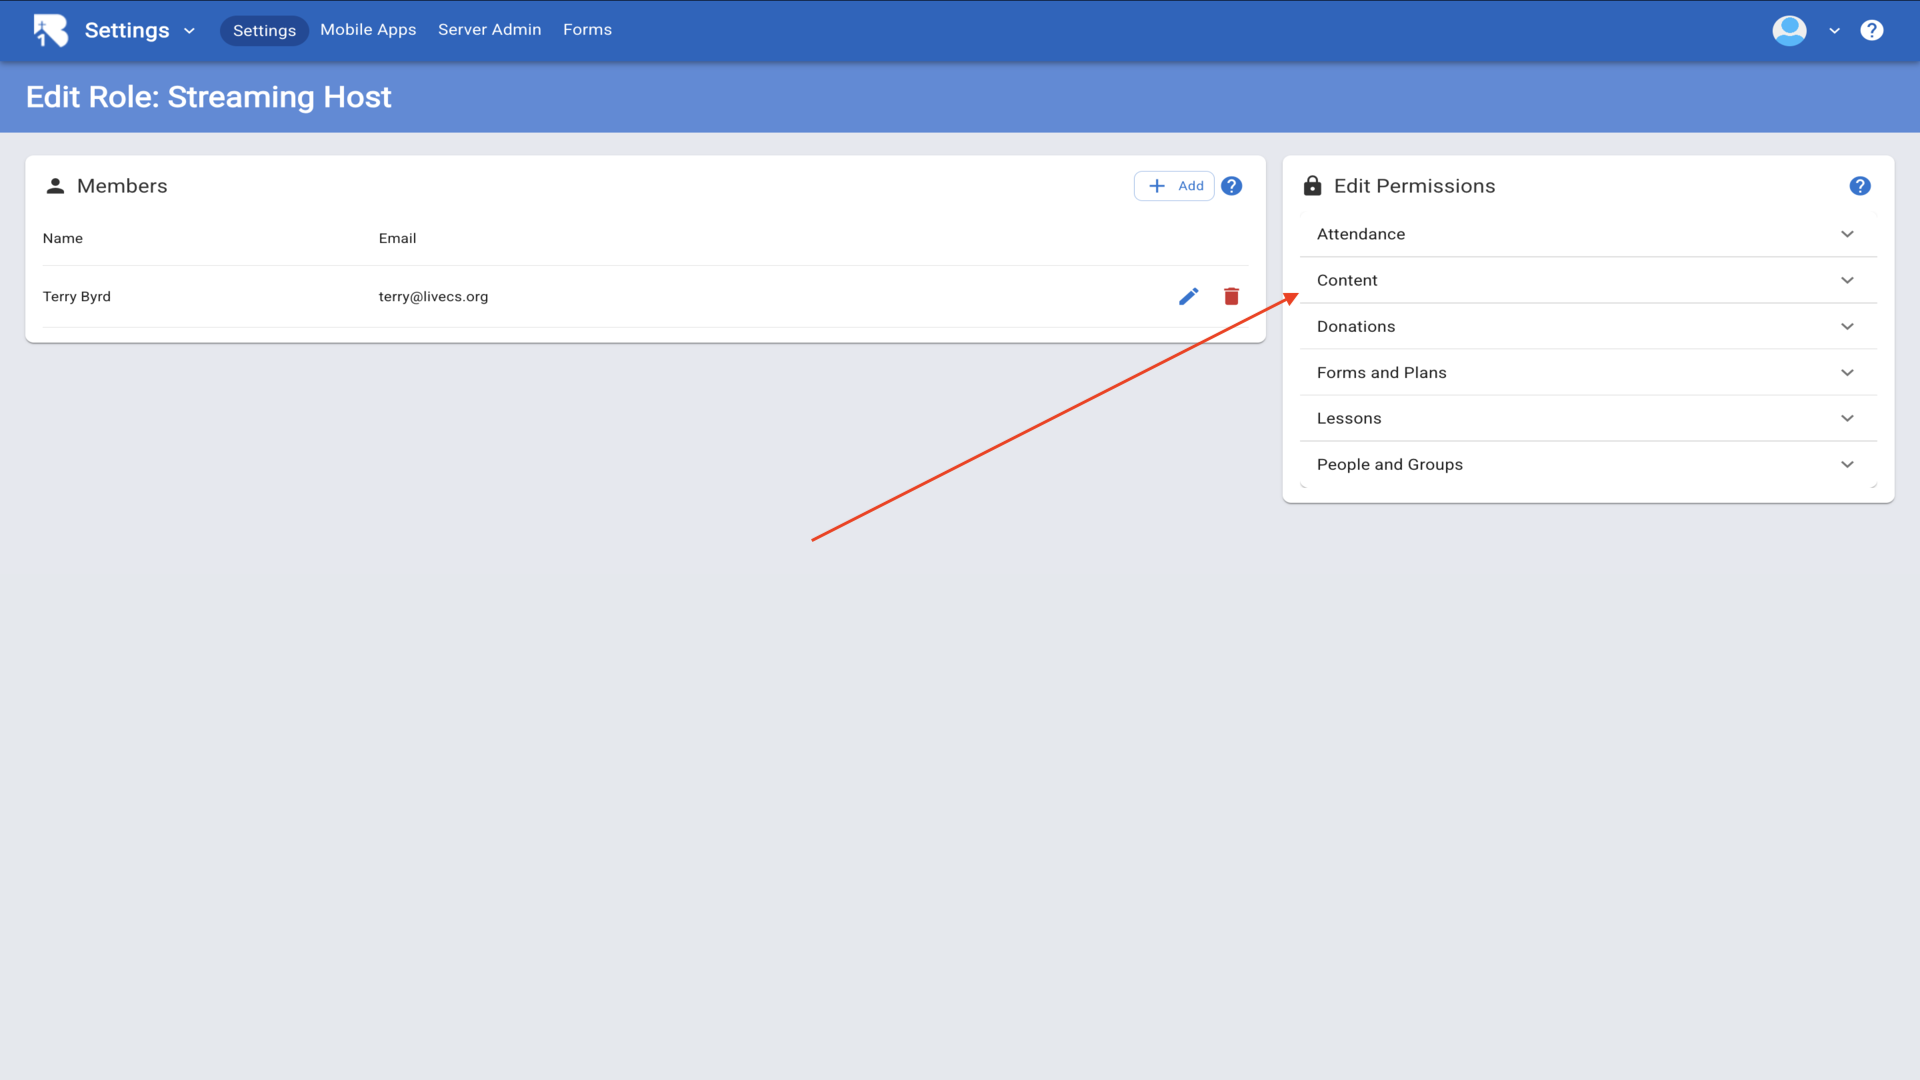
9.Now scroll down to Edit Permissions and expand the Content section. Check the Host Chat permission to give this role the ability to moderate chat and respond to prayer requests.▼
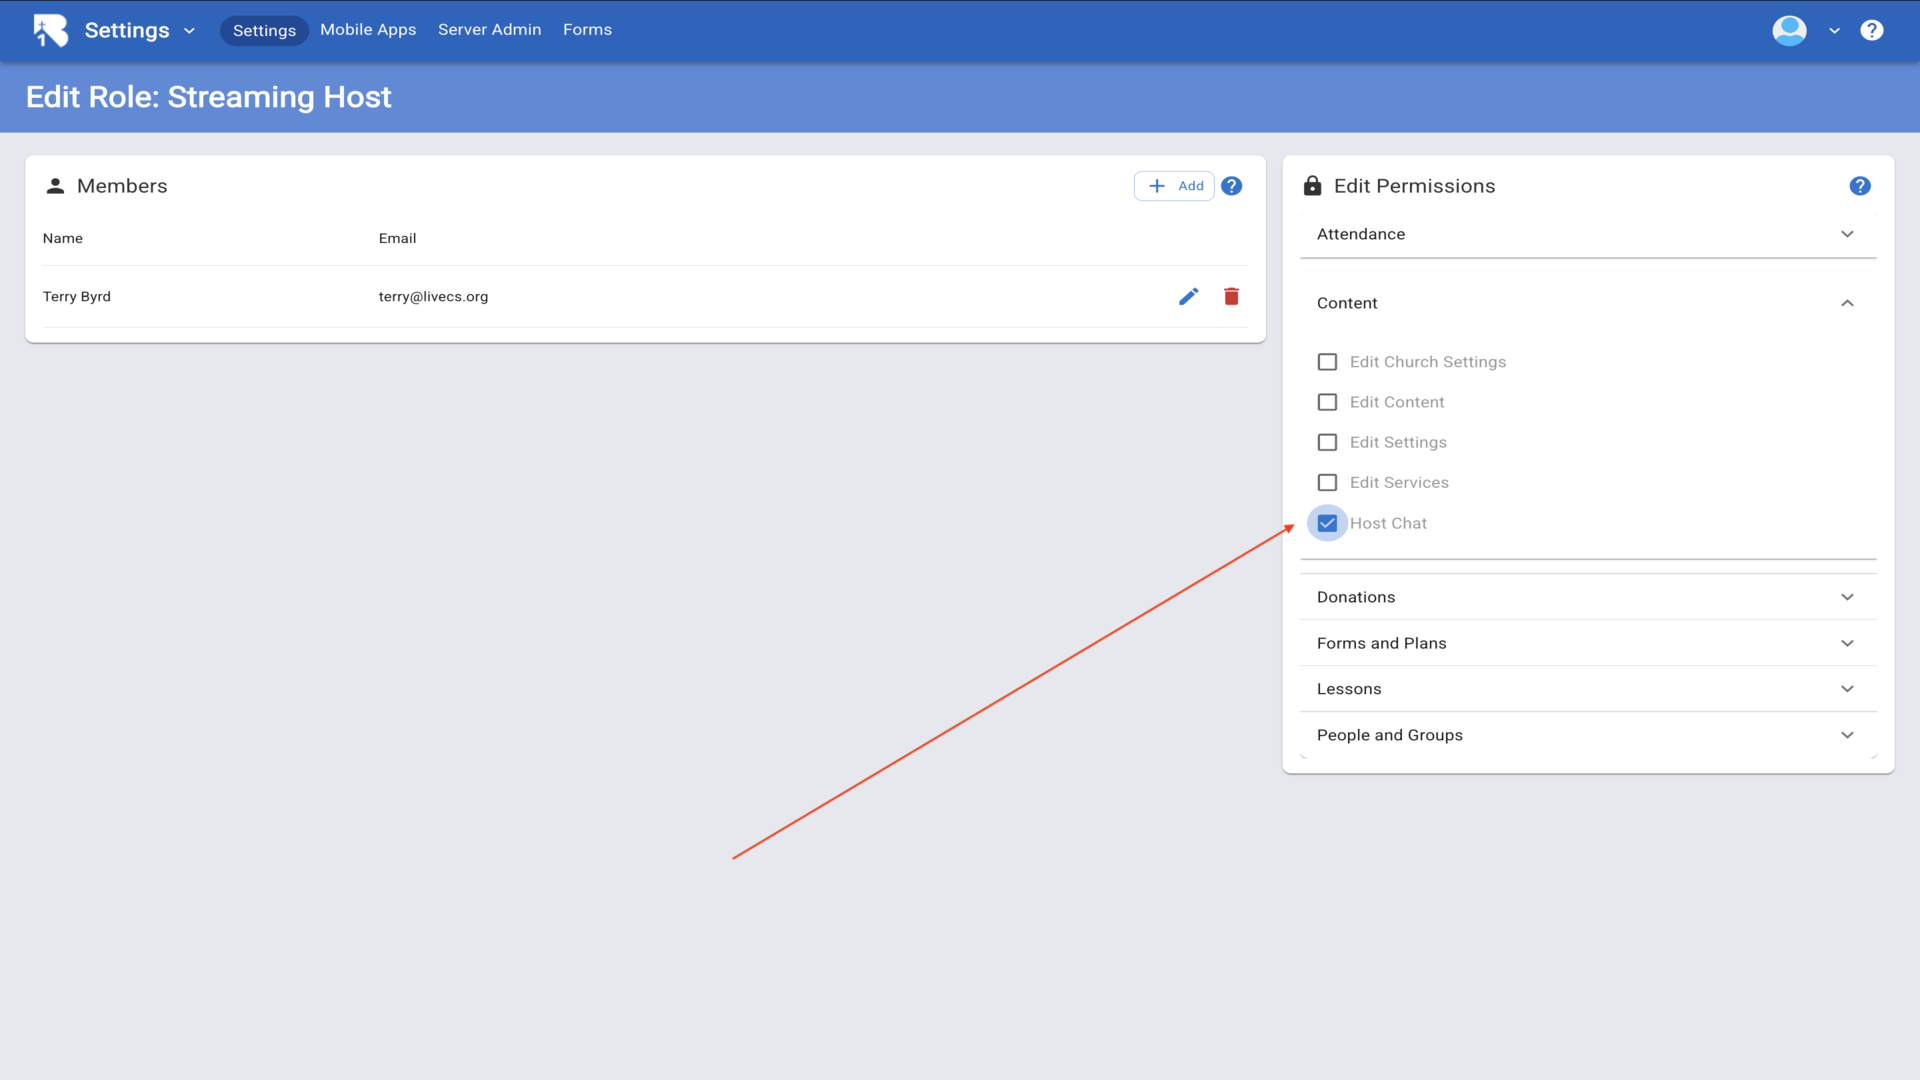
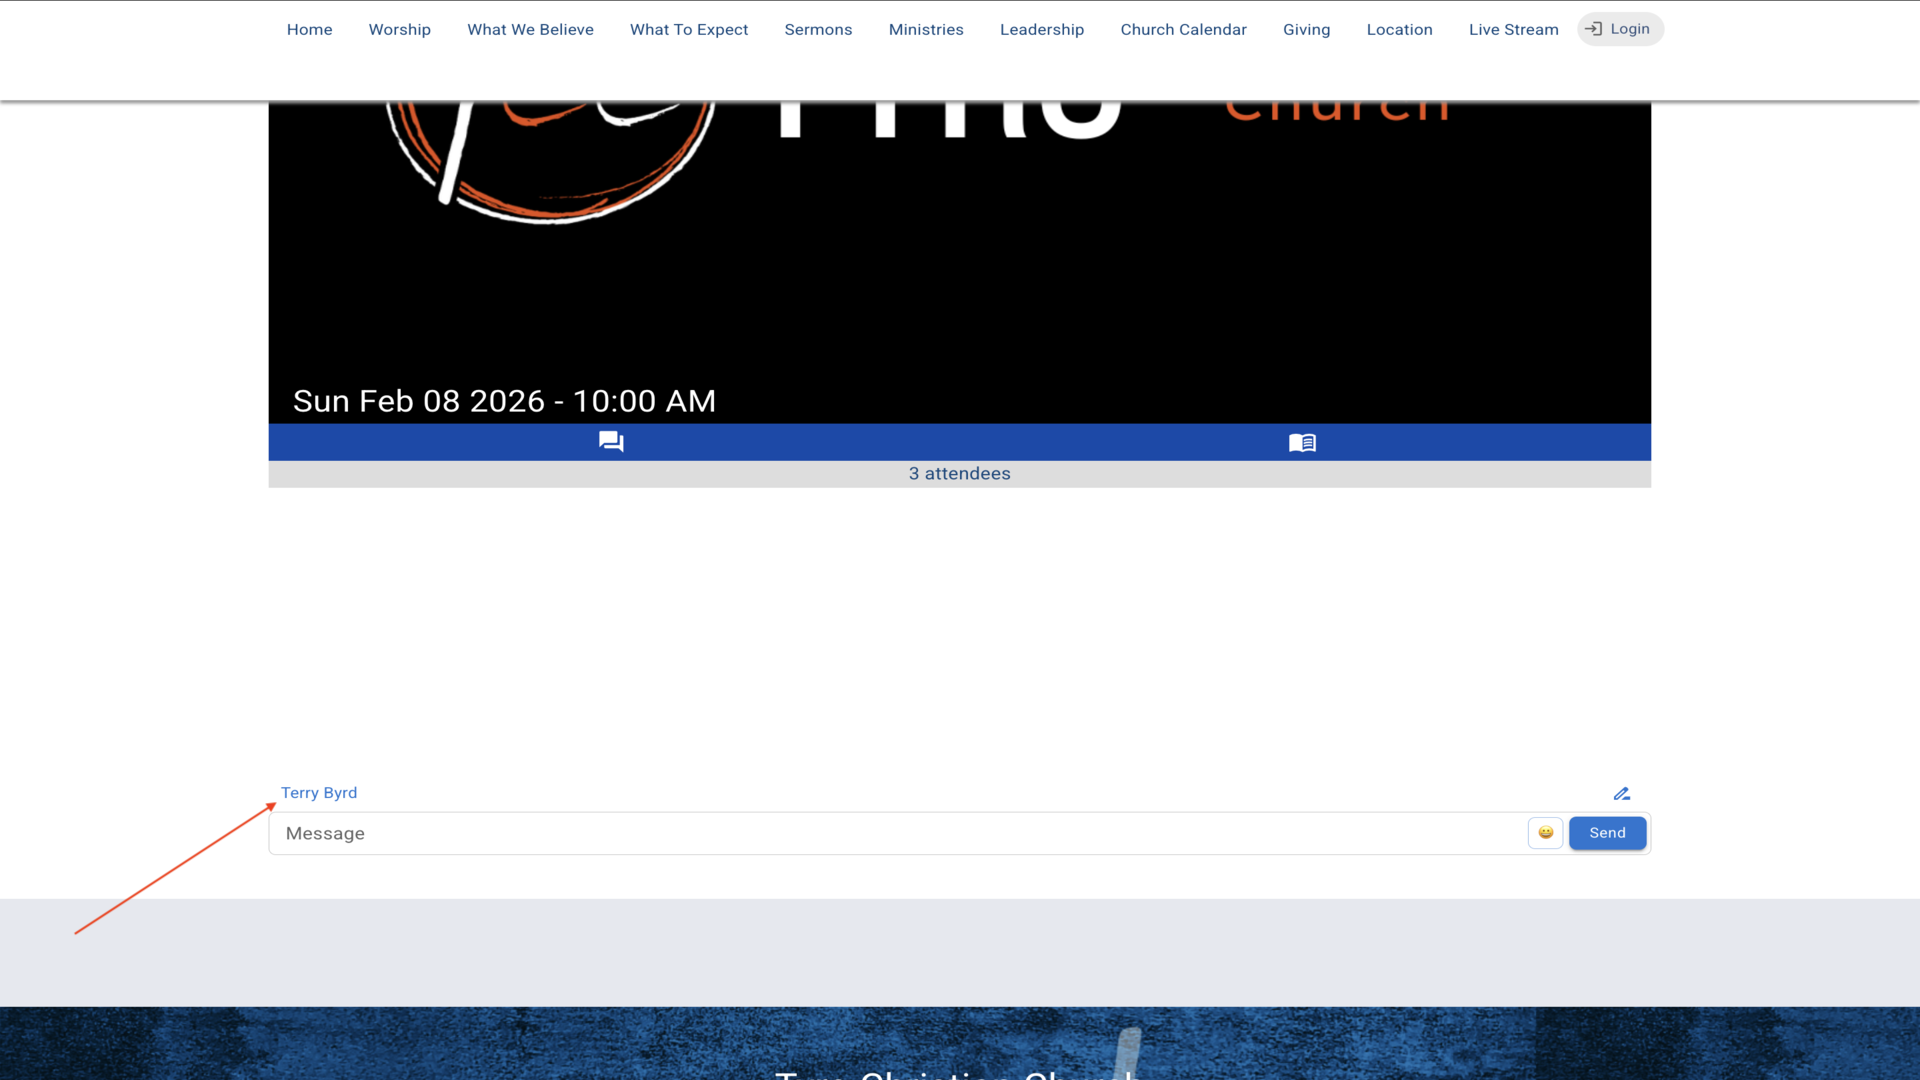
10.When your host logs into the live stream page, they will have special host capabilities including the ability to moderate the chat and respond to prayer requests.▼
Steps
1.From the Dashboard, click on Sermons in the left sidebar to access your sermon library.▼
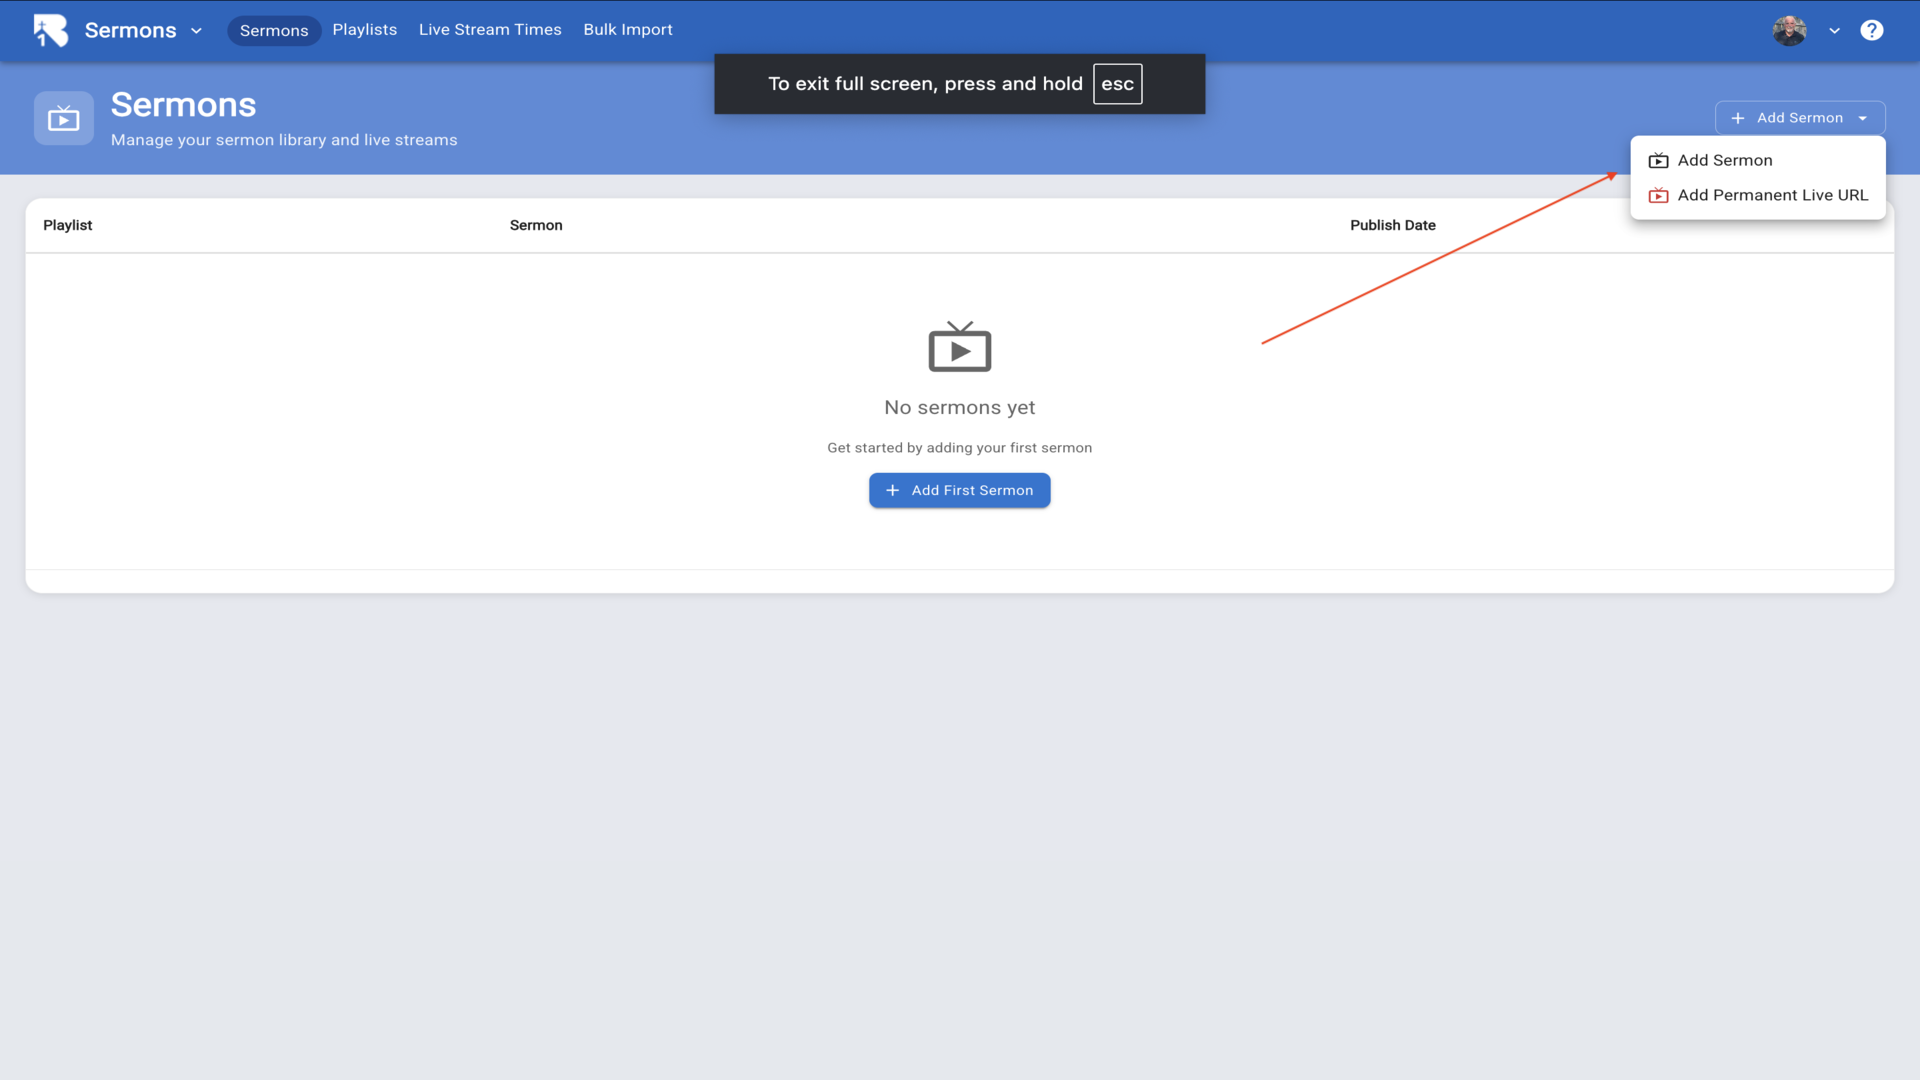
2.On the Sermons page, click the Add Sermon button in the top right corner and select Add Sermon from the dropdown.▼
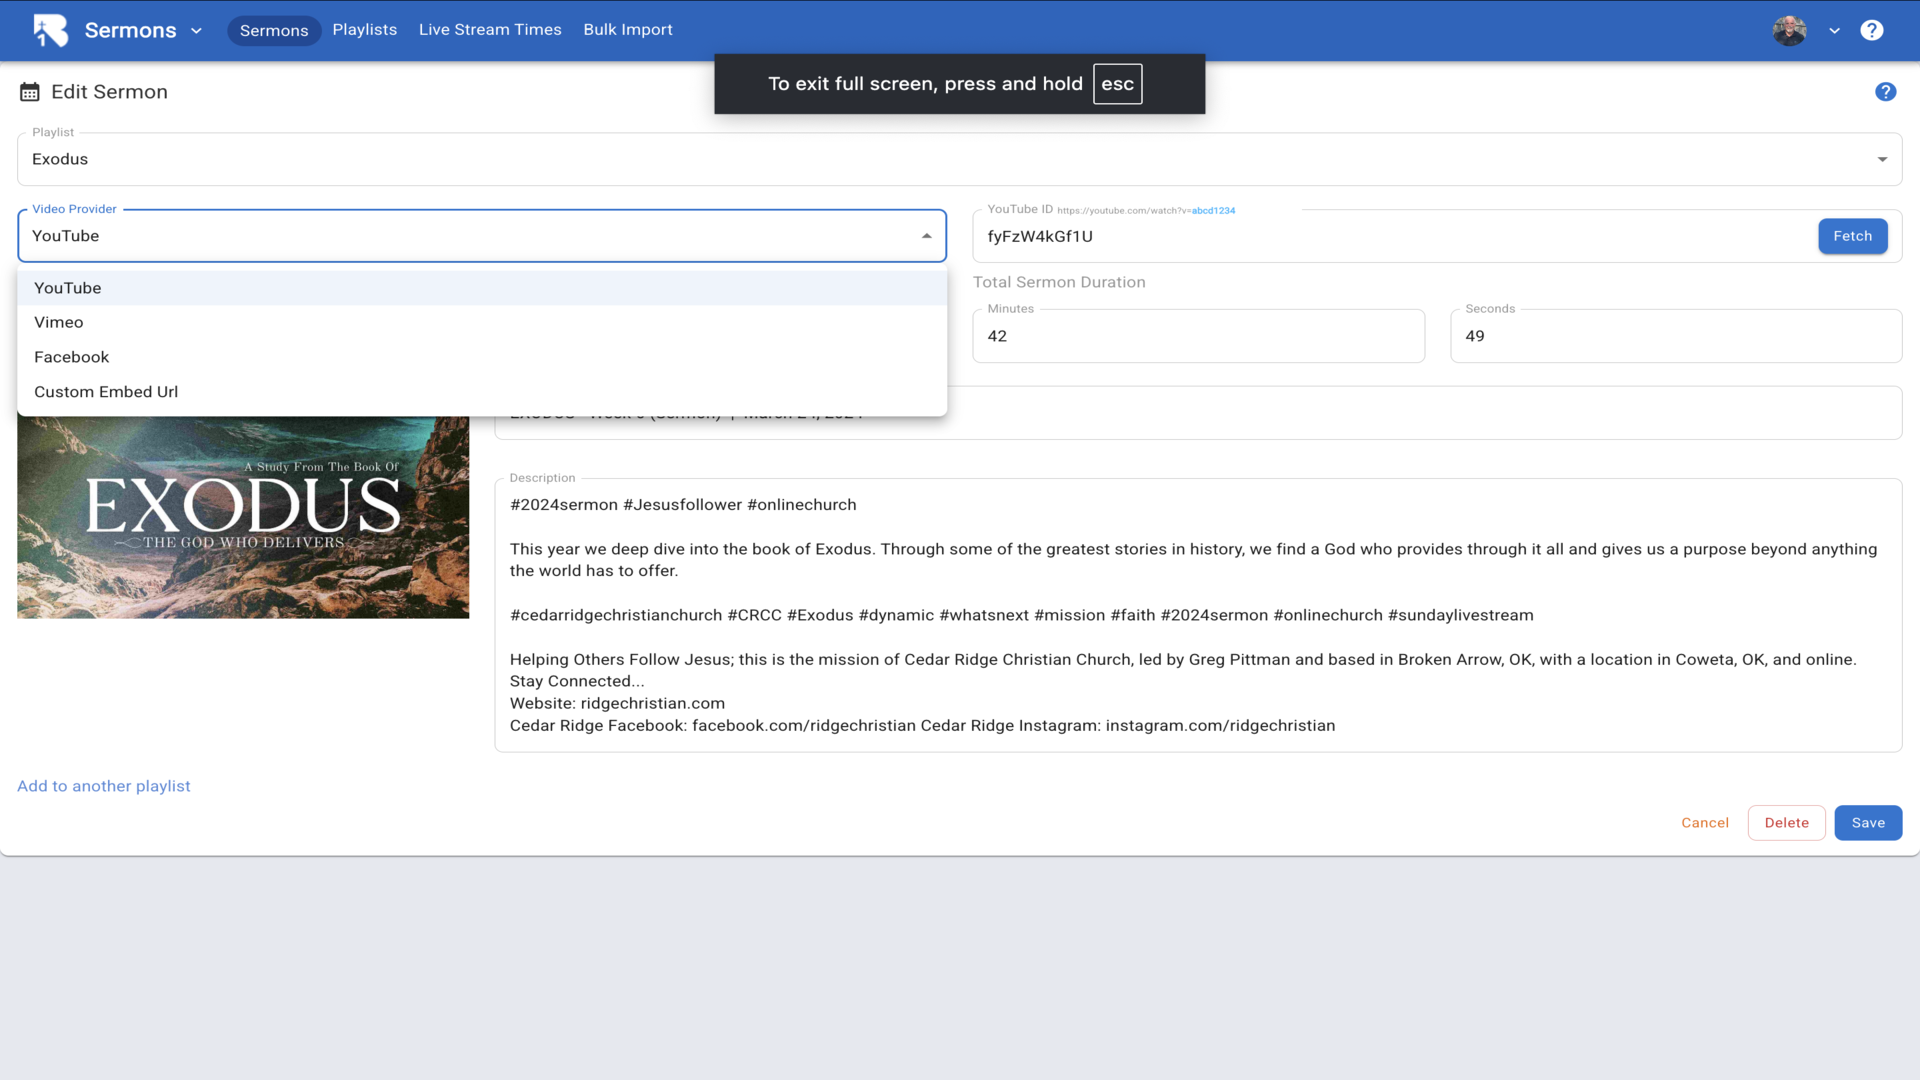
3.Select a Playlist for your sermon, choose YouTube as the video provider, then enter the YouTube video I.D. and click Fetch. The video I.D. is the string of characters after "v=" in the YouTube URL.▼
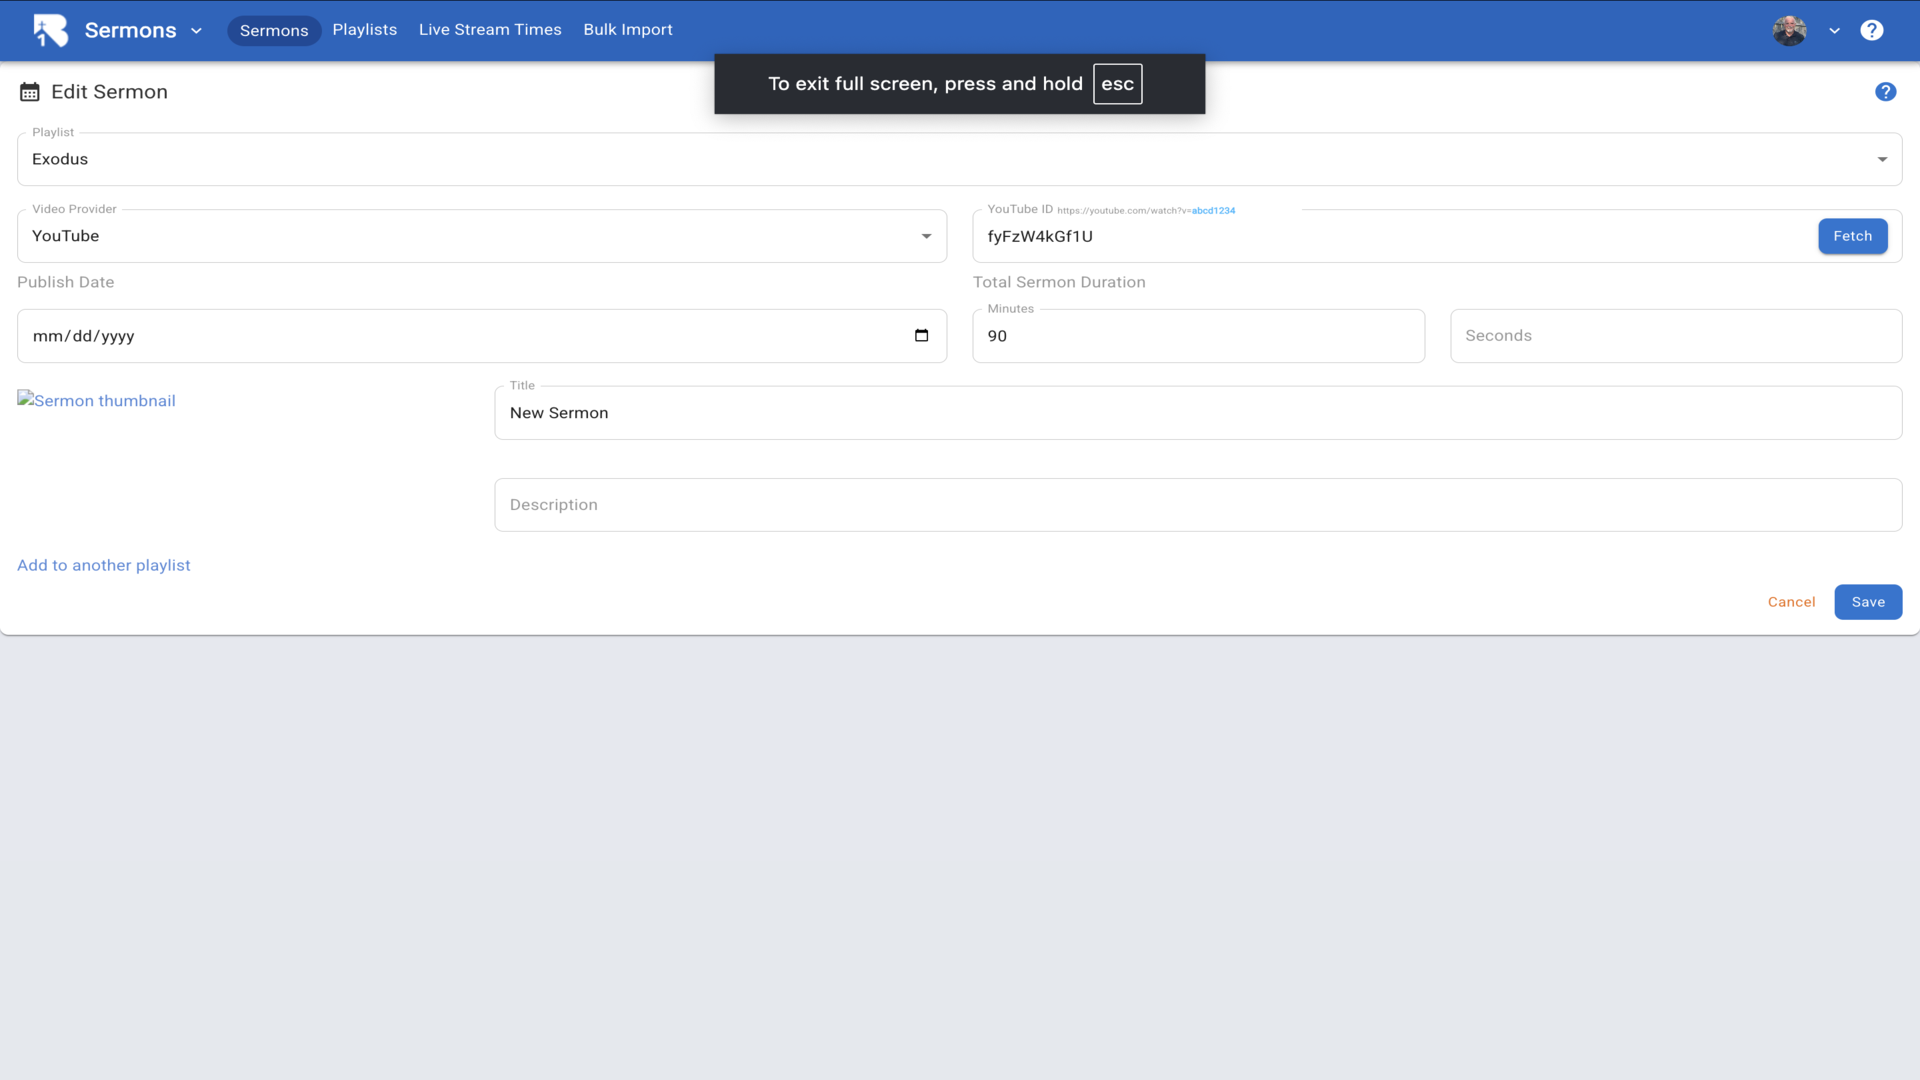
4.We recommend YouTube for your video library because it seems to work best with our system. However, we also support Vimeo, Facebook, or your own Custom URL.▼
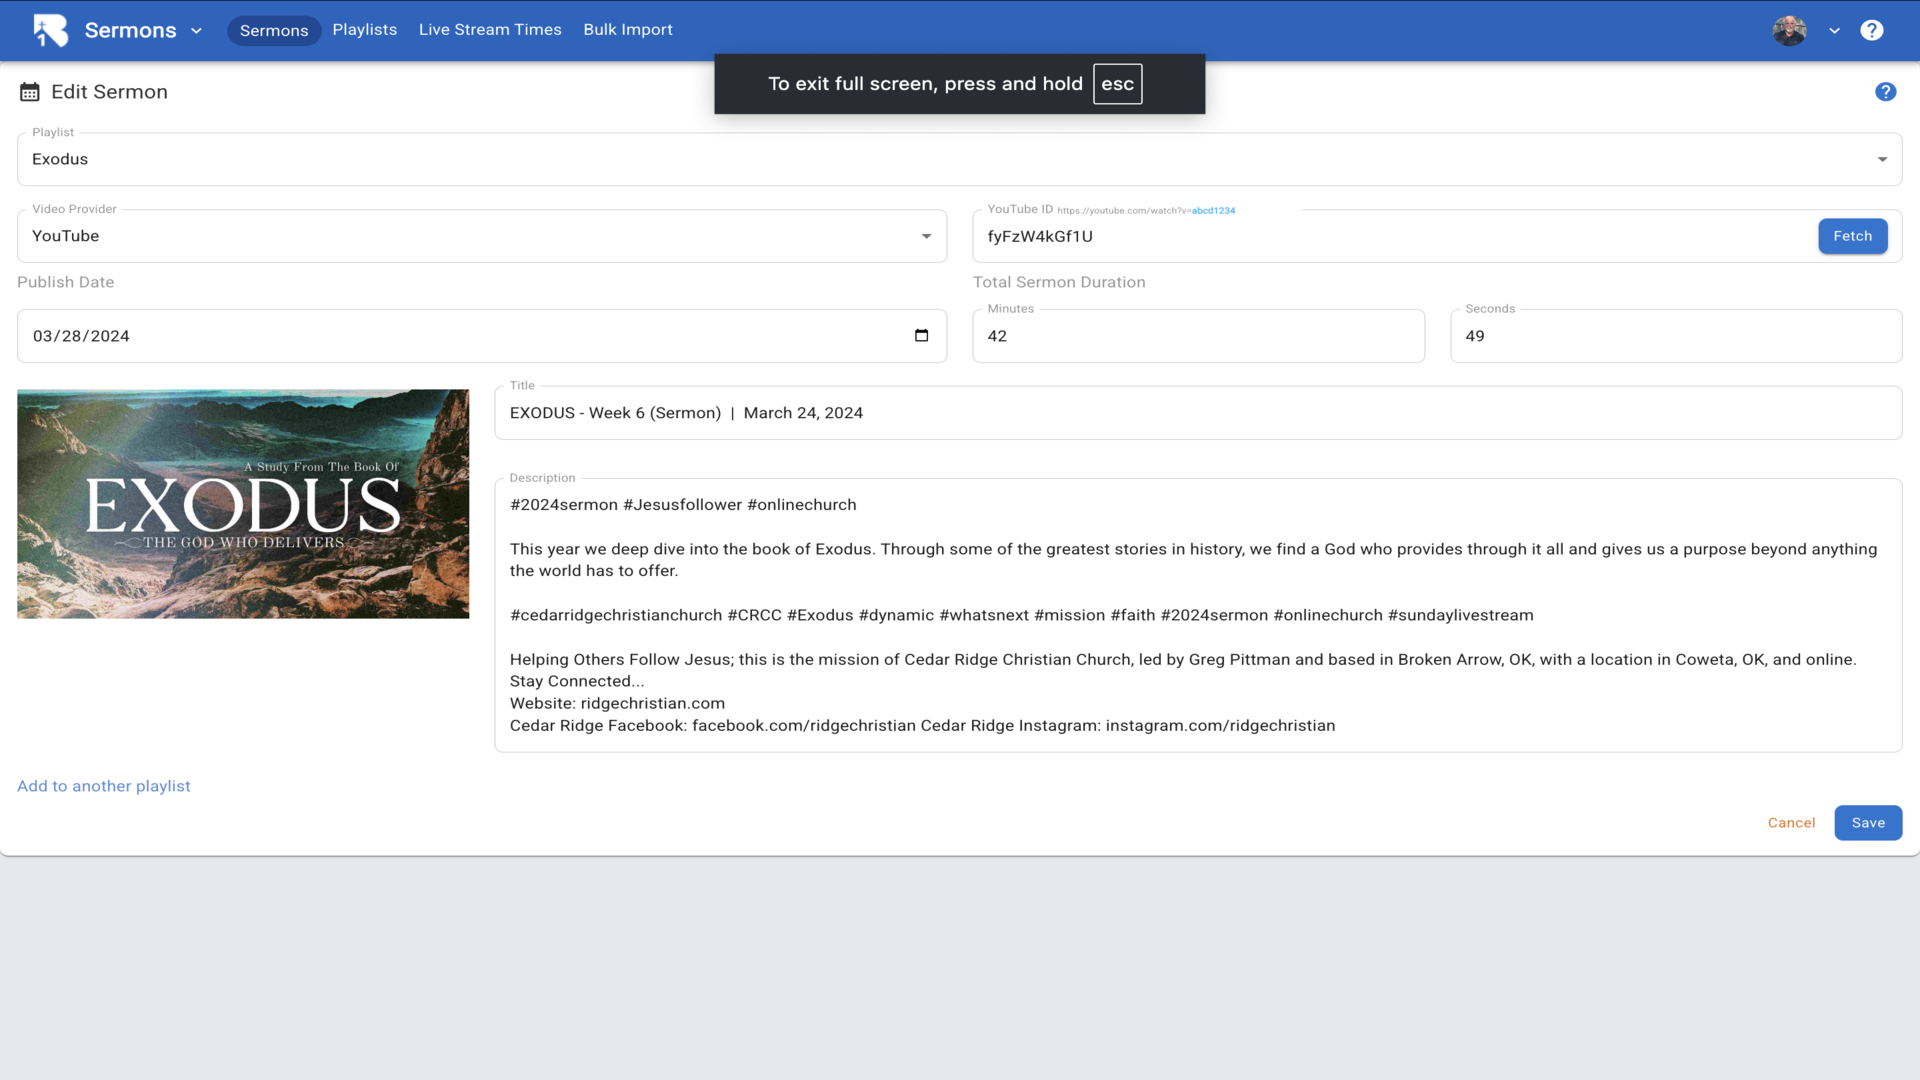
5.When you click Fetch, all of the video details will be imported automatically. This includes the publish date, duration, title, description, and thumbnail. Make any changes you wish and click Save.▼
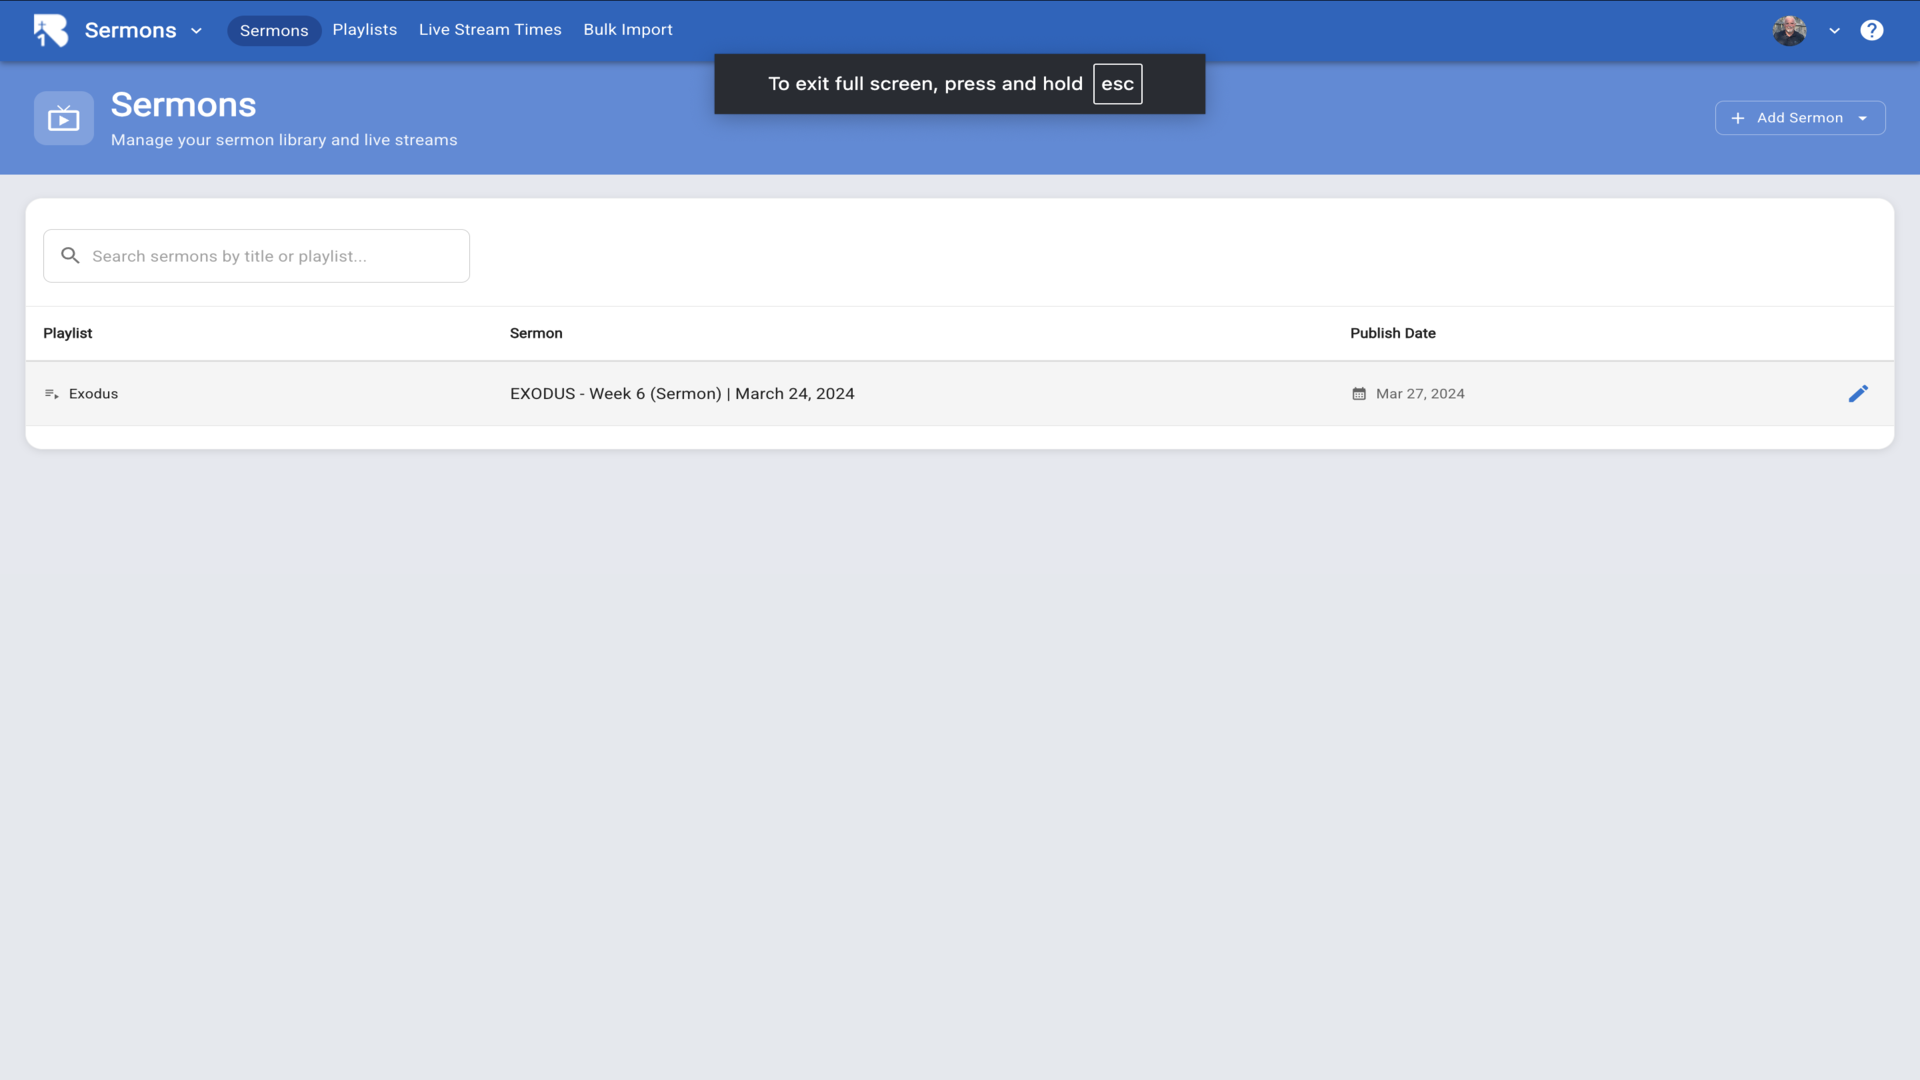
6.The sermon will now appear in your sermons list, organized by playlist.▼
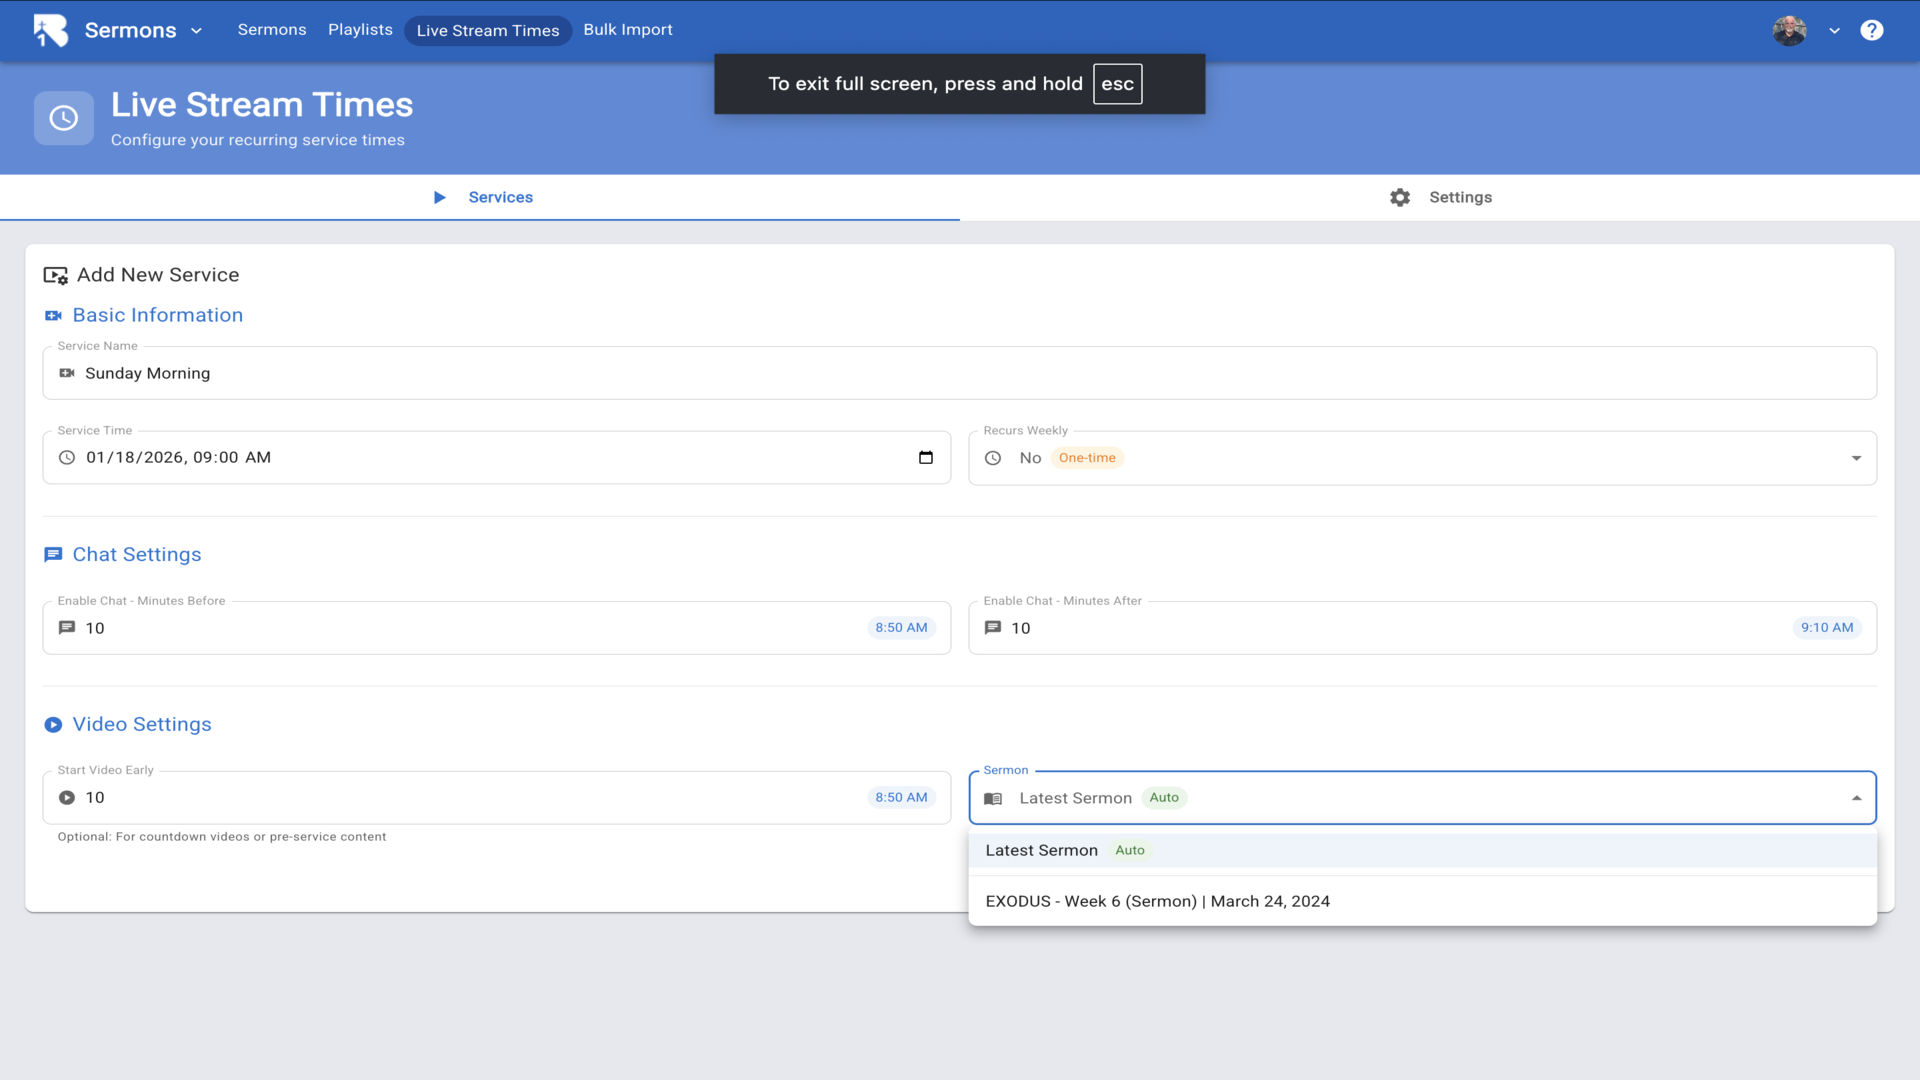
7.To schedule this sermon for a live stream, go to Live Stream Times. Under Video Settings, you can select your sermon from the dropdown to broadcast it as a pre-recorded stream.▼
Troubleshooting YouTube Automated Livestream
If your automated YouTube livestream is not displaying correctly when using the “Current YouTube Live Stream” option with your Channel ID, try the following:
Issue: Livestream Shows “Video Unavailable” or Doesn’t Load
Symptoms:
- The livestream embed shows “Video unavailable”
- The page loads but no video appears
- Direct YouTube embeds work, but the automated channel livestream doesn’t
Solution: Check your YouTube channel for old or upcoming scheduled livestreams and delete them:
- Go to your YouTube Studio
- Navigate to Content > Live
- Look for any OLD scheduled lives or upcoming scheduled streams
- Delete these old/scheduled livestream entries
- Test your livestream page again
Why this happens: YouTube’s automated channel livestream embed (/embed/live_stream?channel=YOUR_CHANNEL_ID) can be blocked when there are multiple scheduled or past livestream entries in your channel. Removing these allows YouTube to properly identify and serve your current live stream.
Additional Requirements:
- Ensure your livestream is set to Public (not Unlisted or Private)
- Verify that embedding is allowed in your YouTube stream settings
- Make sure you’re using “Current YouTube Live Stream” provider (with Channel ID), not “YouTube” provider (with Video ID)