06 Groups
How to Set Up Groups in B1.church Admin
Steps
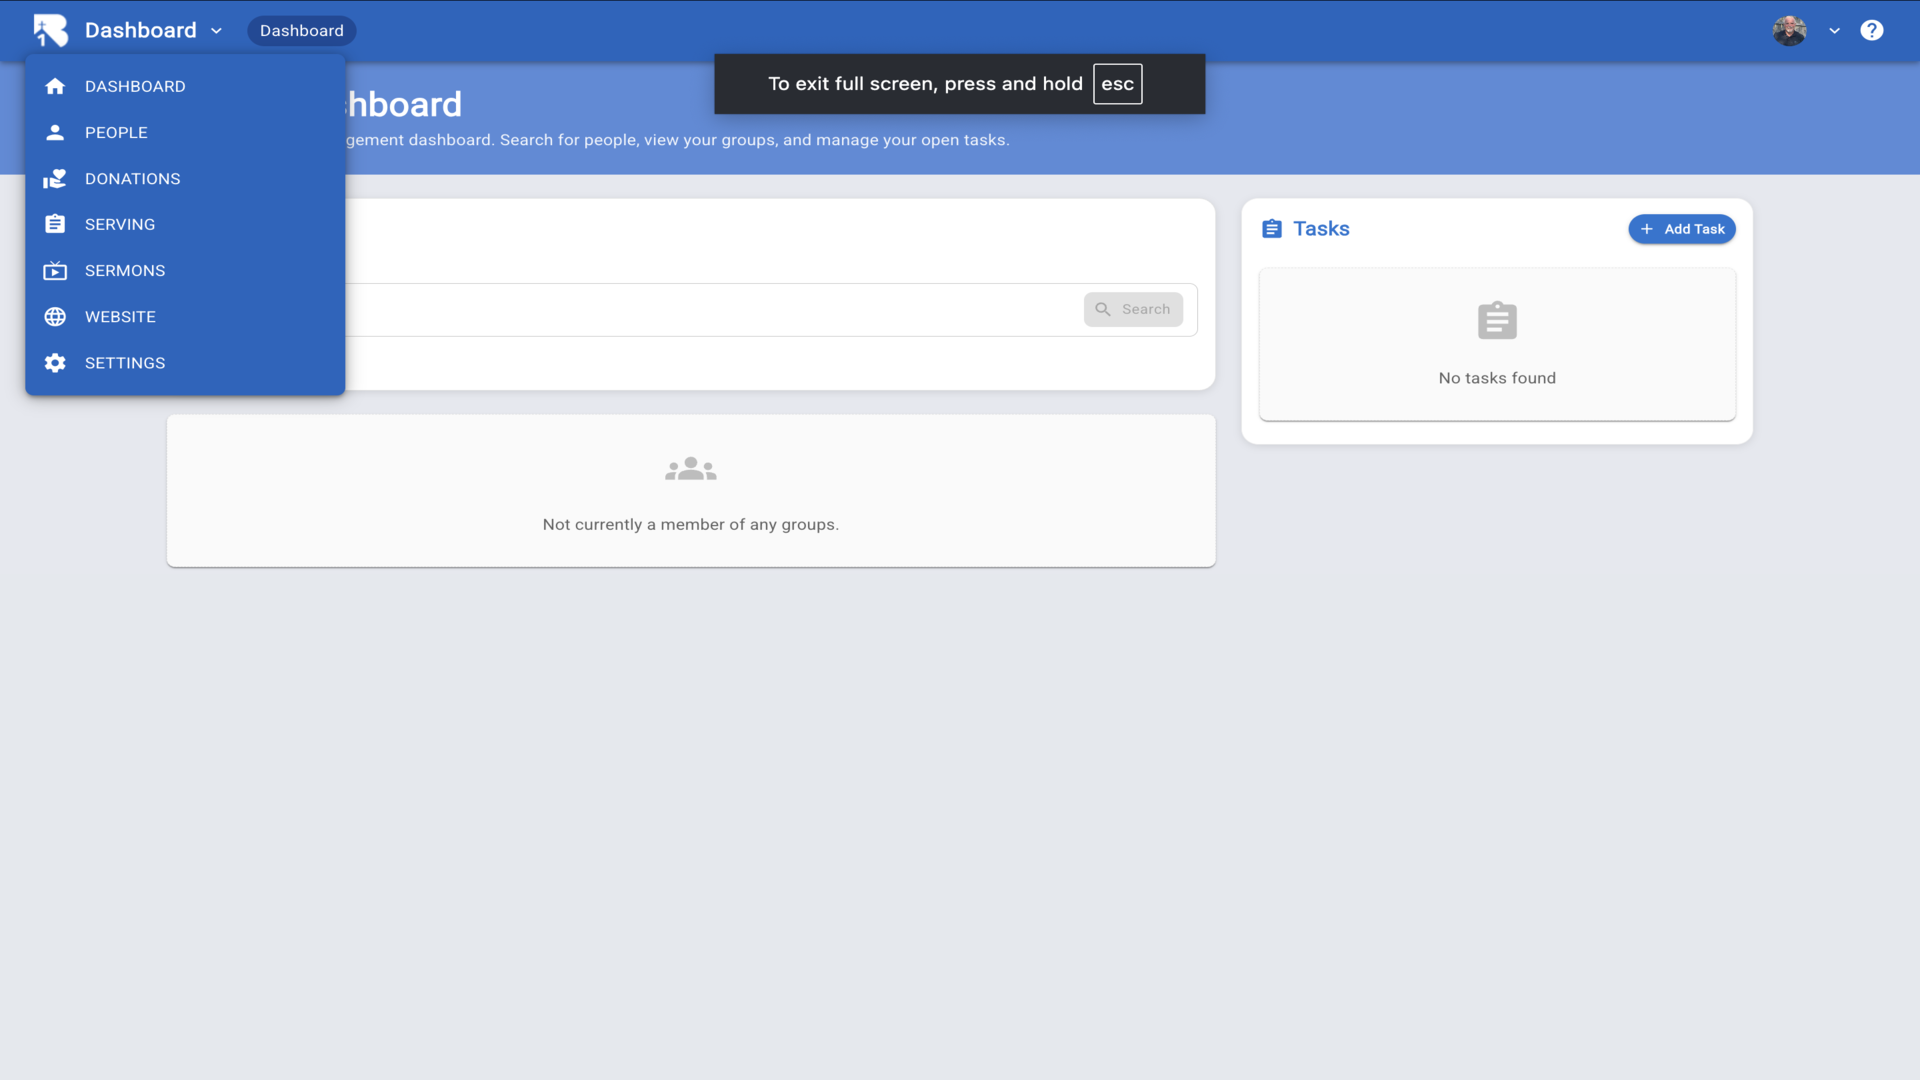
1.Navigate to the B1 dashboard▼
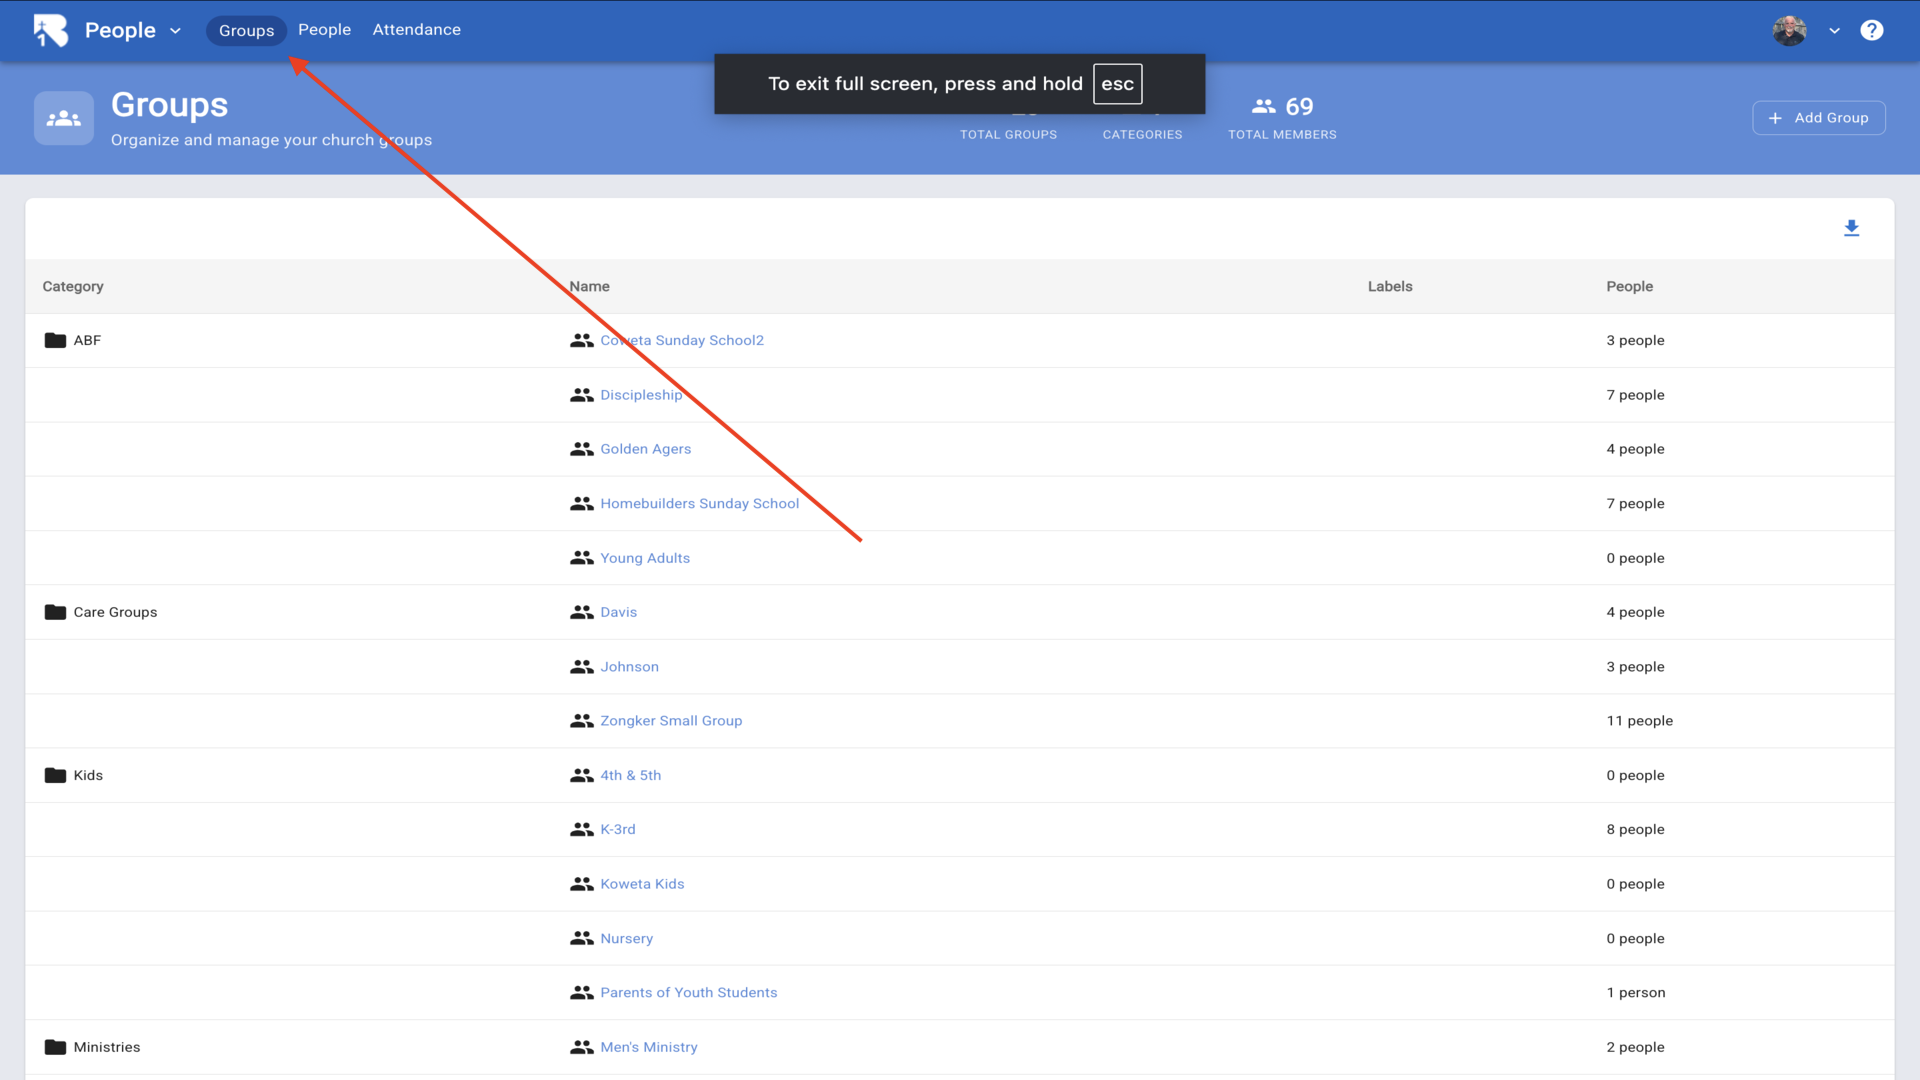
2.Click on the Groups tab▼
3.Click Add Group and enter a Category Name▼
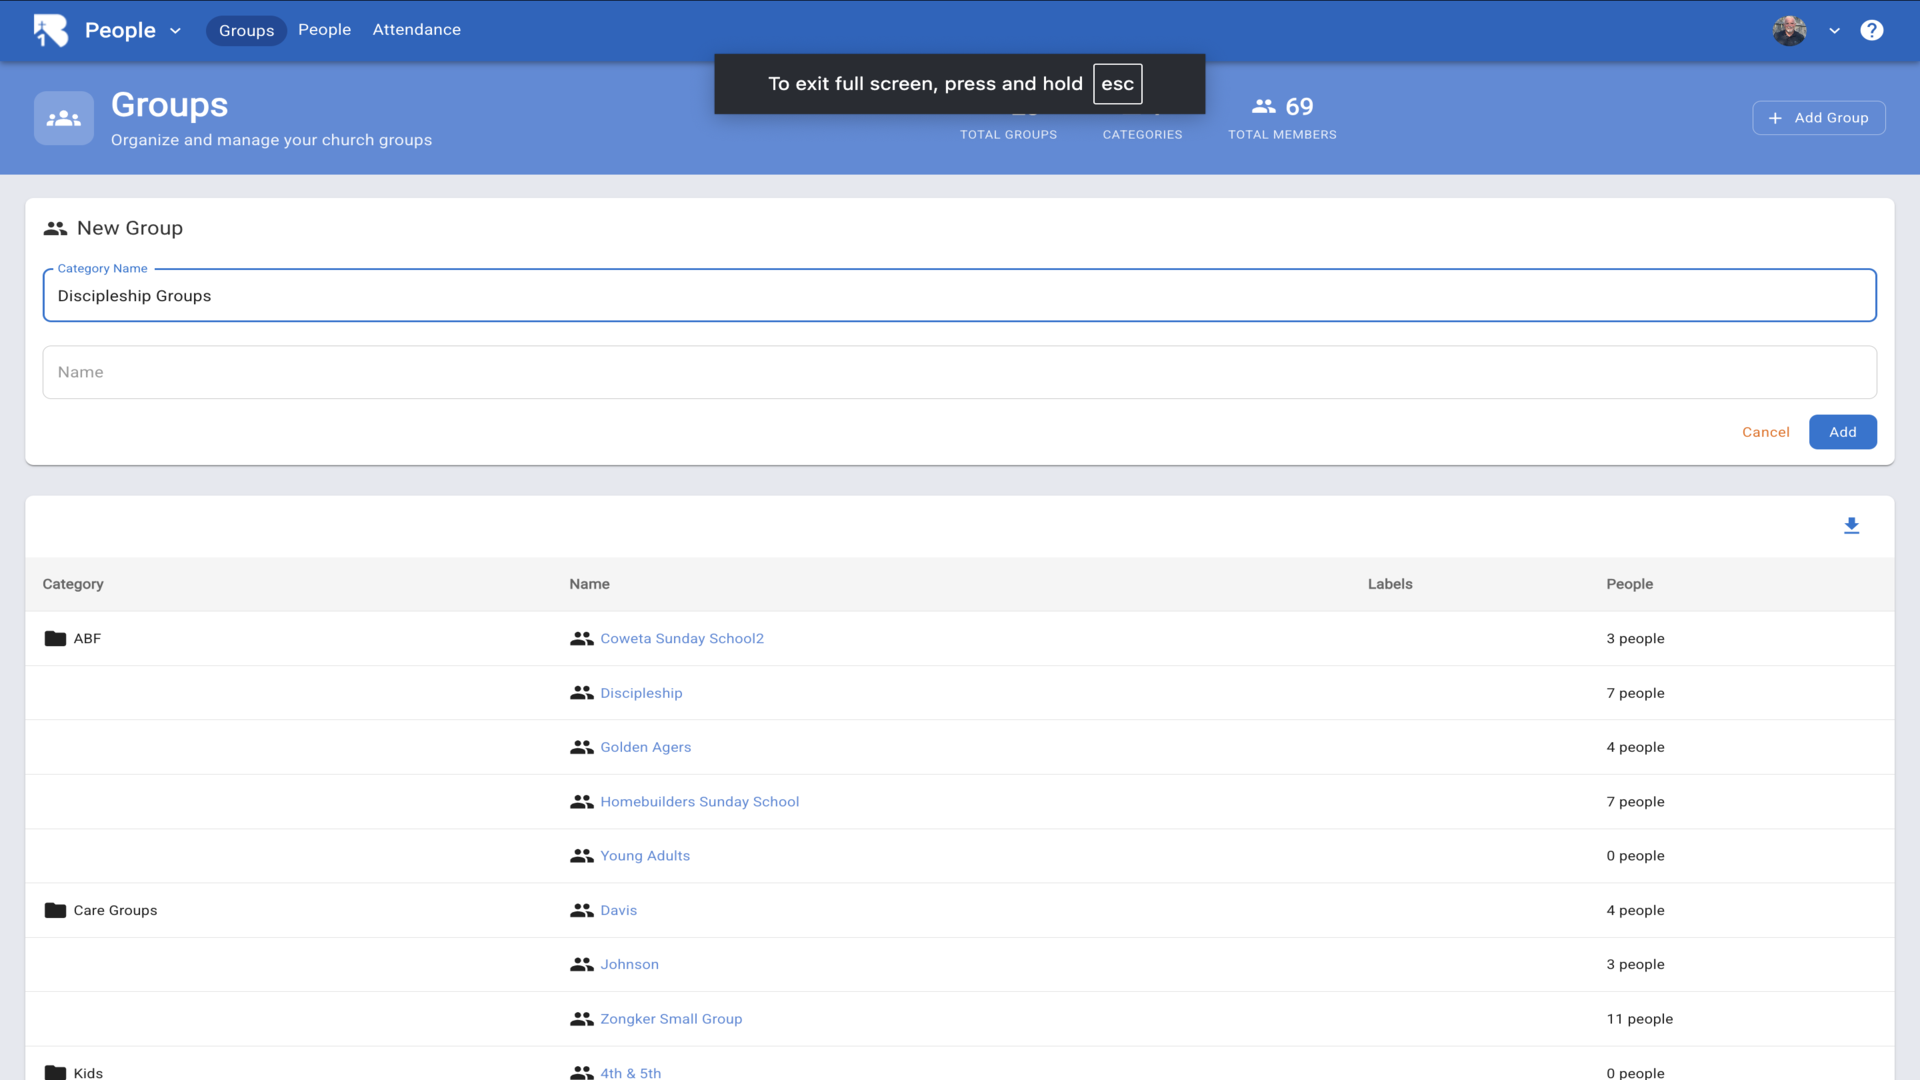
4.Enter the Group Name▼

5.Click Add. Your new group will appear in the list▼

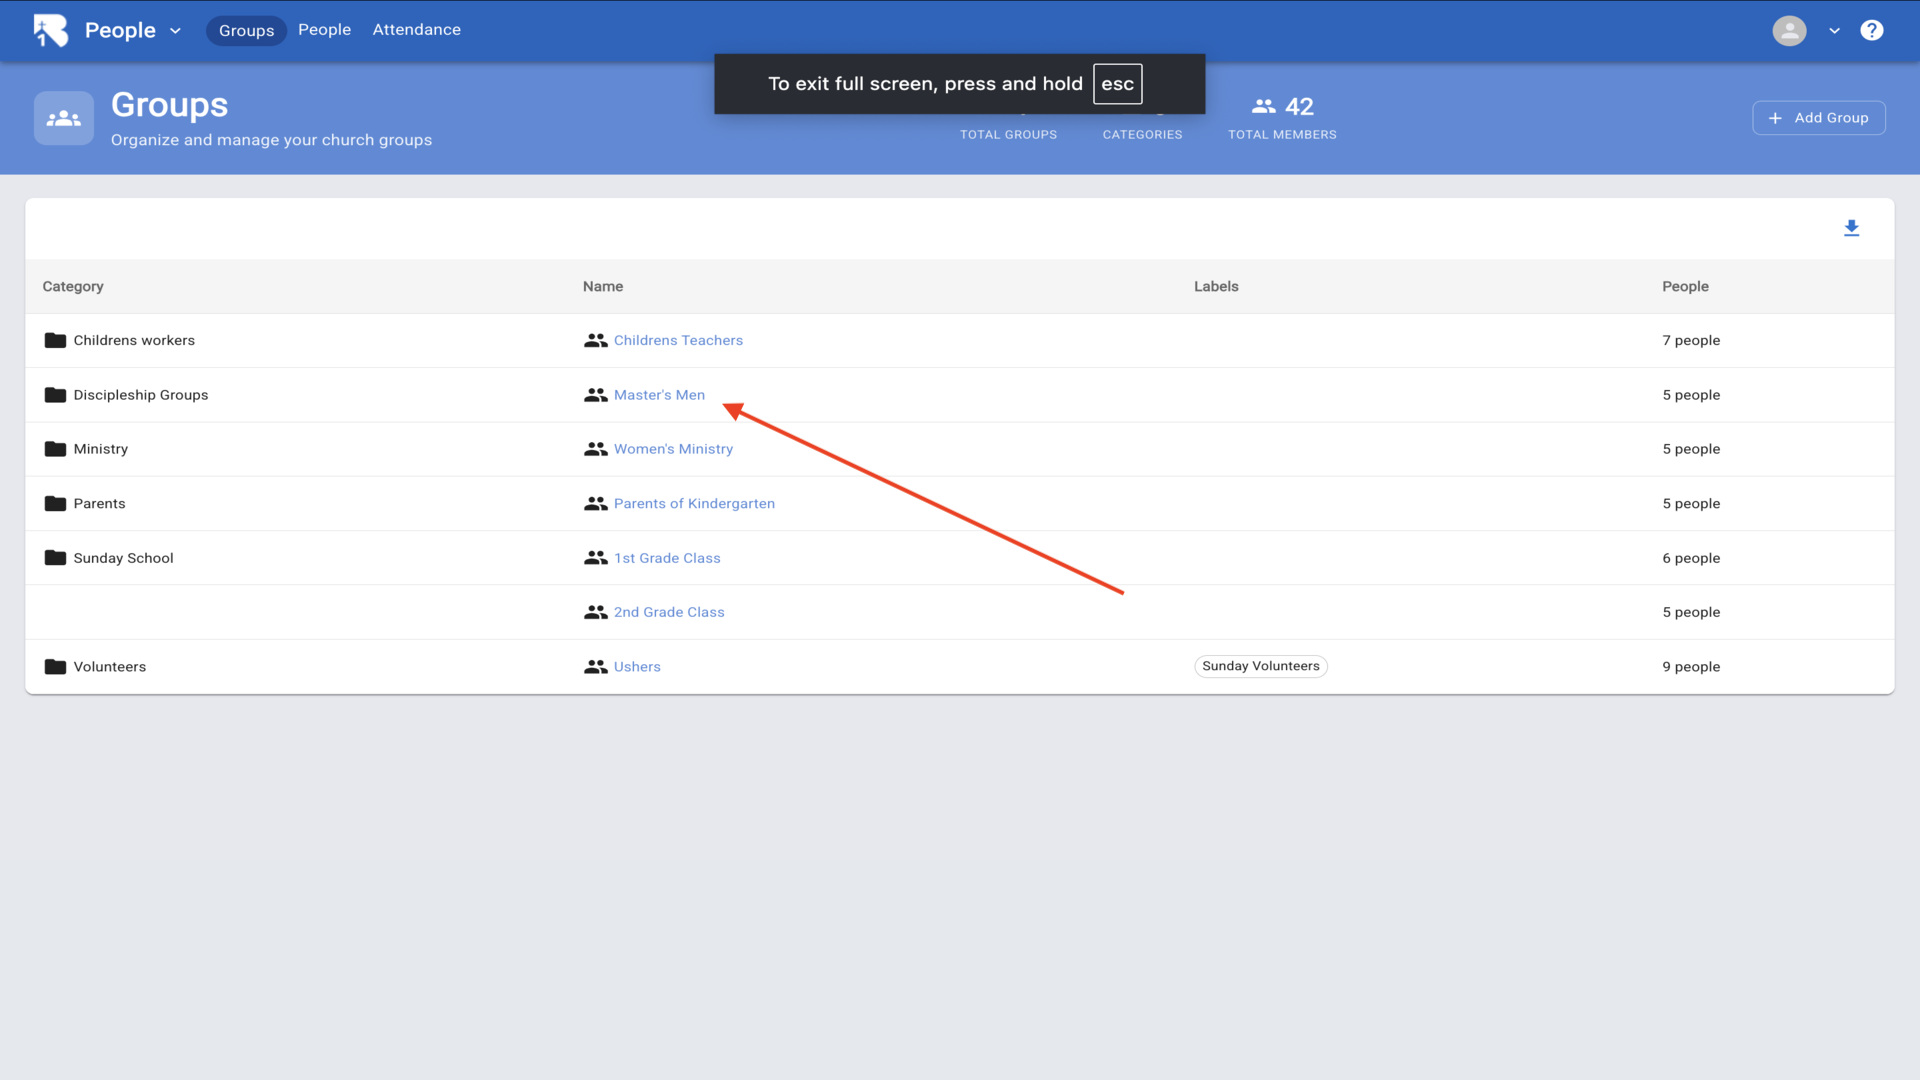
6.Click on the group name, then click the pencil icon▼
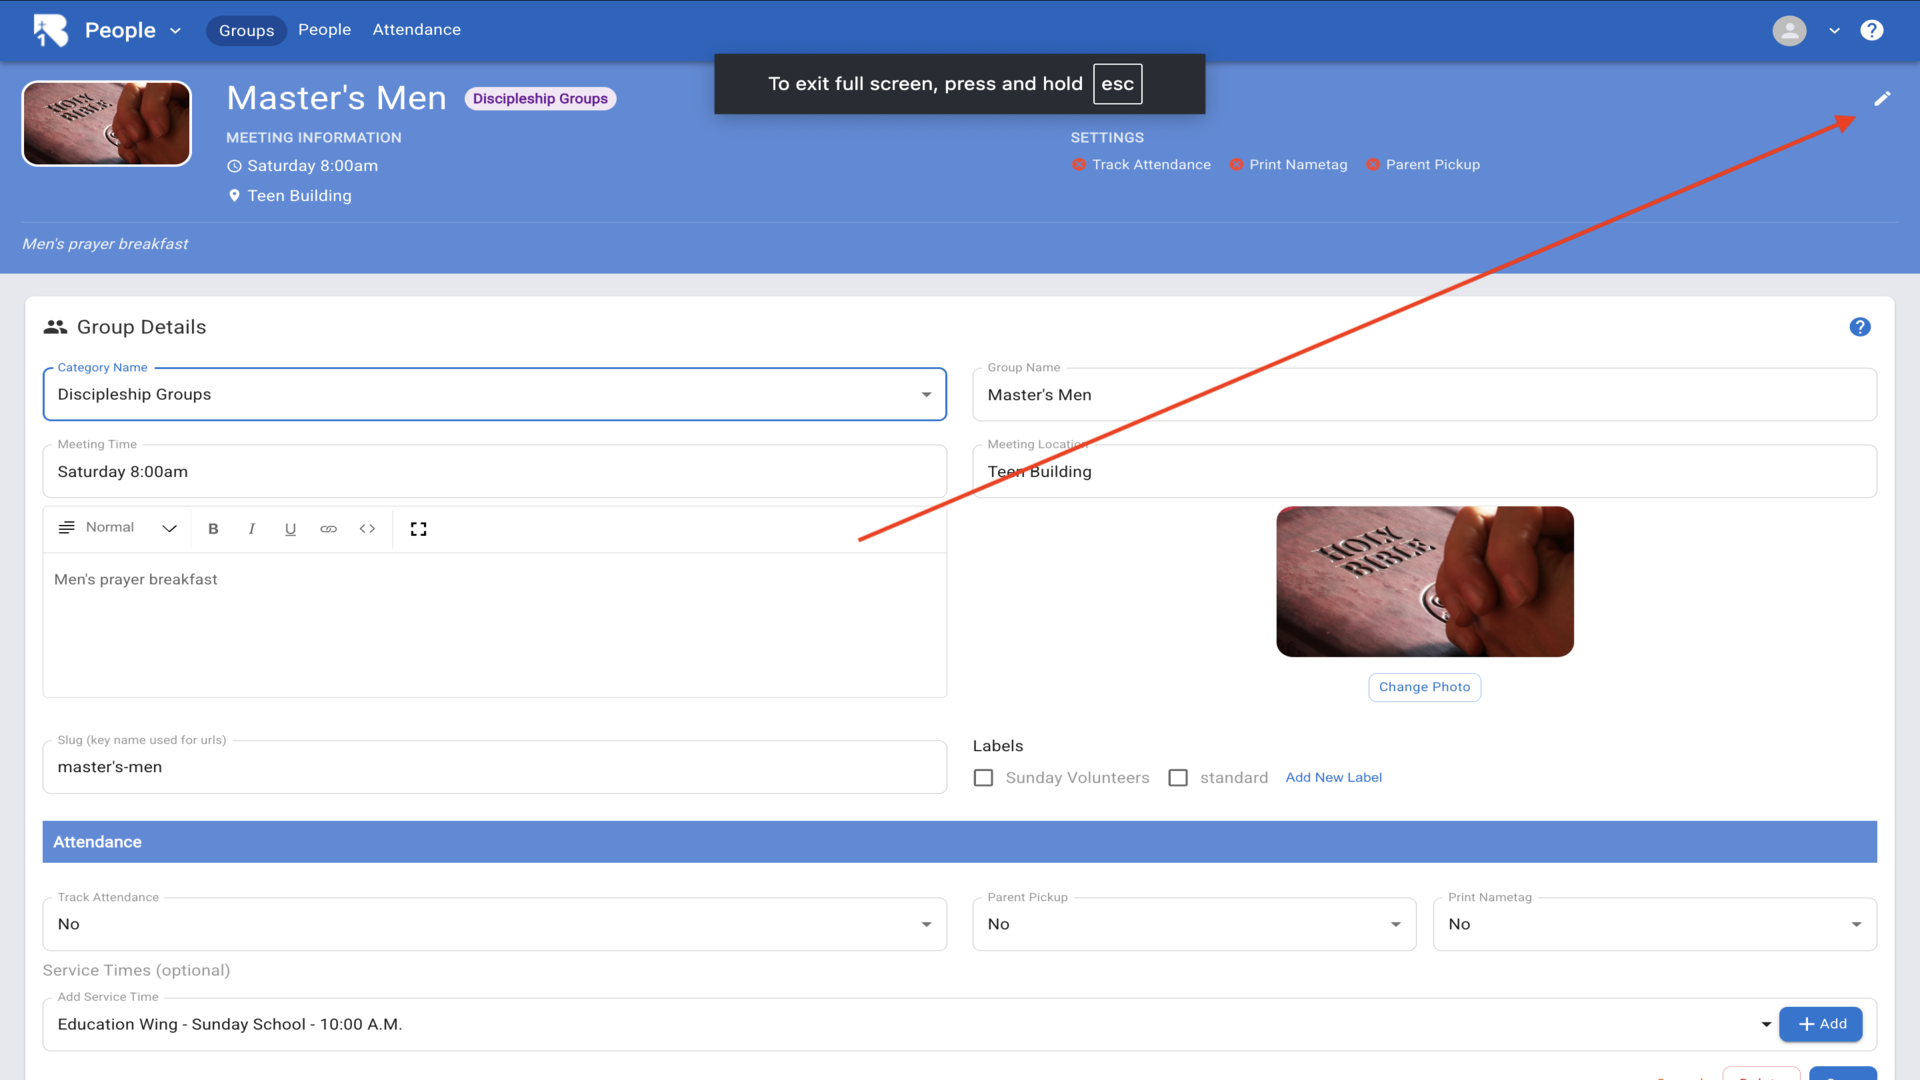
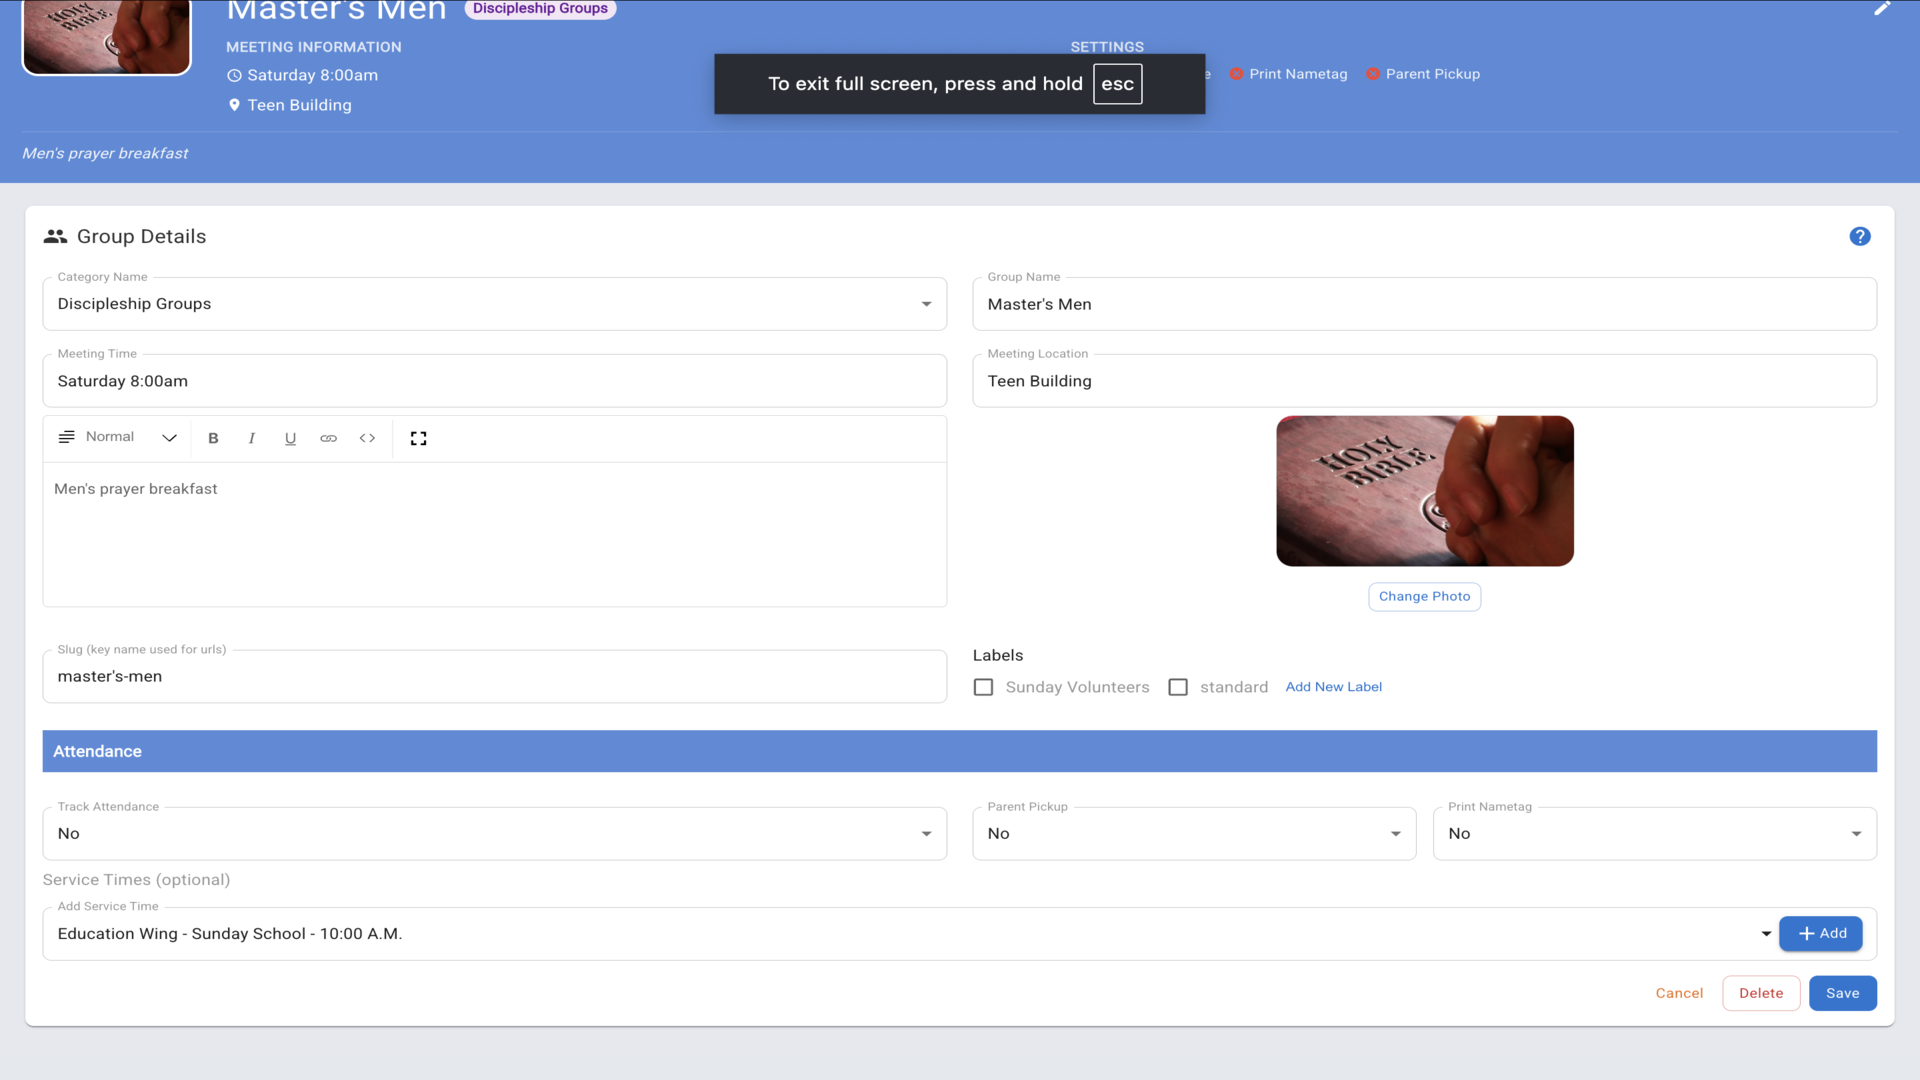
7.Configure the group settings including attendance tracking, meeting times, group description, and service times. Click Save▼
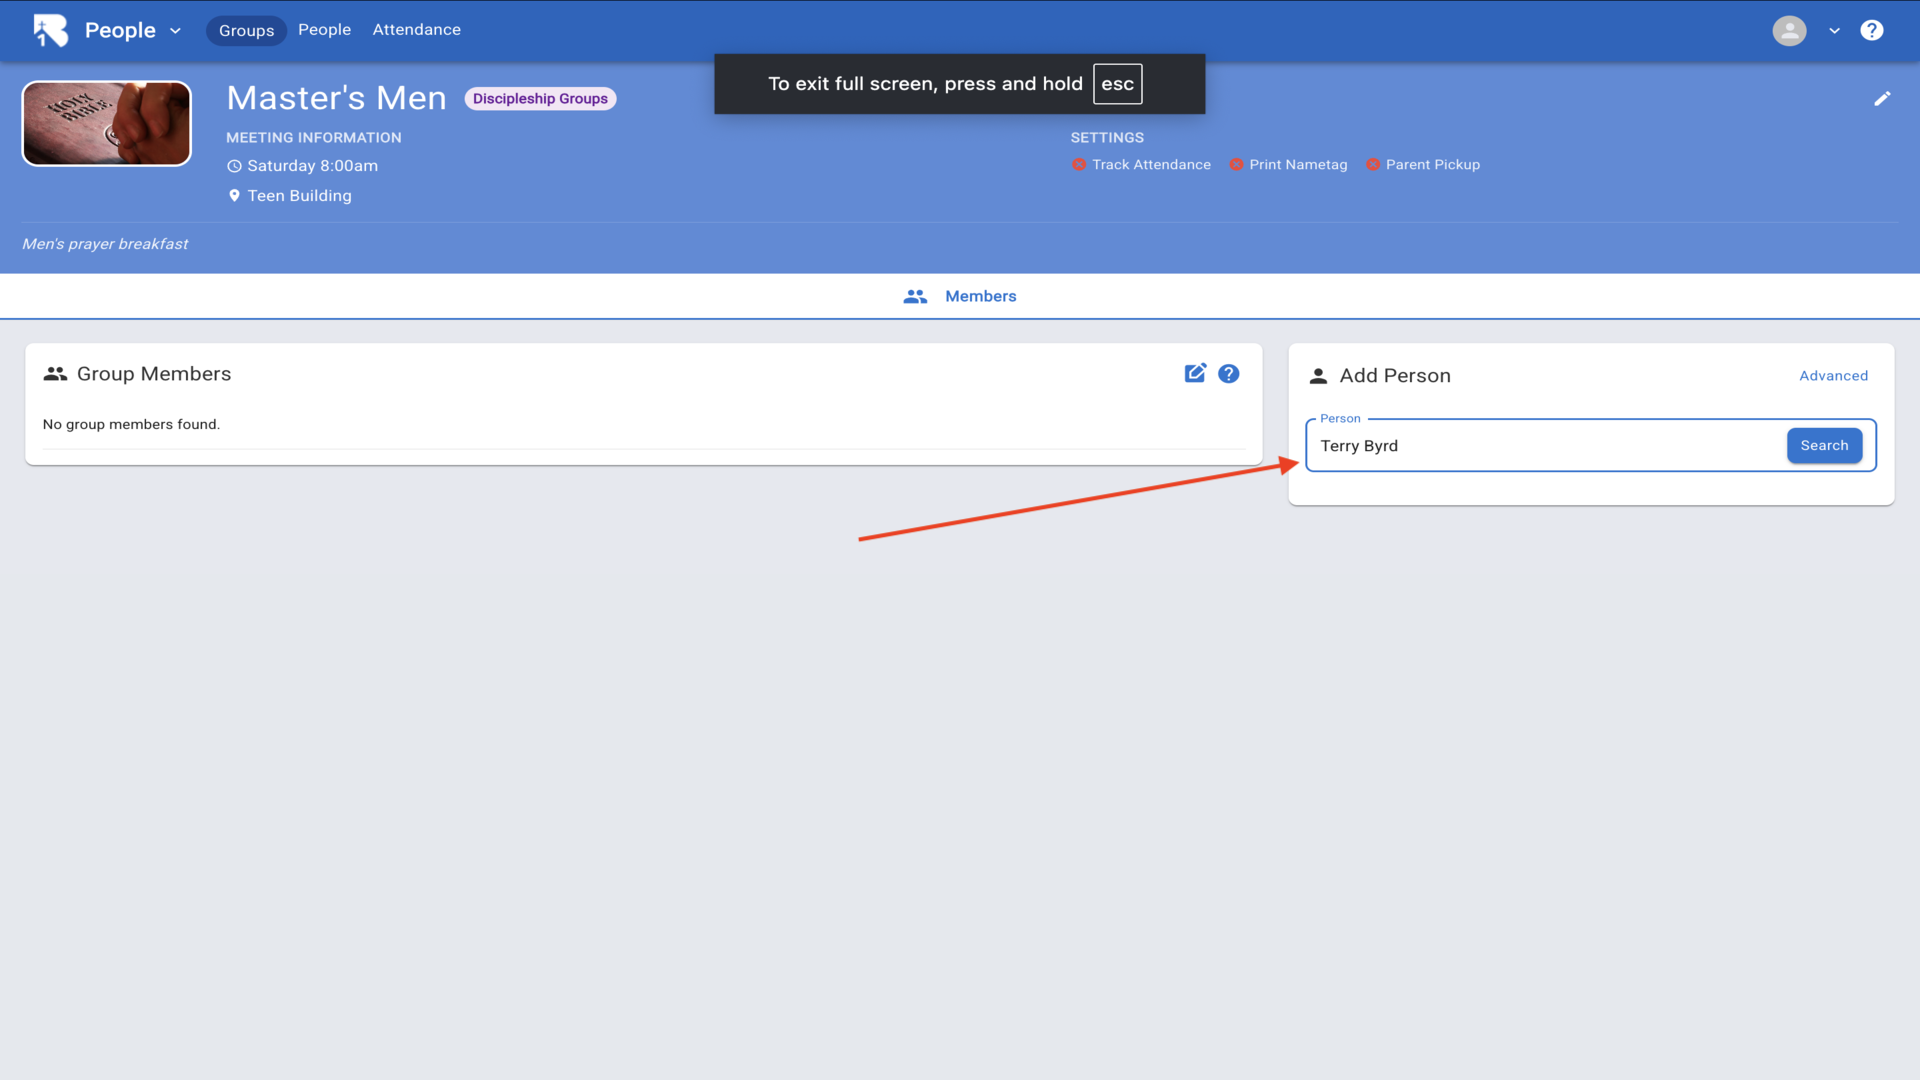
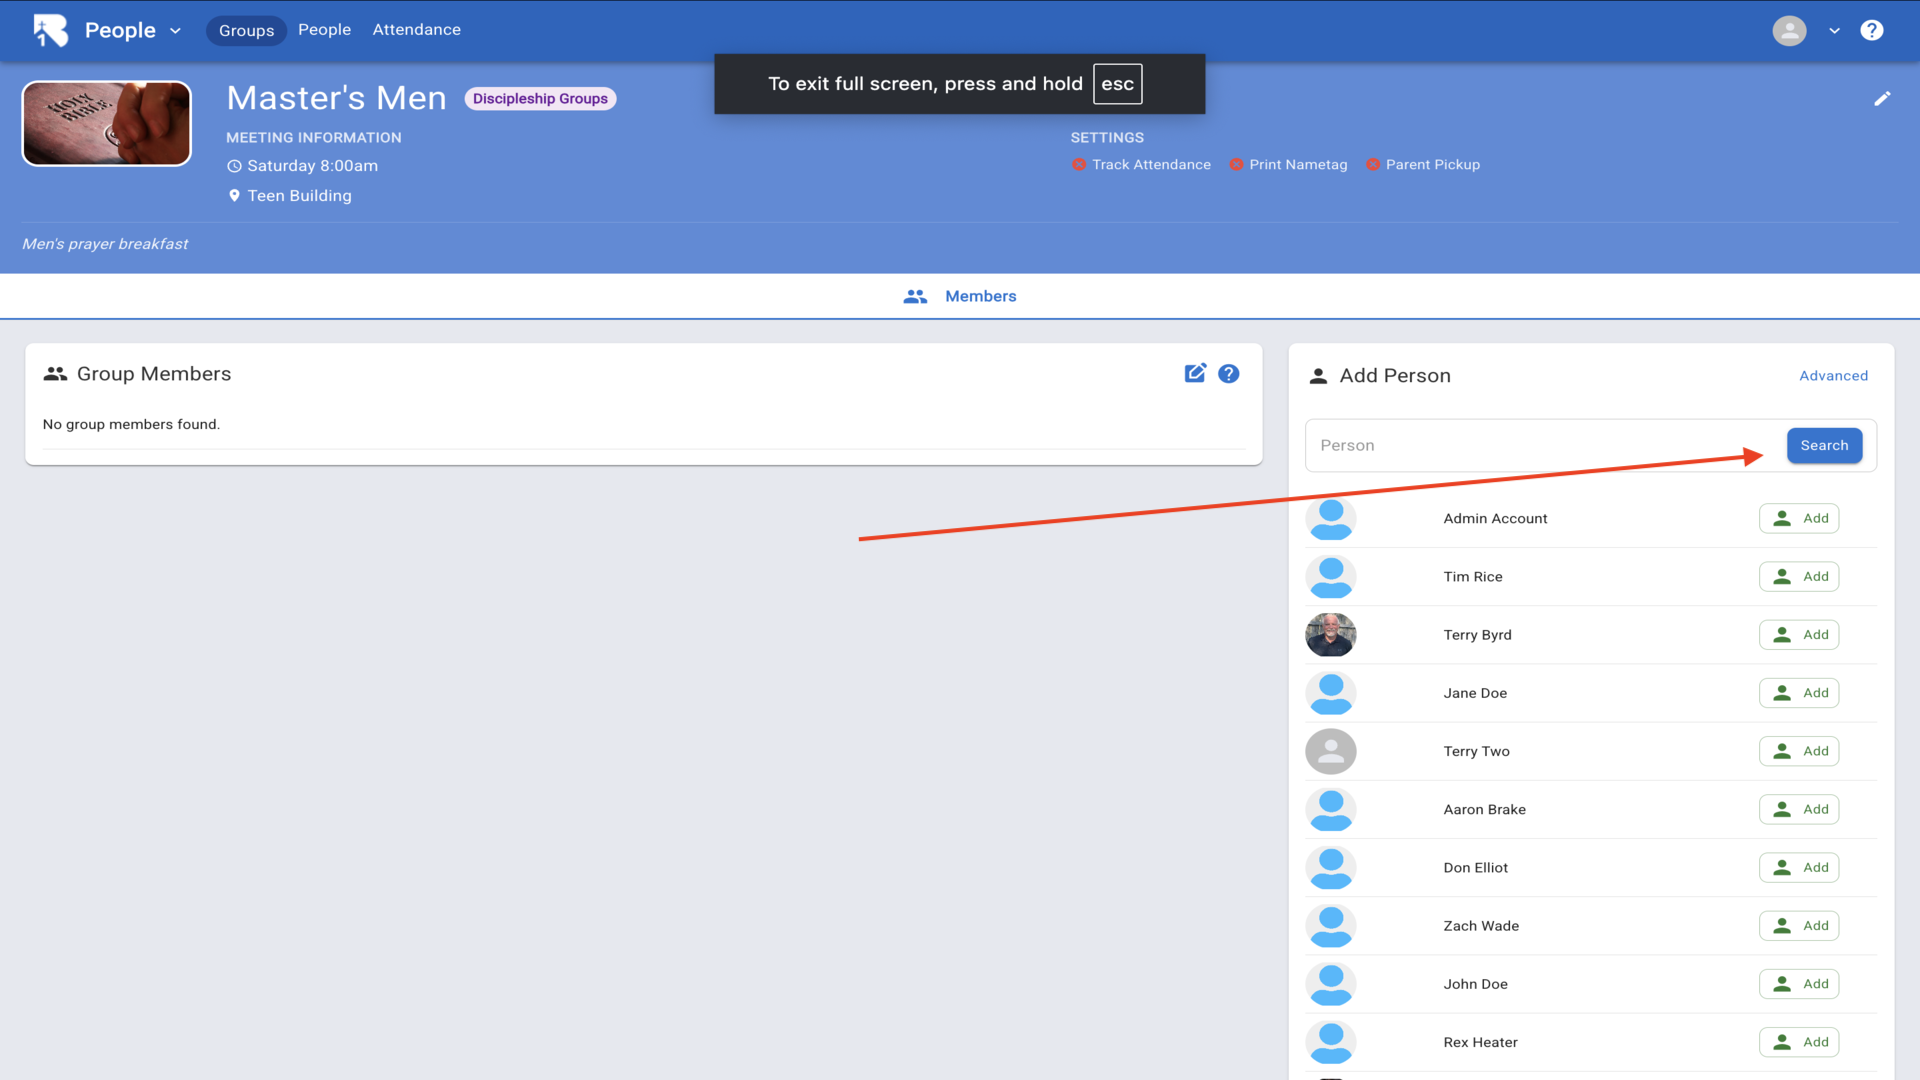
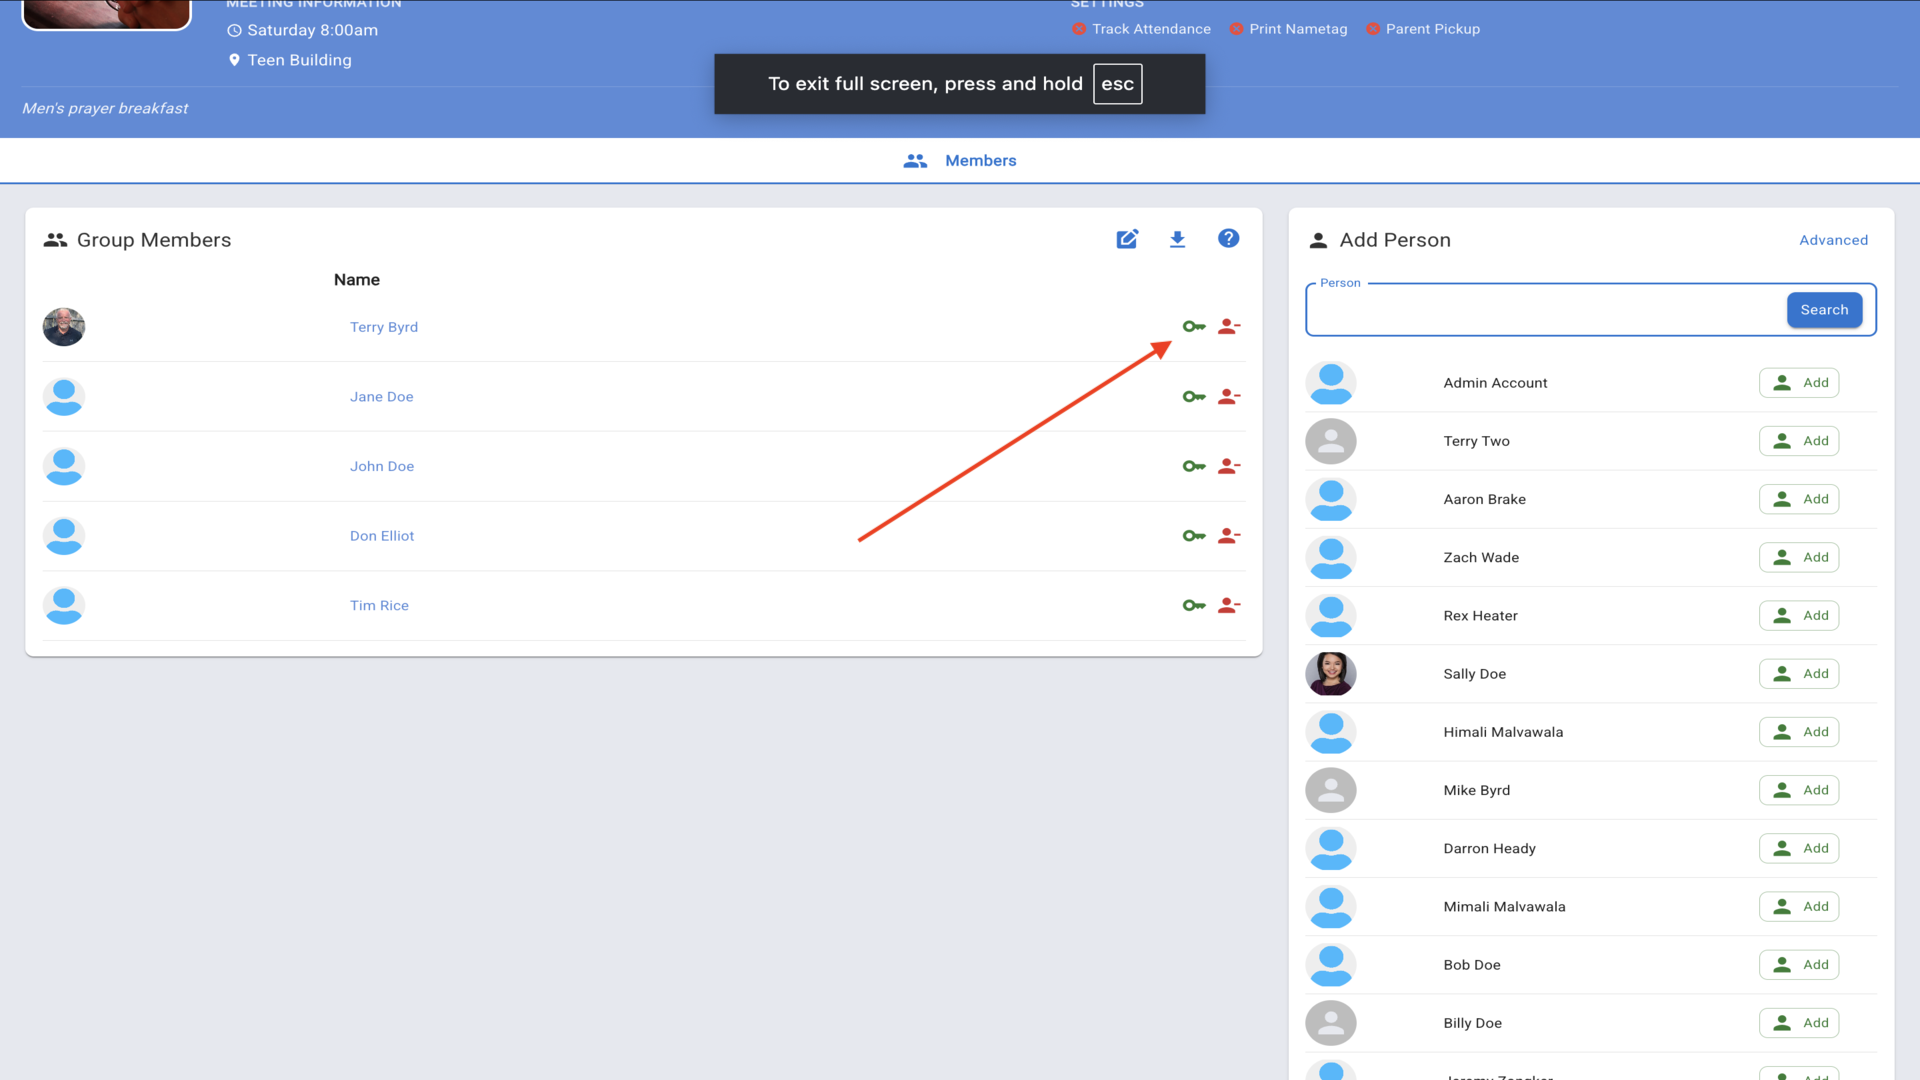
8.Click the Members tab and search for a person or scroll through your database▼
9.Click the Add button next to the person's name▼
10.Your group members are now listed. Use the green key icon to designate group leaders▼
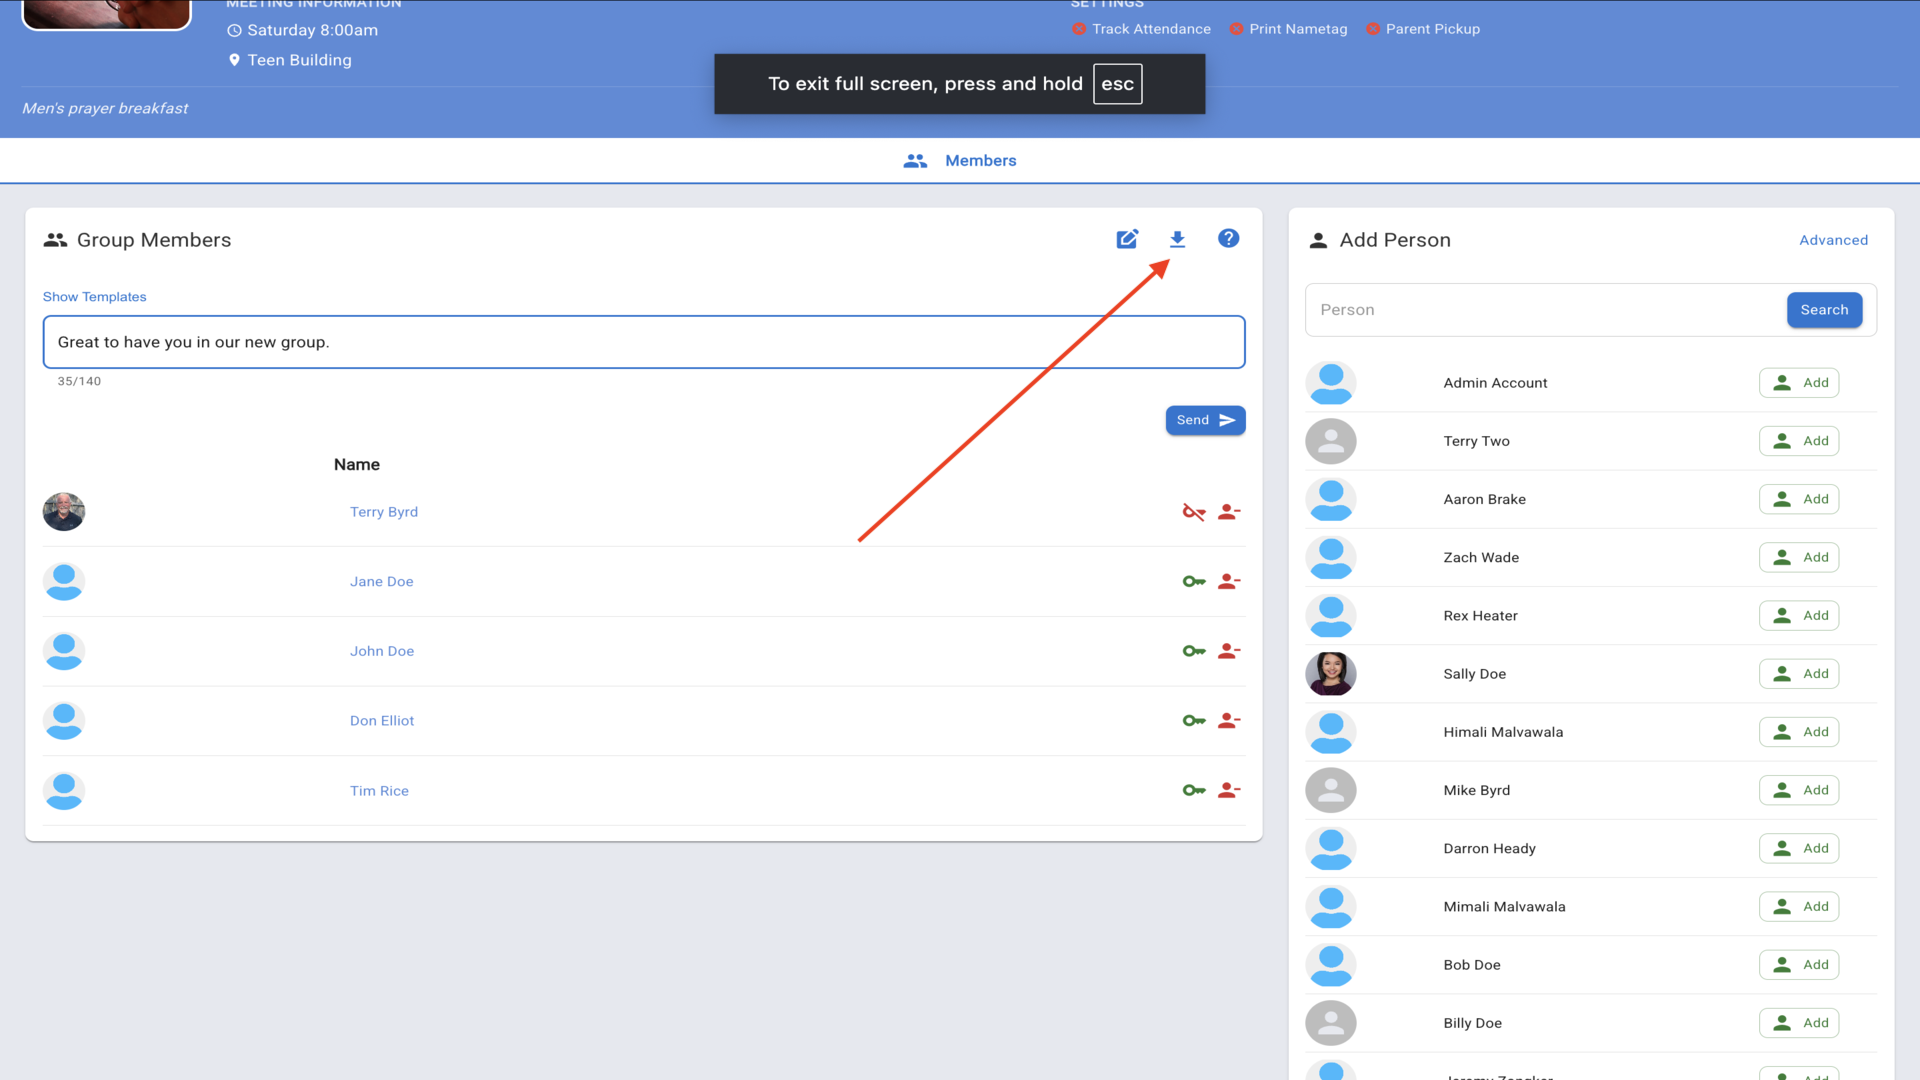
11.Send messages to all group members. Type your message and click Send▼

12.To export your group data, click the download icon▼
13.All your church groups are organized by categories▼